How to Take Your Own Family Photos | Wailea, Maui | Portland Family Photographer
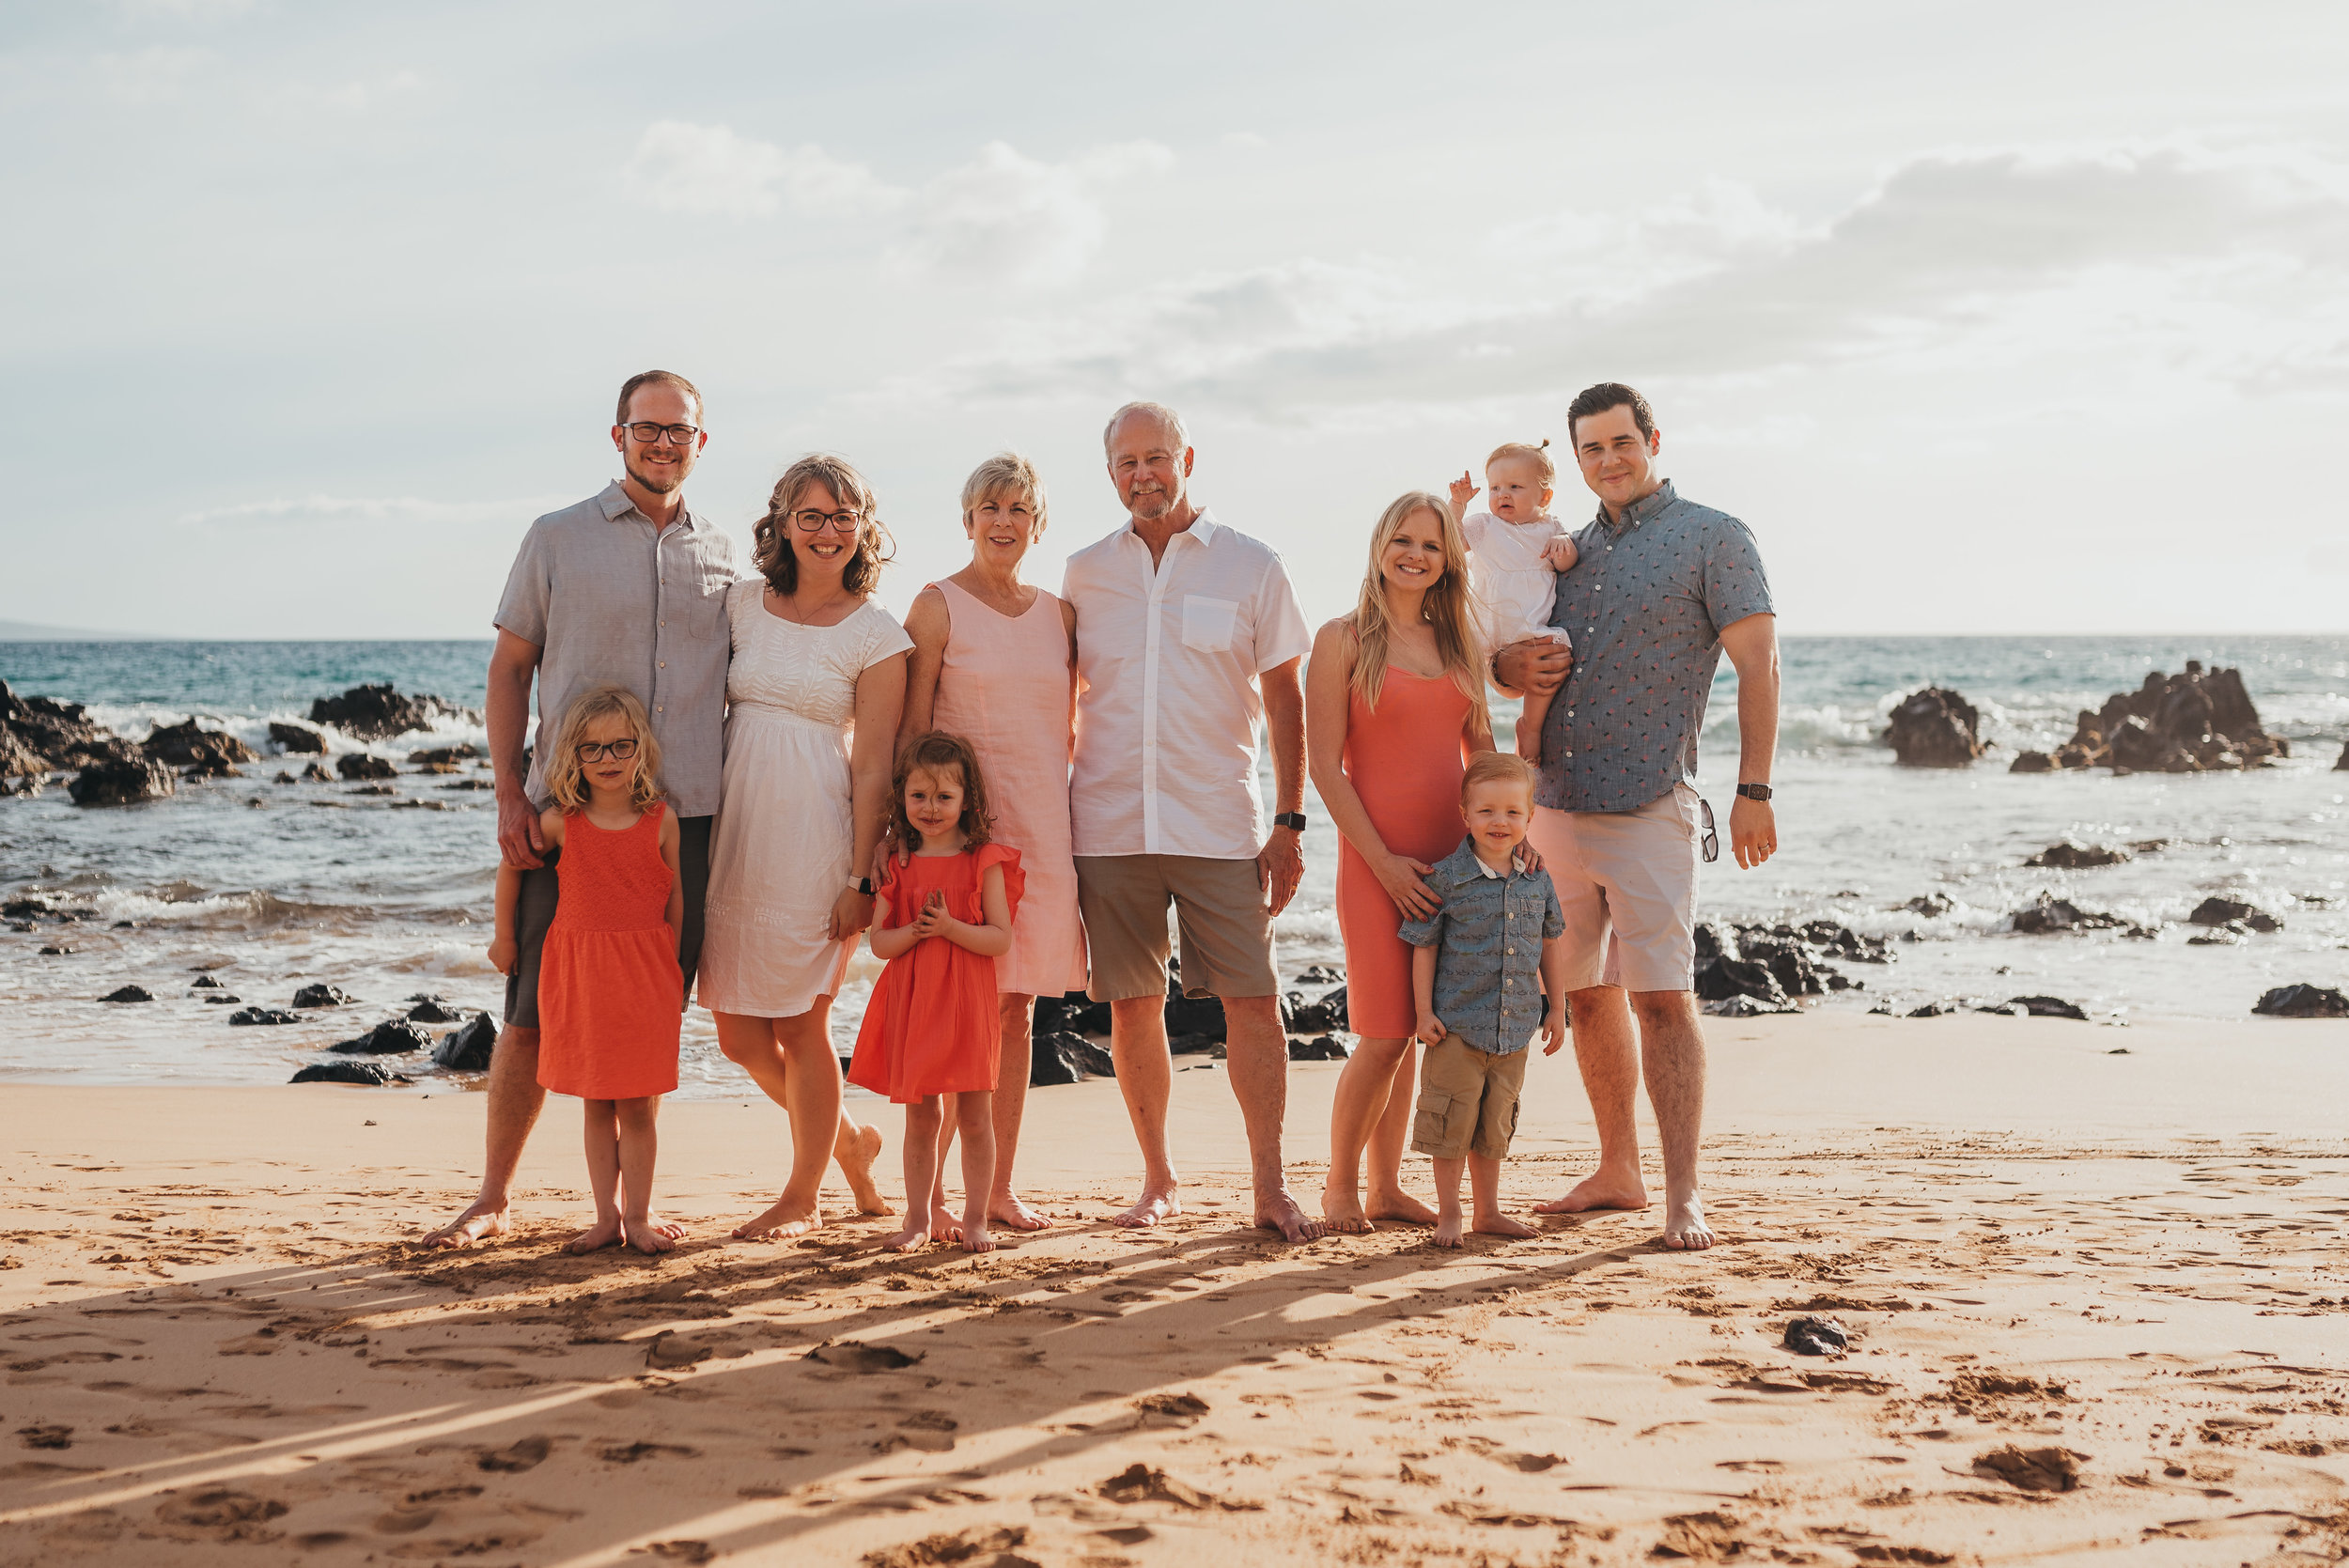
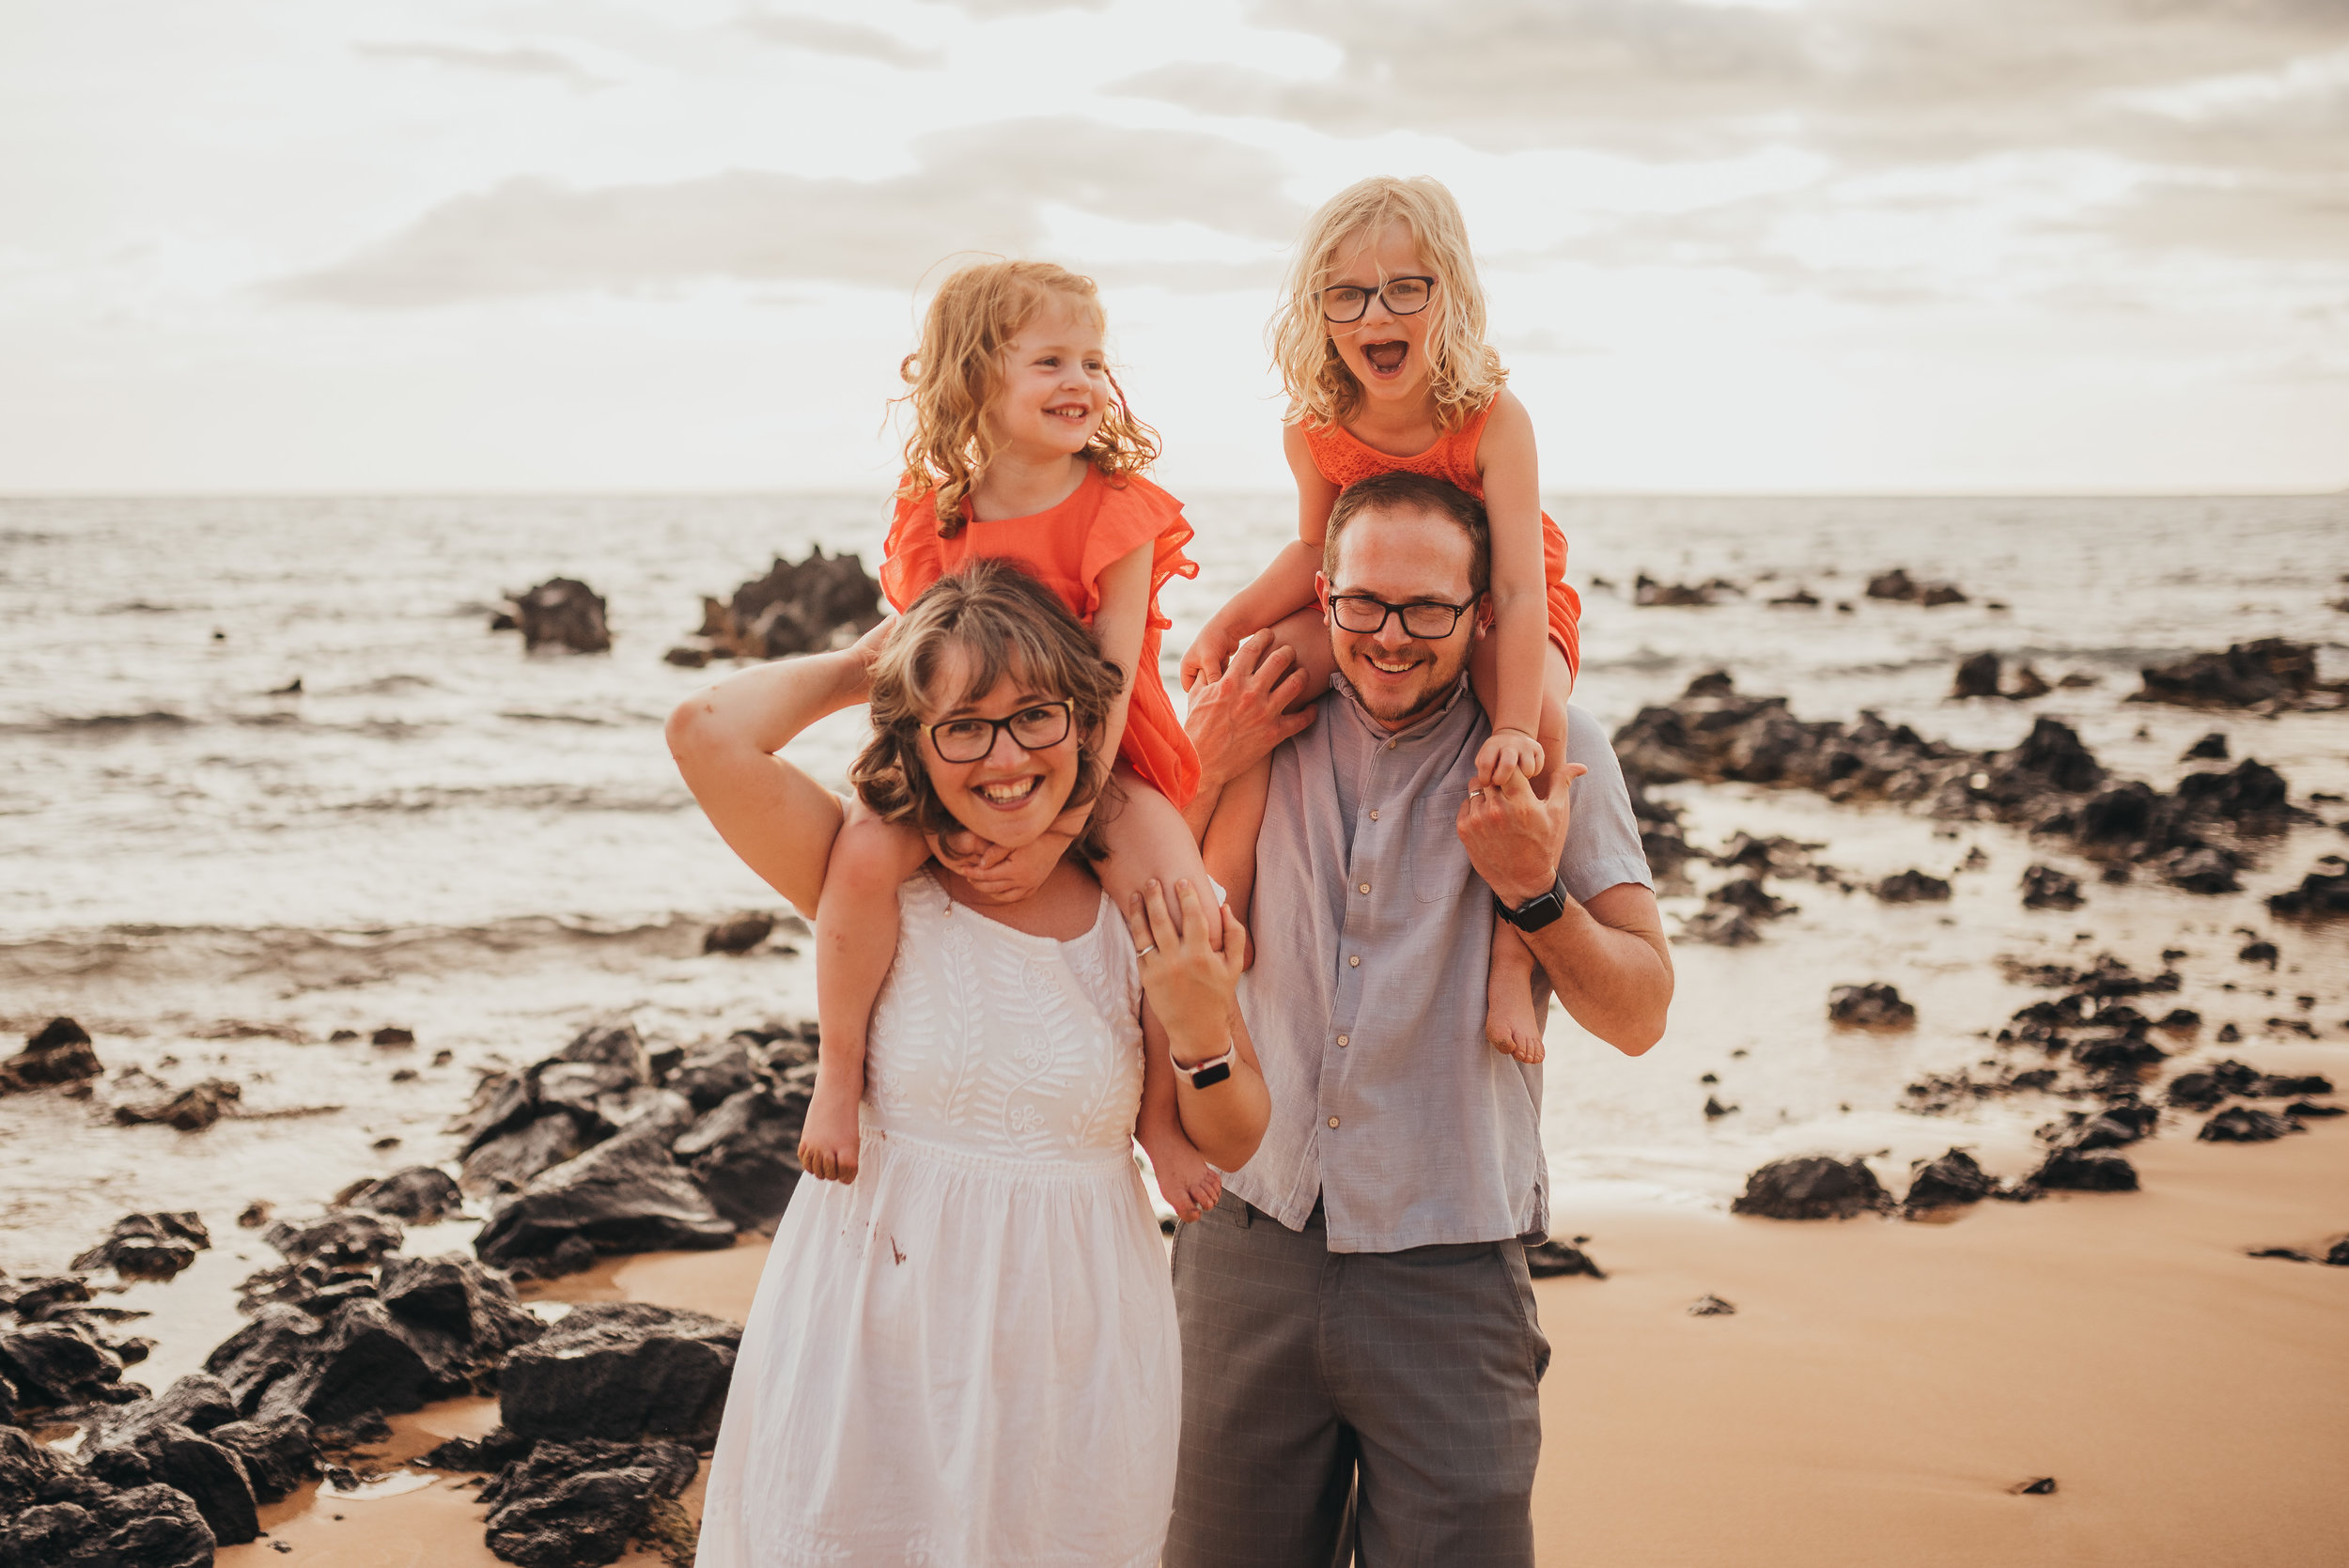
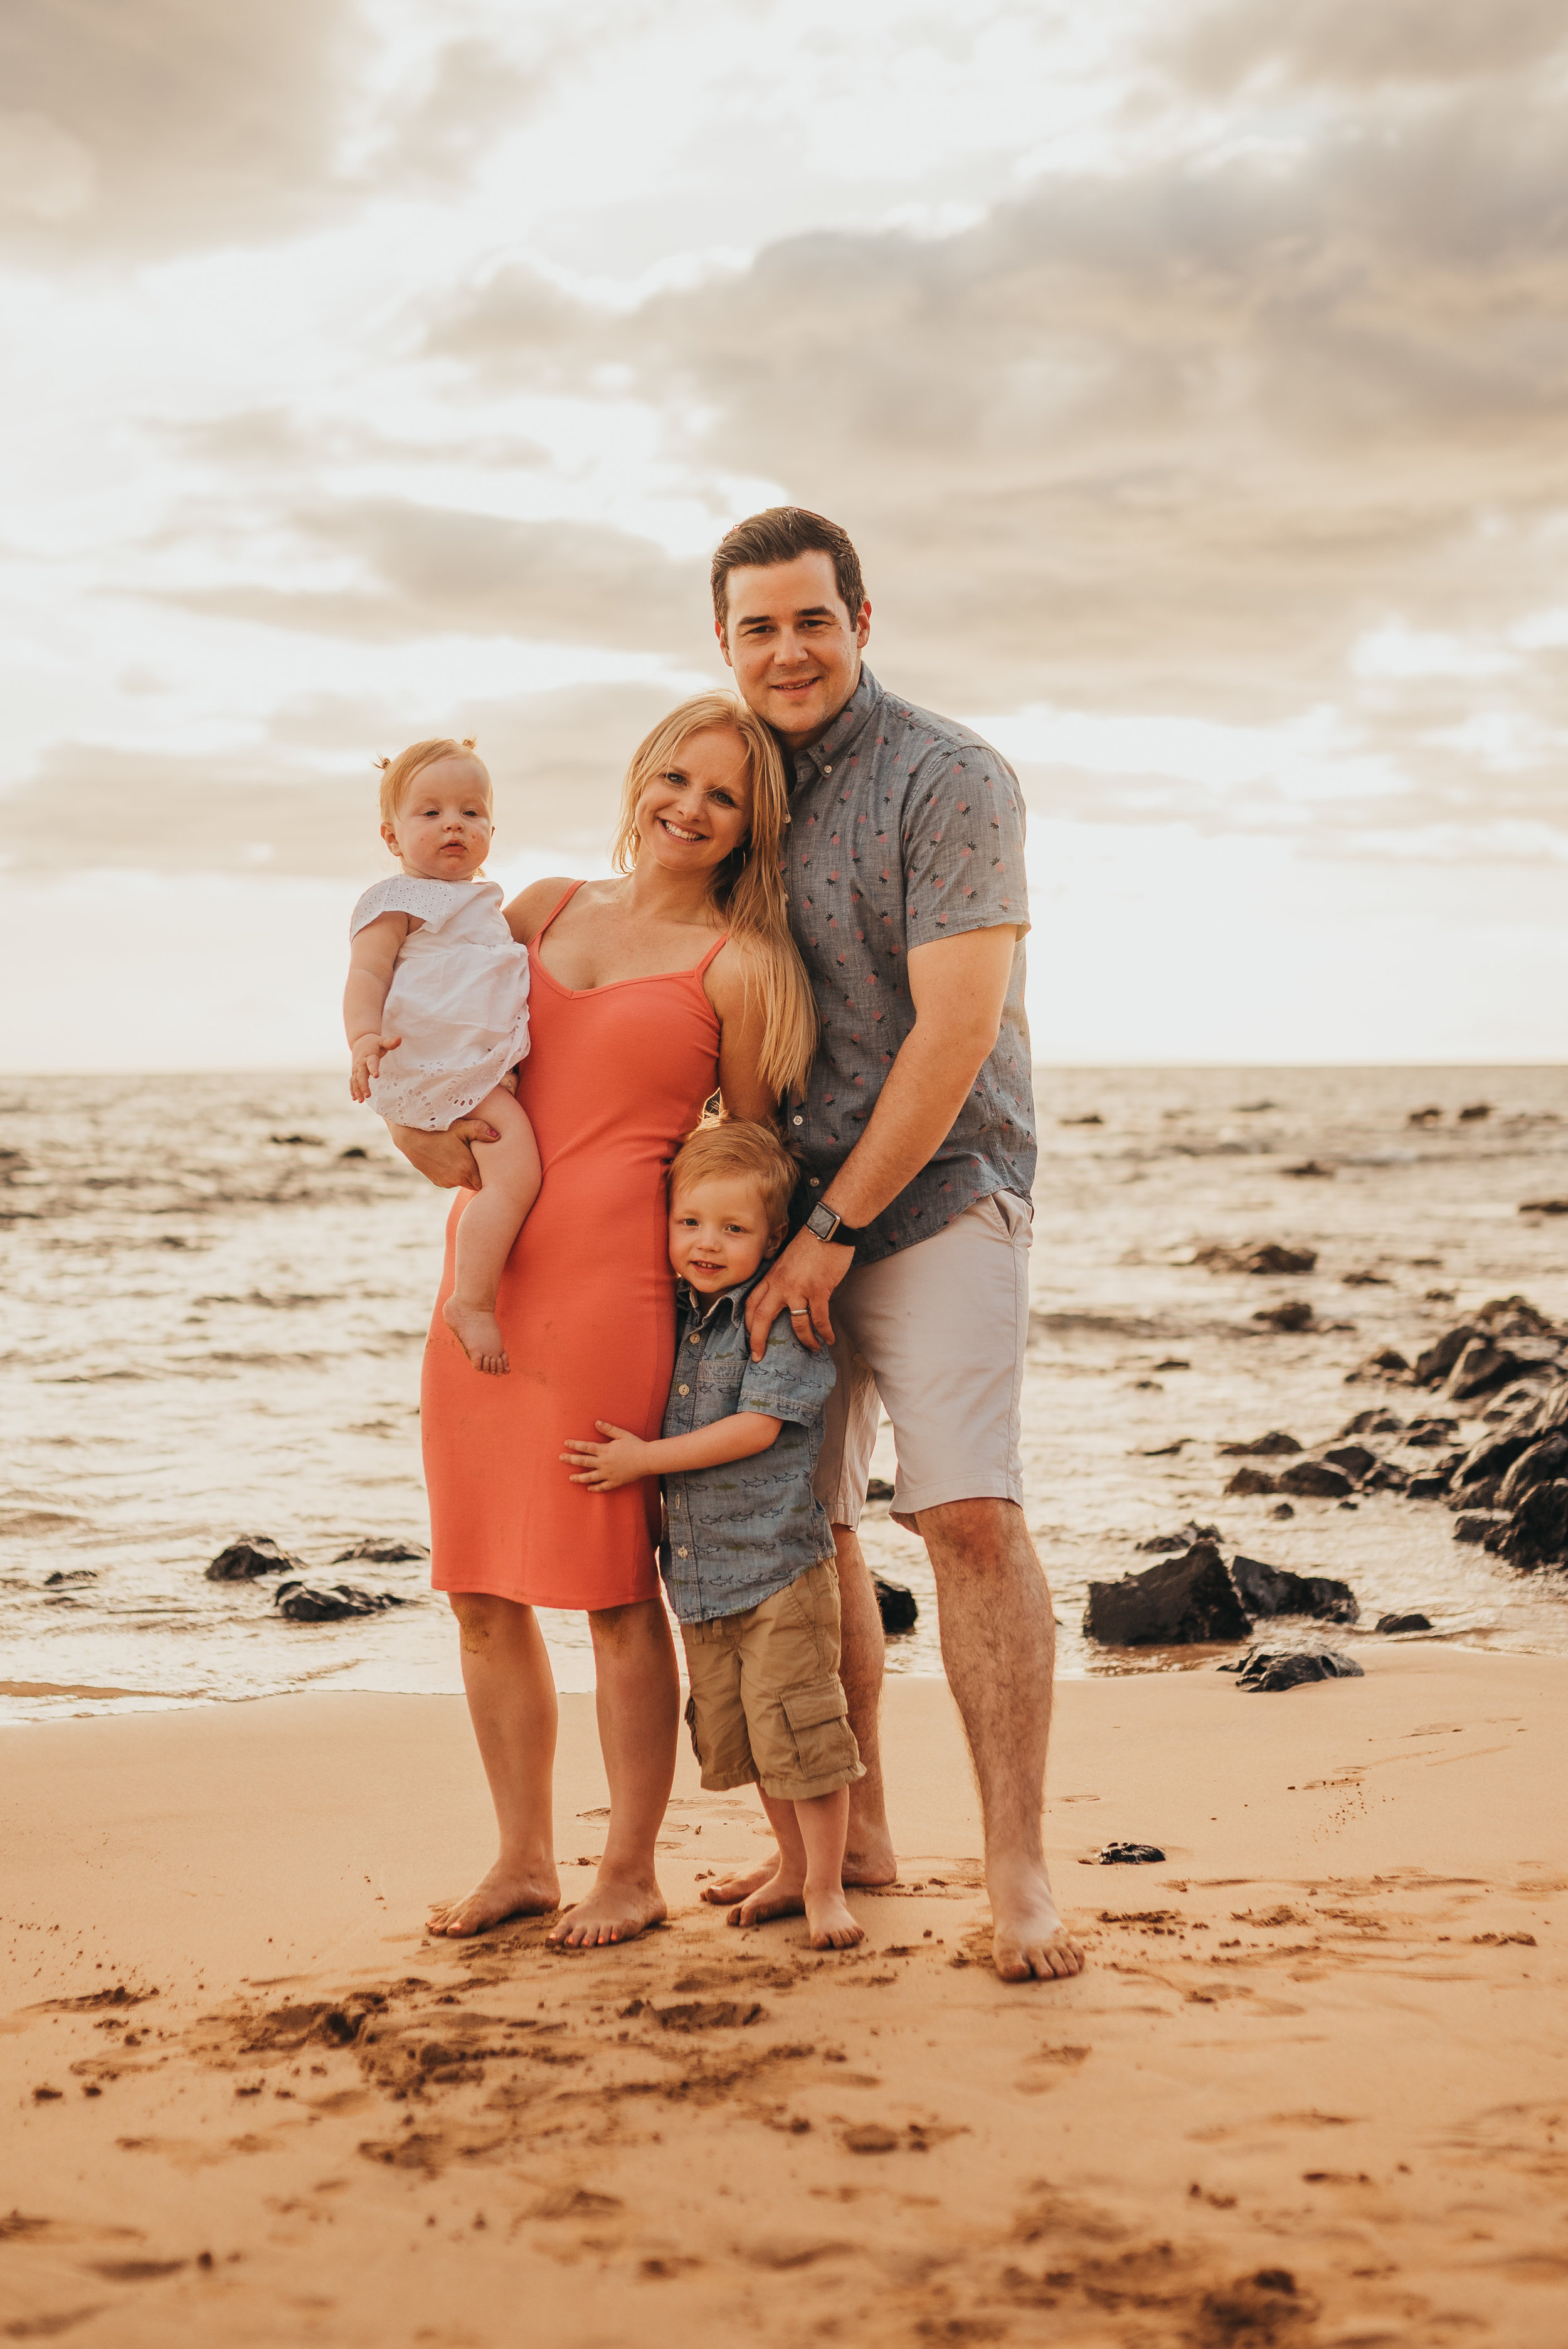
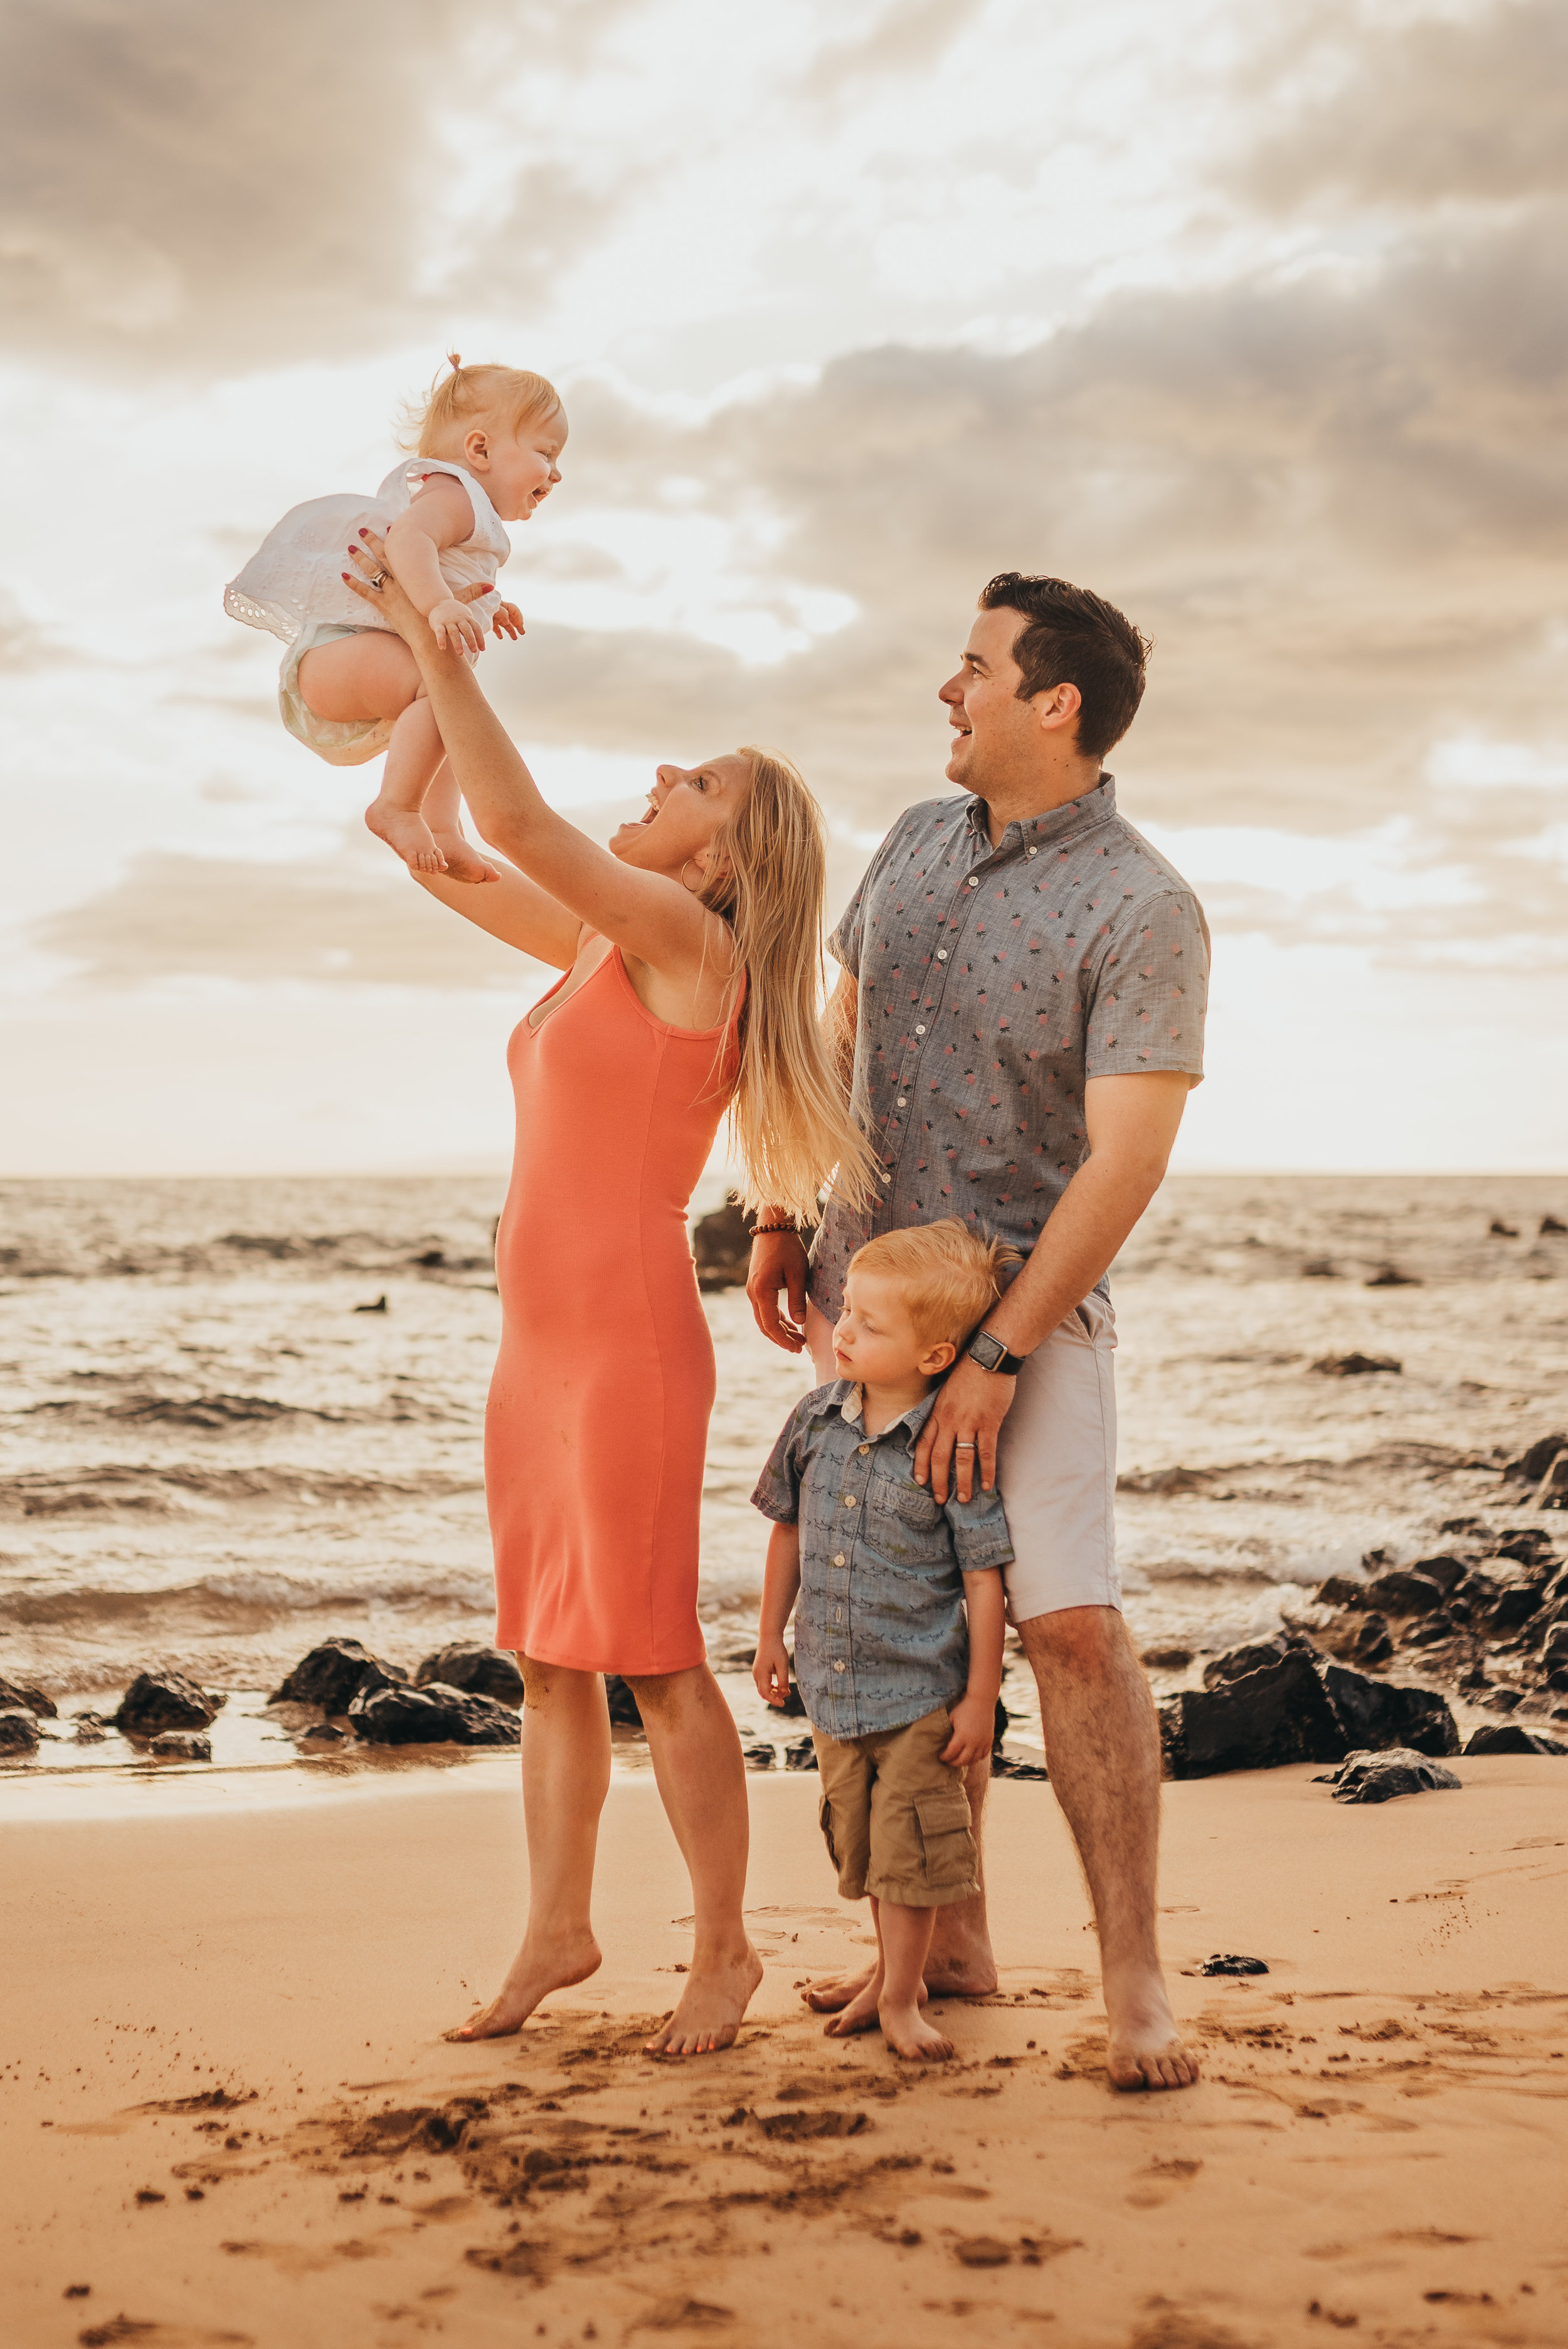
Taking your own family photos is hard. I’ve been doing it for years, and I always end up with photos where my hand is pointing with a remote at the camera. Probably most people wouldn’t notice that little thing, but I do, and it always made me a little bit unhappy with the photos I was taking. Well, not anymore. I’ve discovered a way to take my family photos so that I can be in the photos, enjoy the process, and get gorgeous photos to boot! I want to share my process with you.
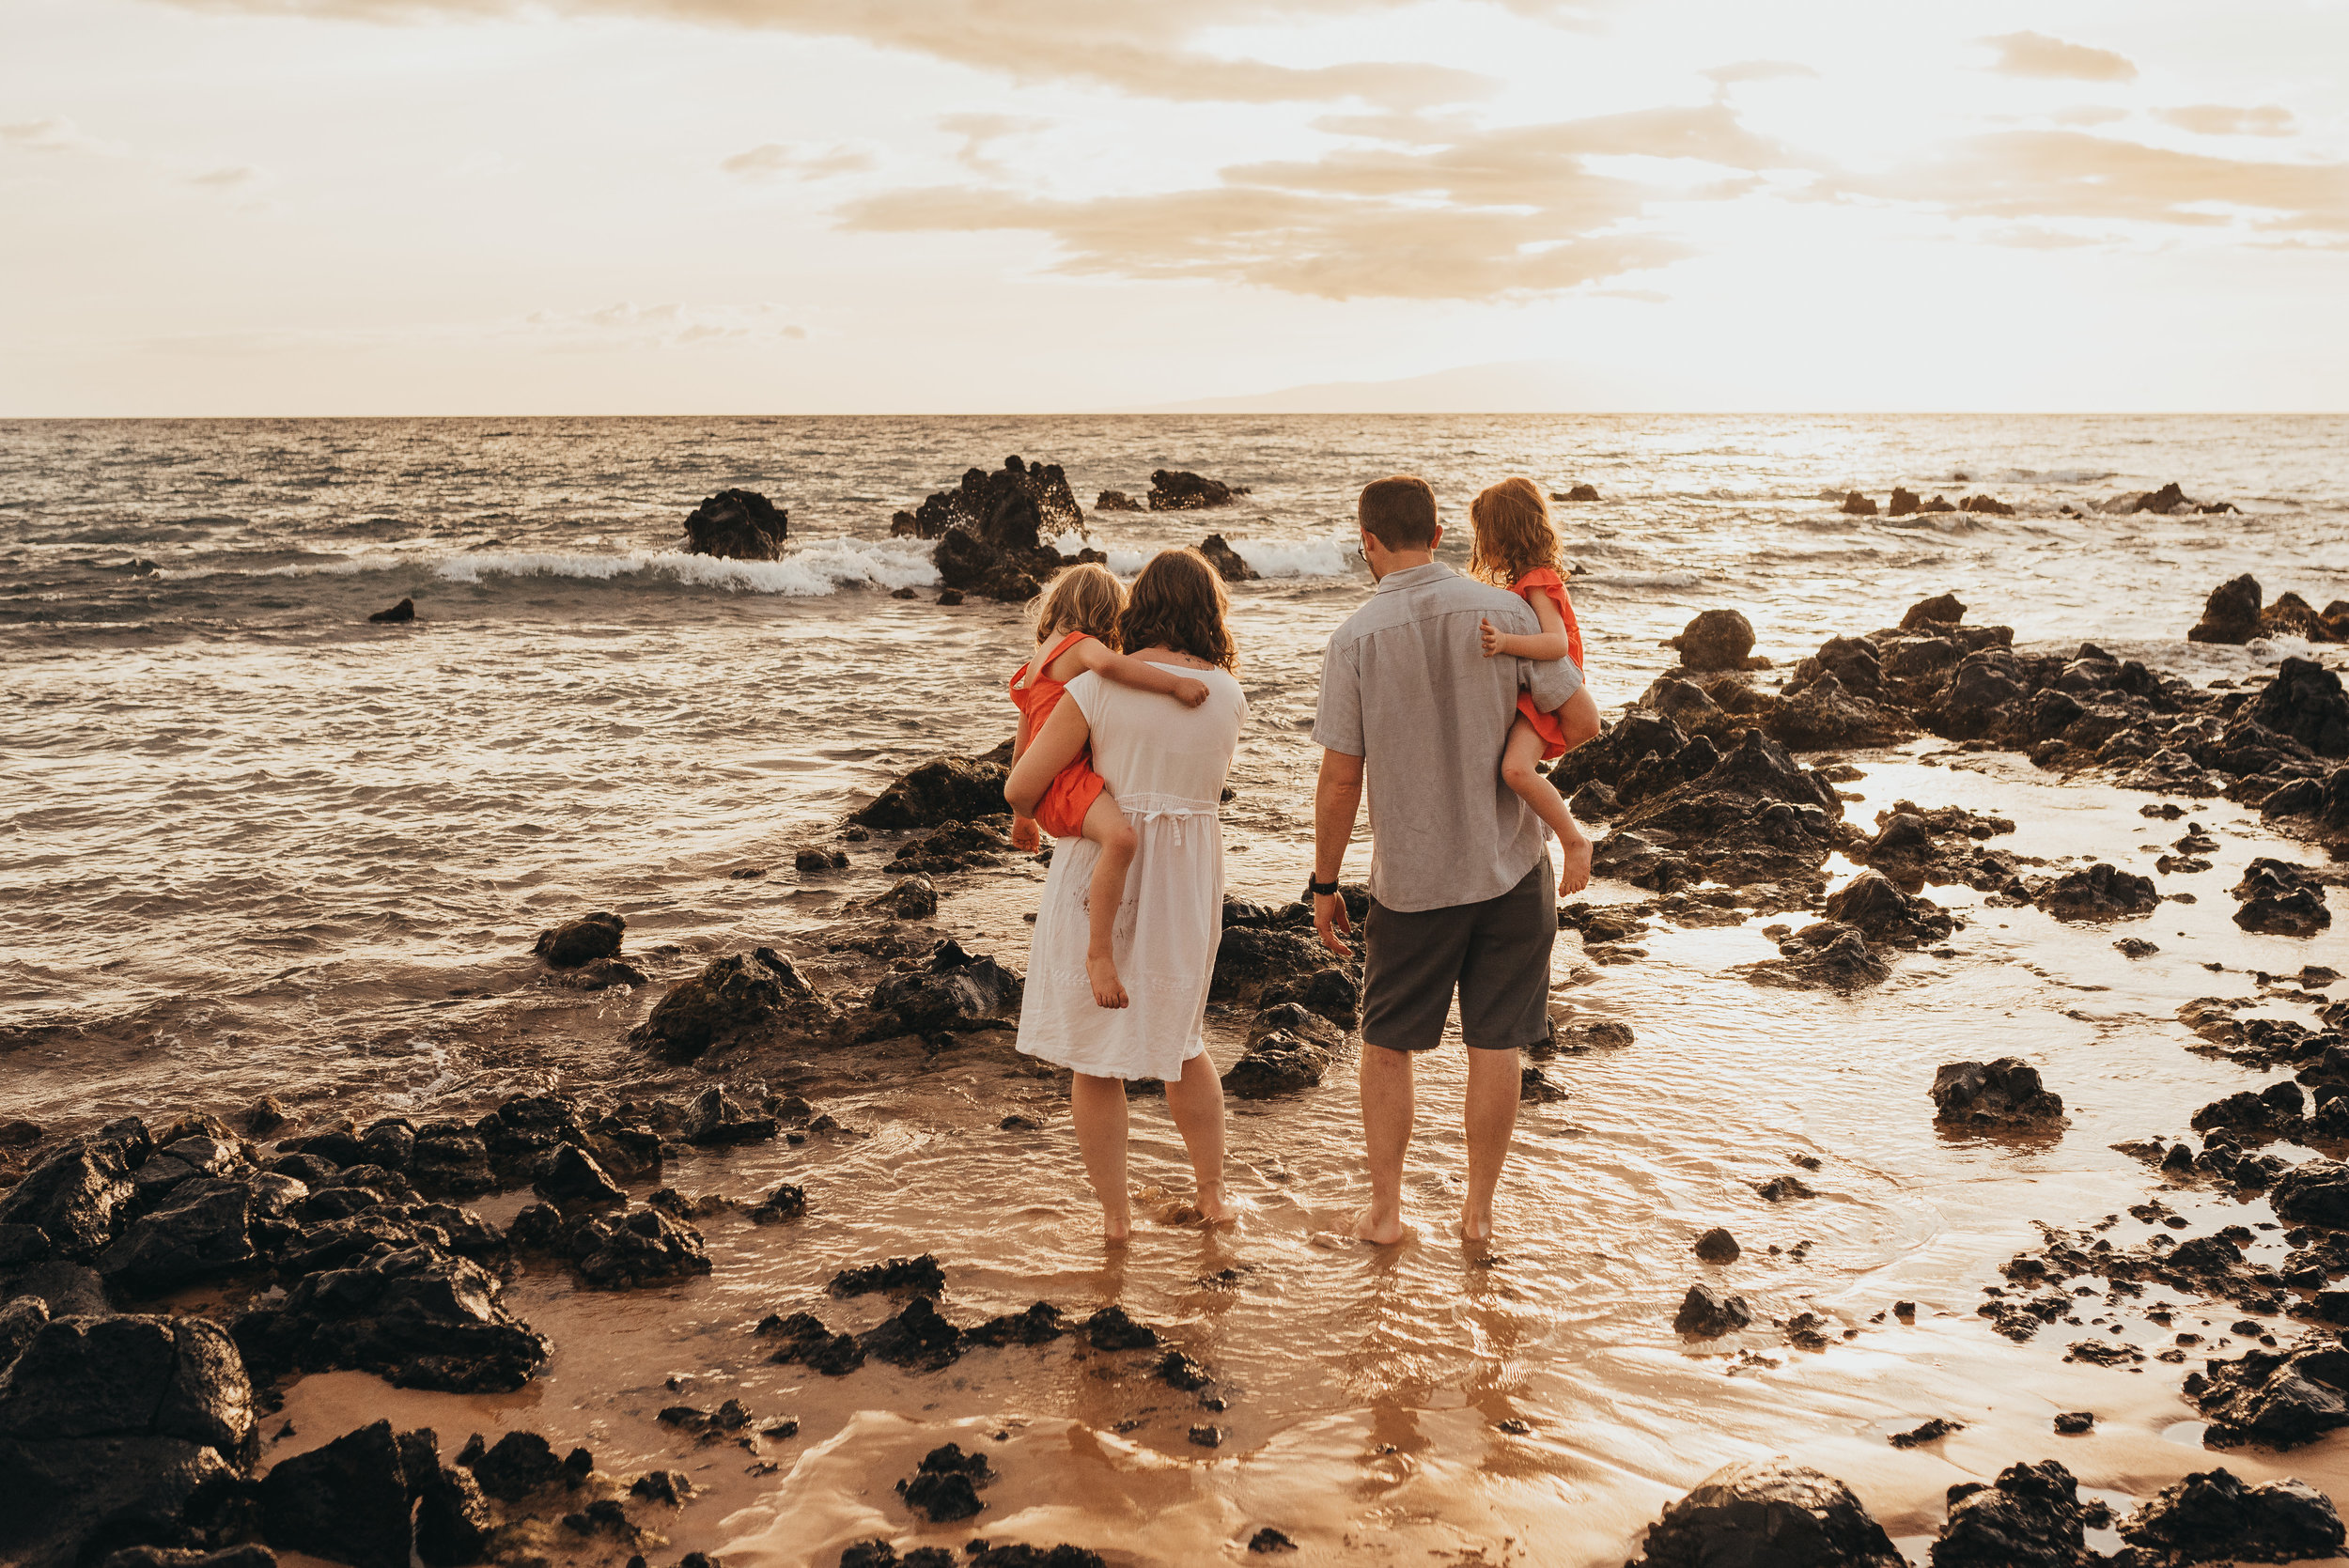
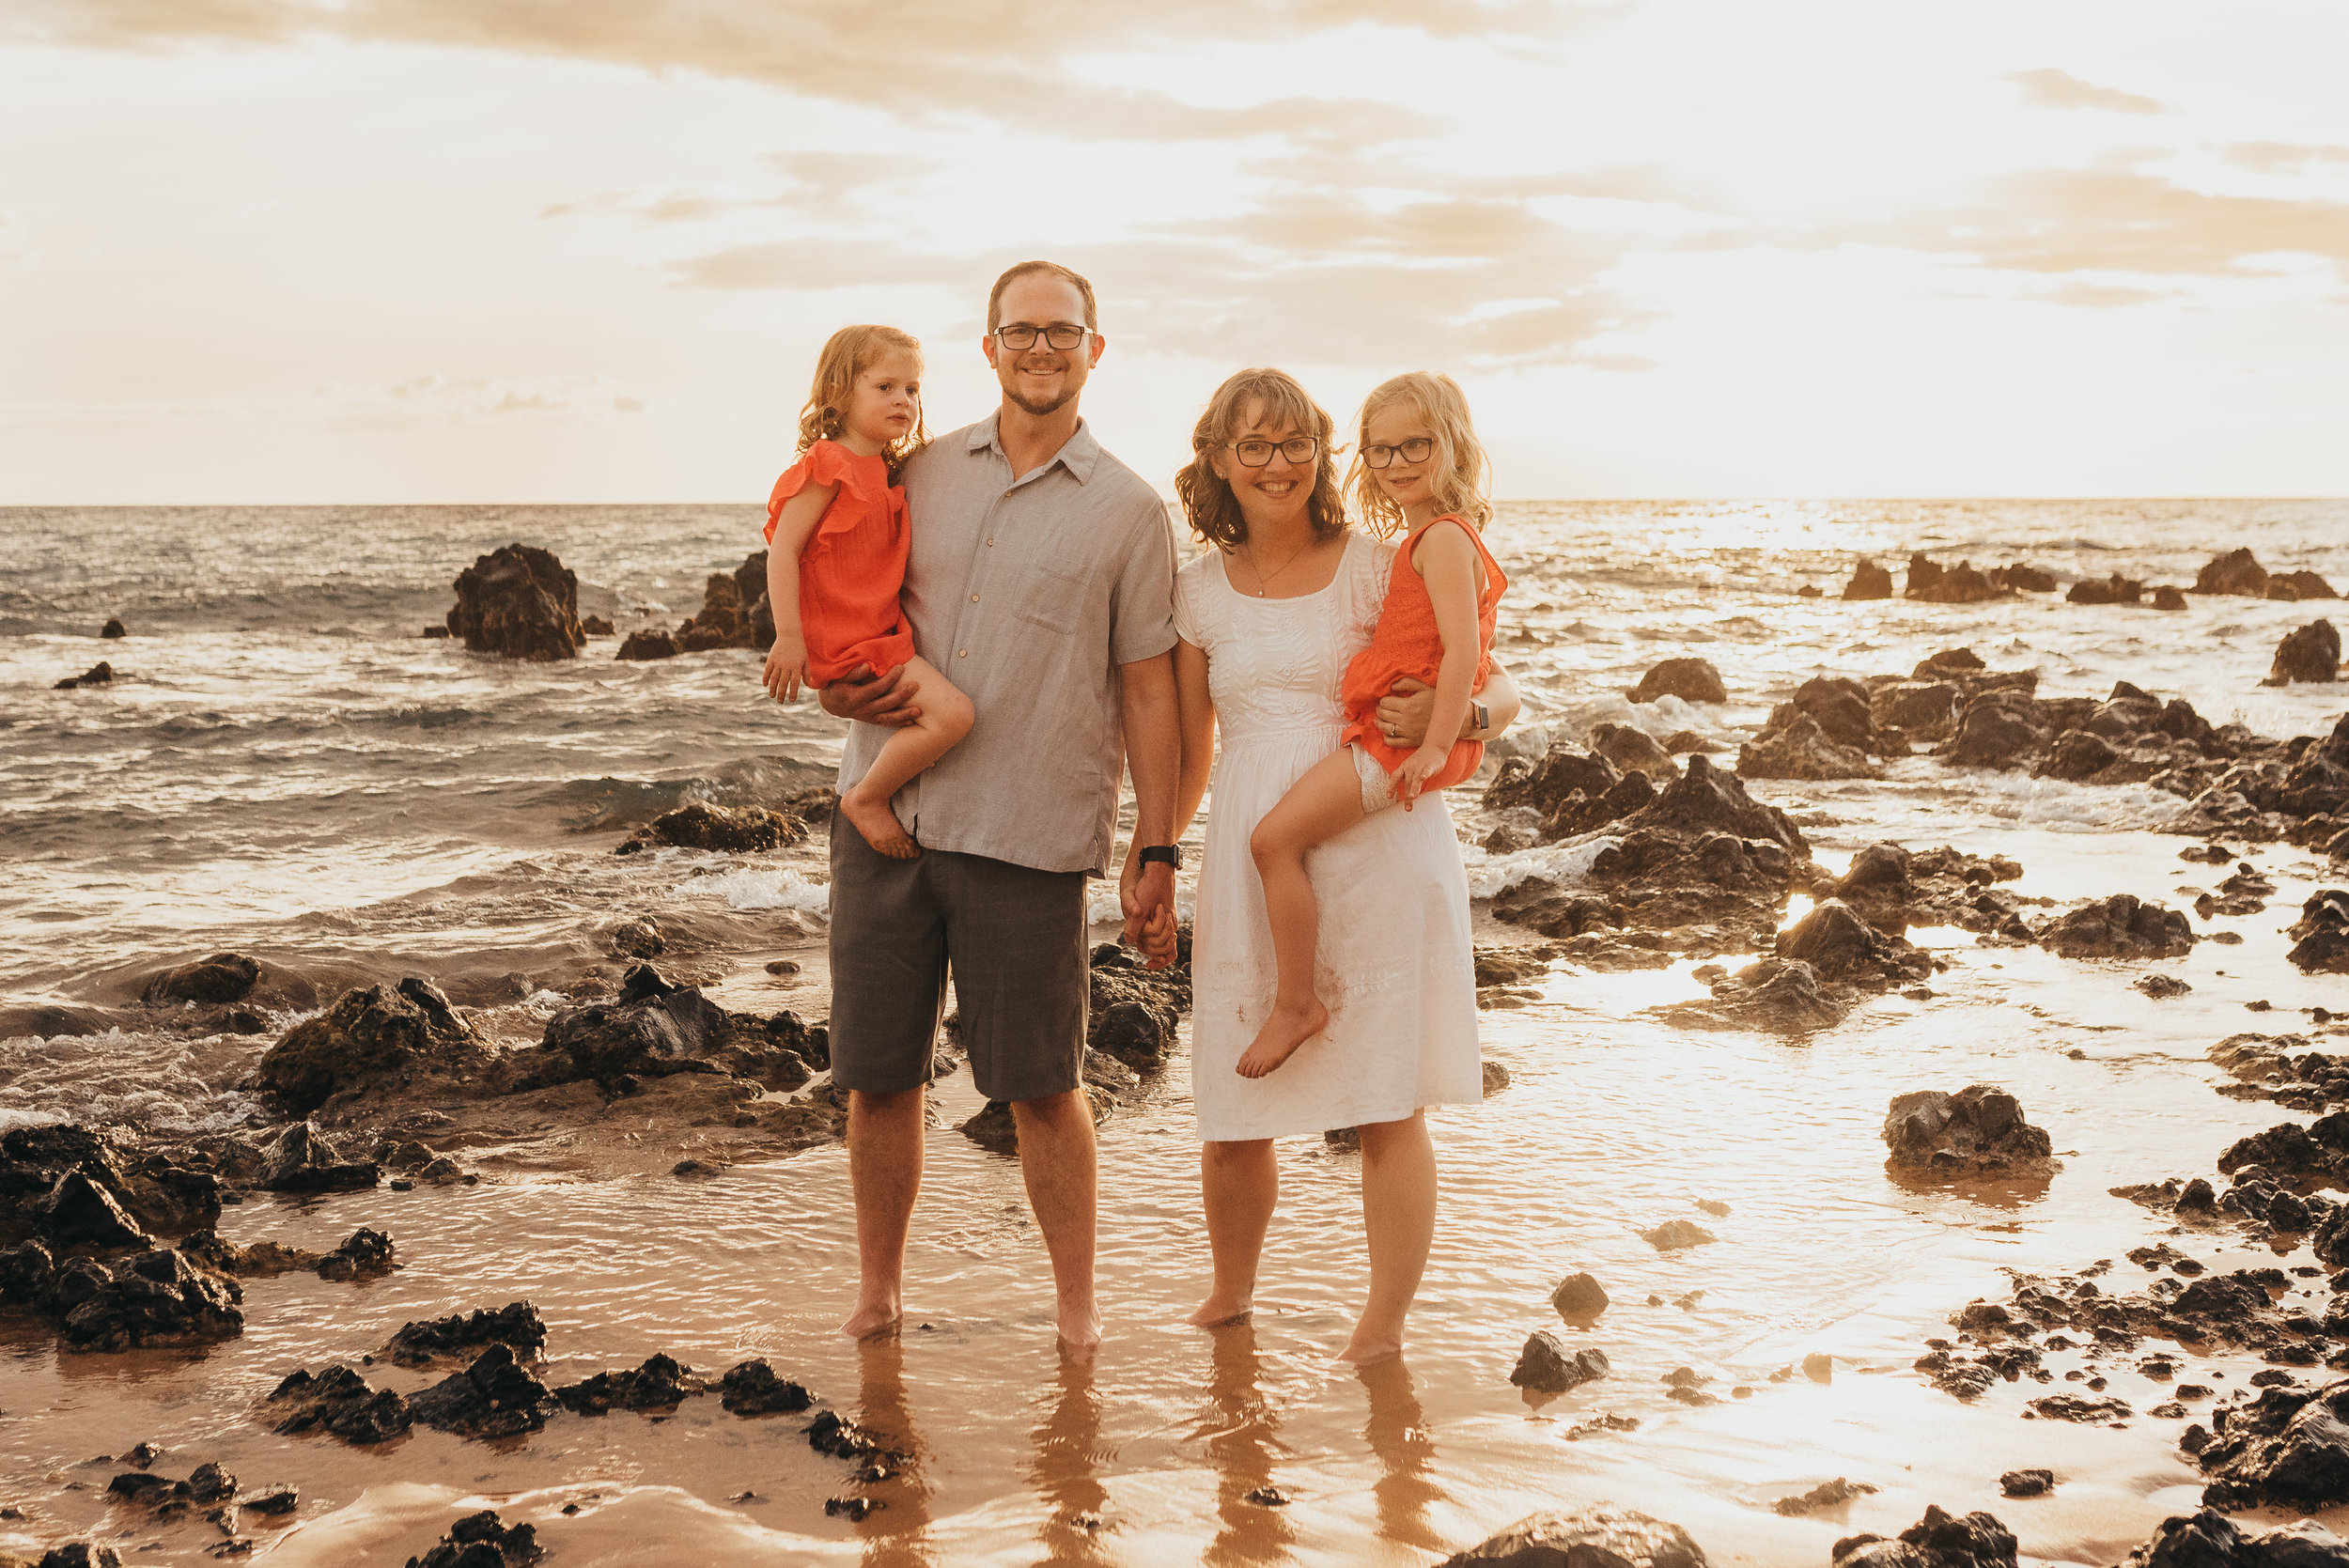
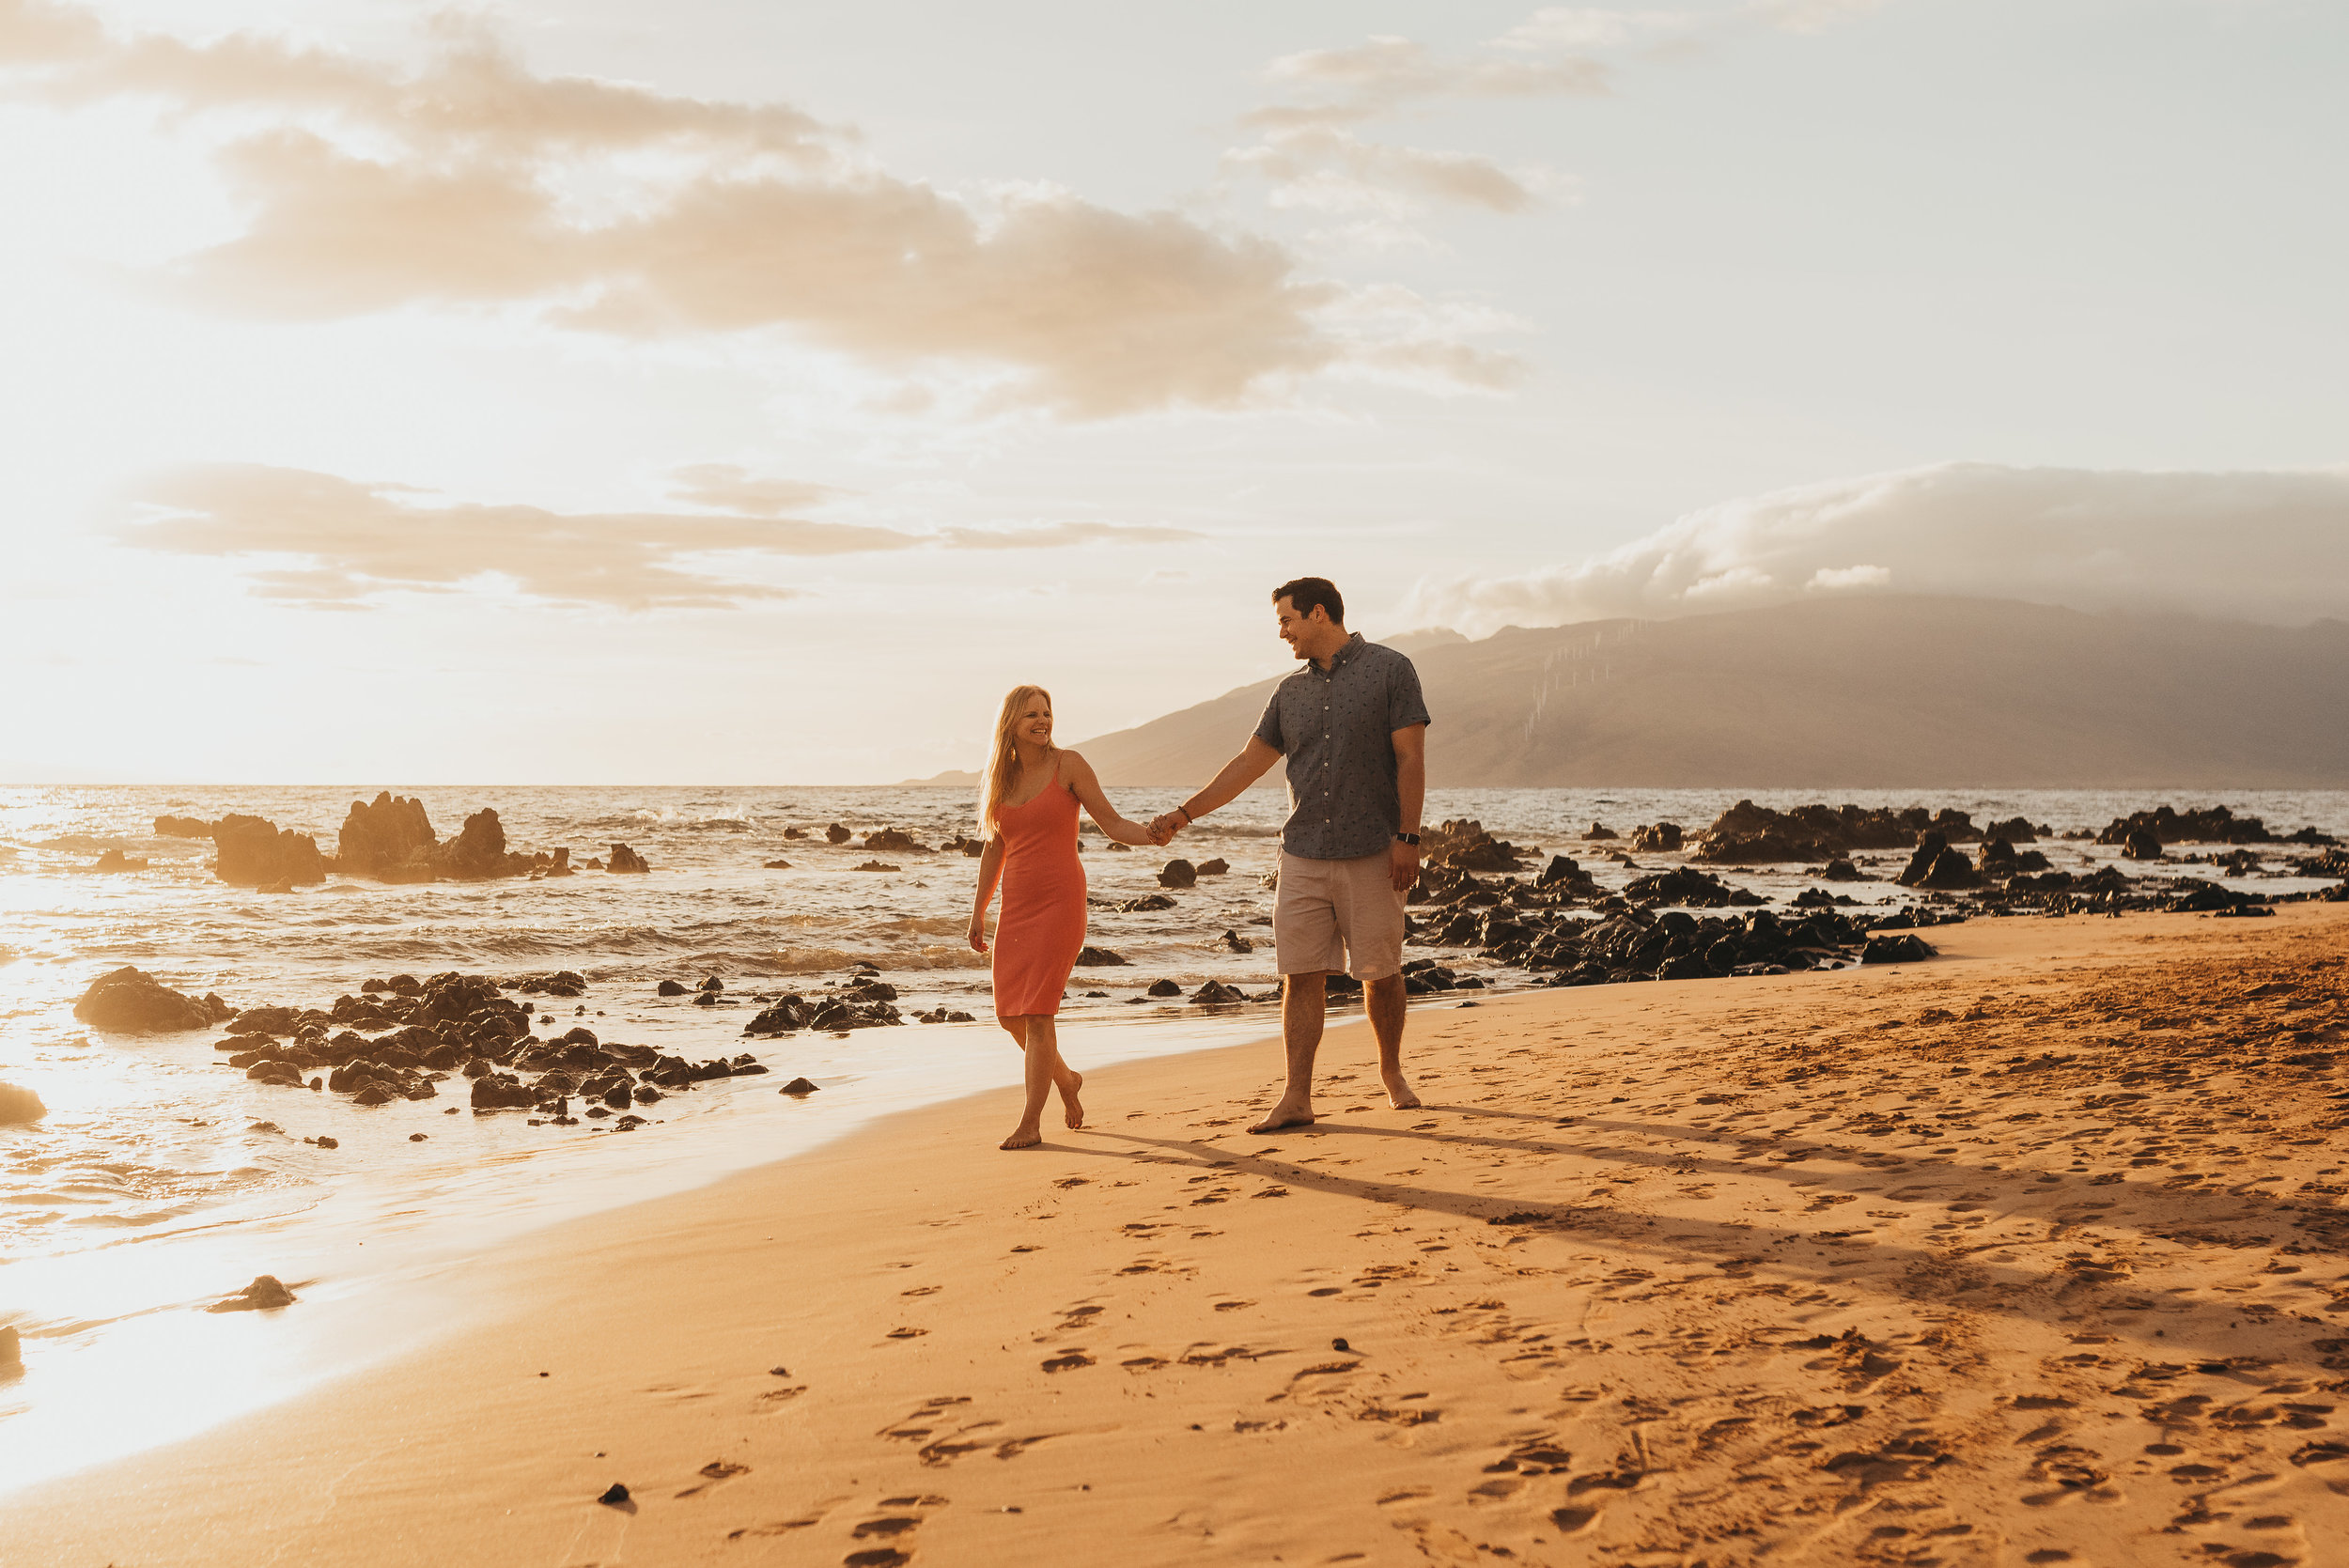
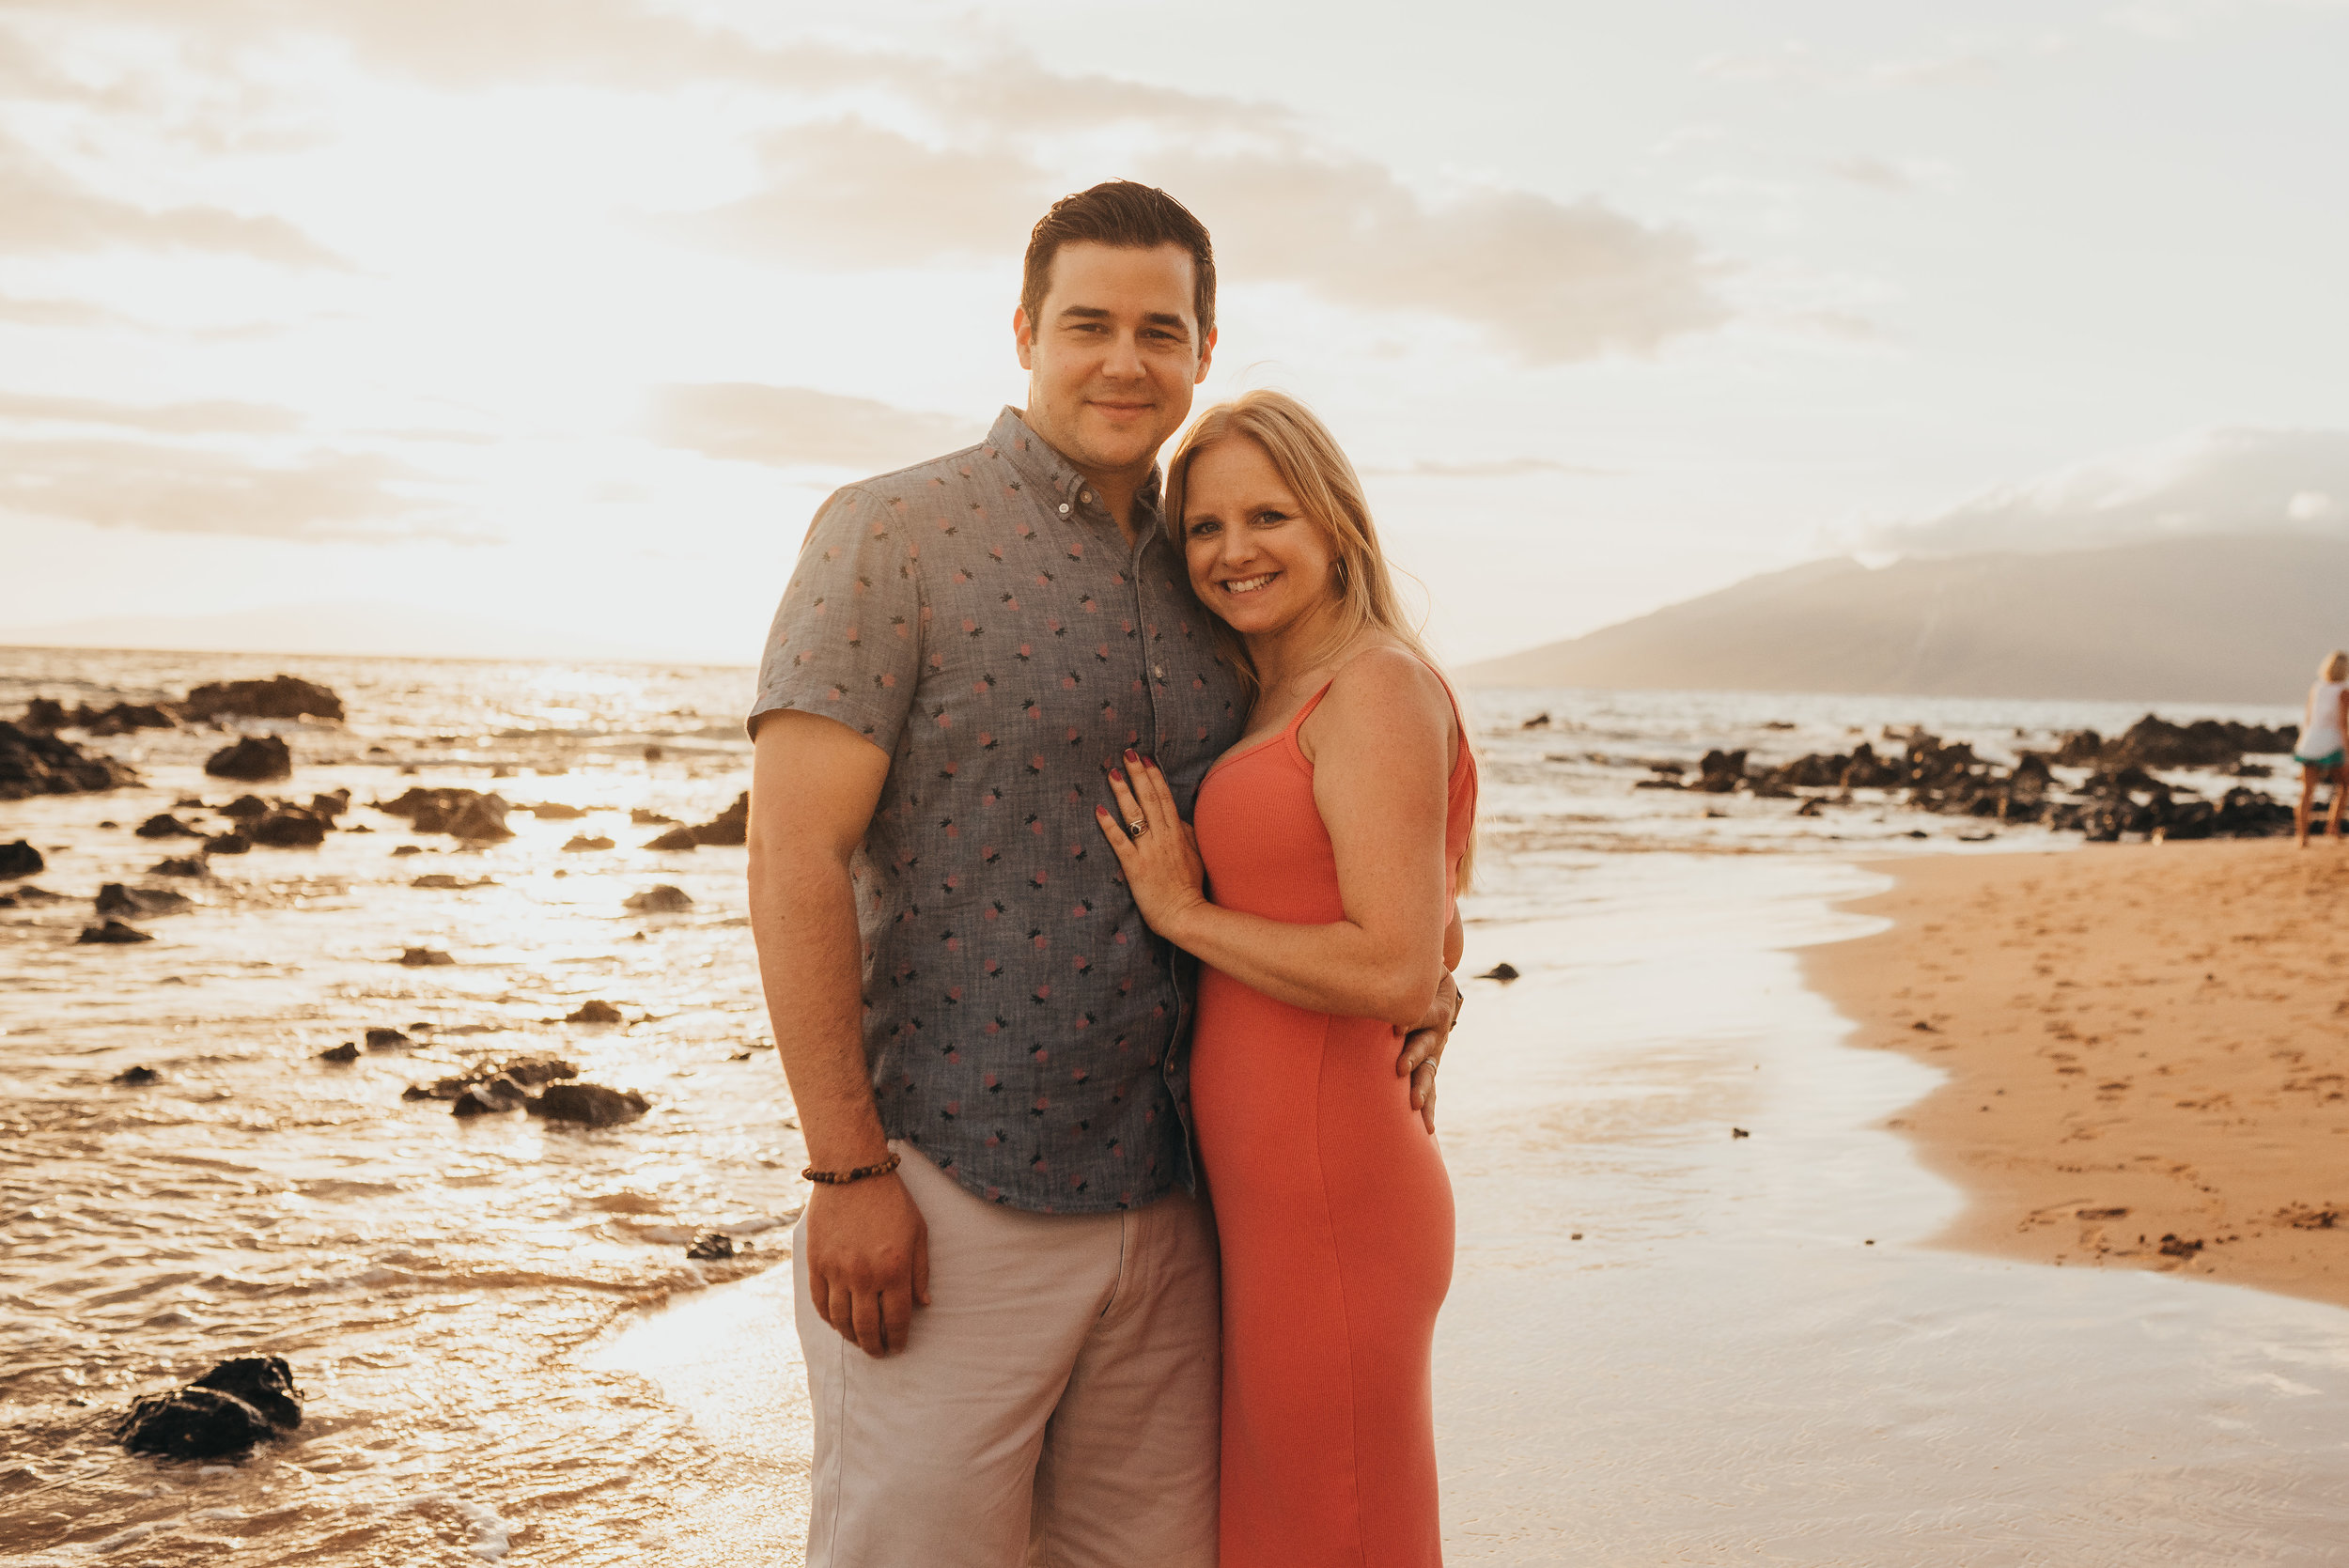
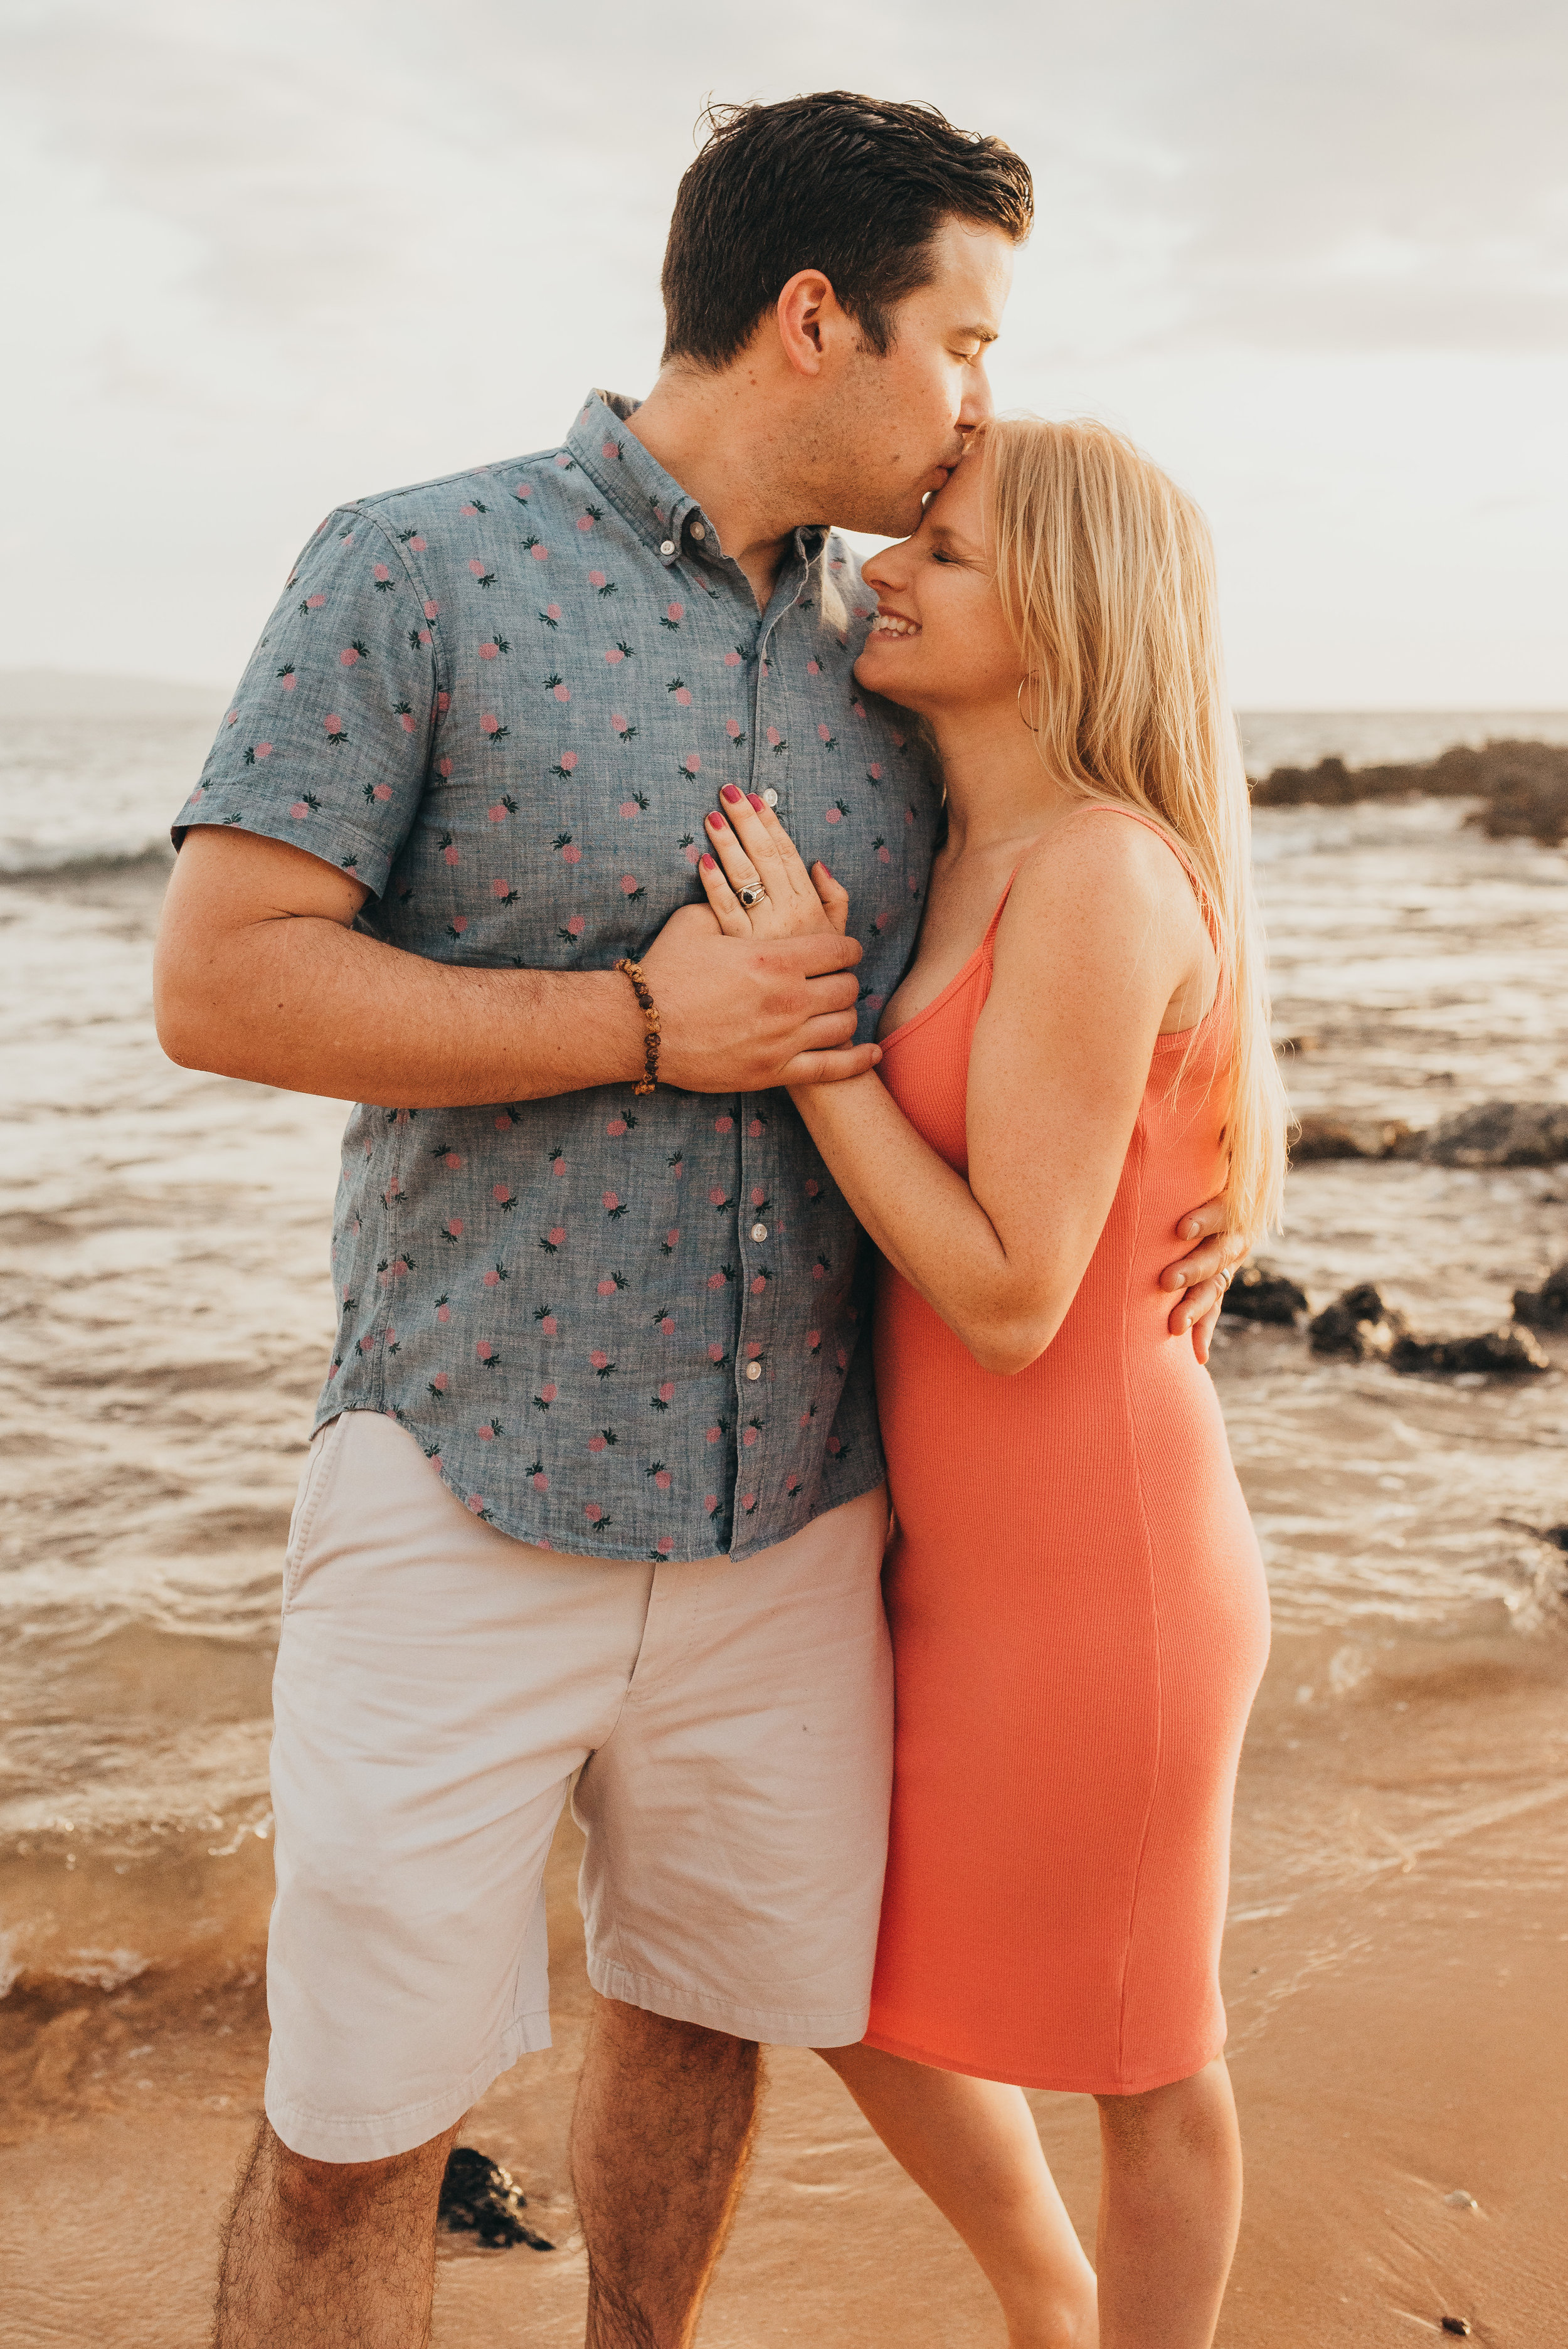
To be clear, these photos were taken at sunset, in Maui. So I had some advantages to begin with because the location was absolutely gorgeous. But at the same time, I was careful to make sure I picked a location and a time that was going to make my photos absolutely the best. I adore golden hour photos, and I always love beach photos. So prior to even leaving for Maui, I spent time looking for a location near our house that I could use to take our sunset family photos.
Here are the things you’ll need to do your own family photos.
1) You will need a camera that has an interval timer on it. I have a Fuji and a Nikon and both of them have an interval timer.
2) You will also need a tripod. It’s especially nice to have a tripod with a quick release so that you can take the family photos that you’re in and photos where you are actually holding the camera without having a lot of transition between those two things.
Put the camera on the tripod, and set up your shot. Have someone stand where you’re planning to take the photos so that you can make sure your exposure and white balance and composition are correct. Also make a mental note of how much space you have in the picture around that person. You want to make sure that when you are directing people everybody is still in the frame.
Once all of your settings are where you want them, take a test photo just to make sure that it really looks like you think it’s gonna look.
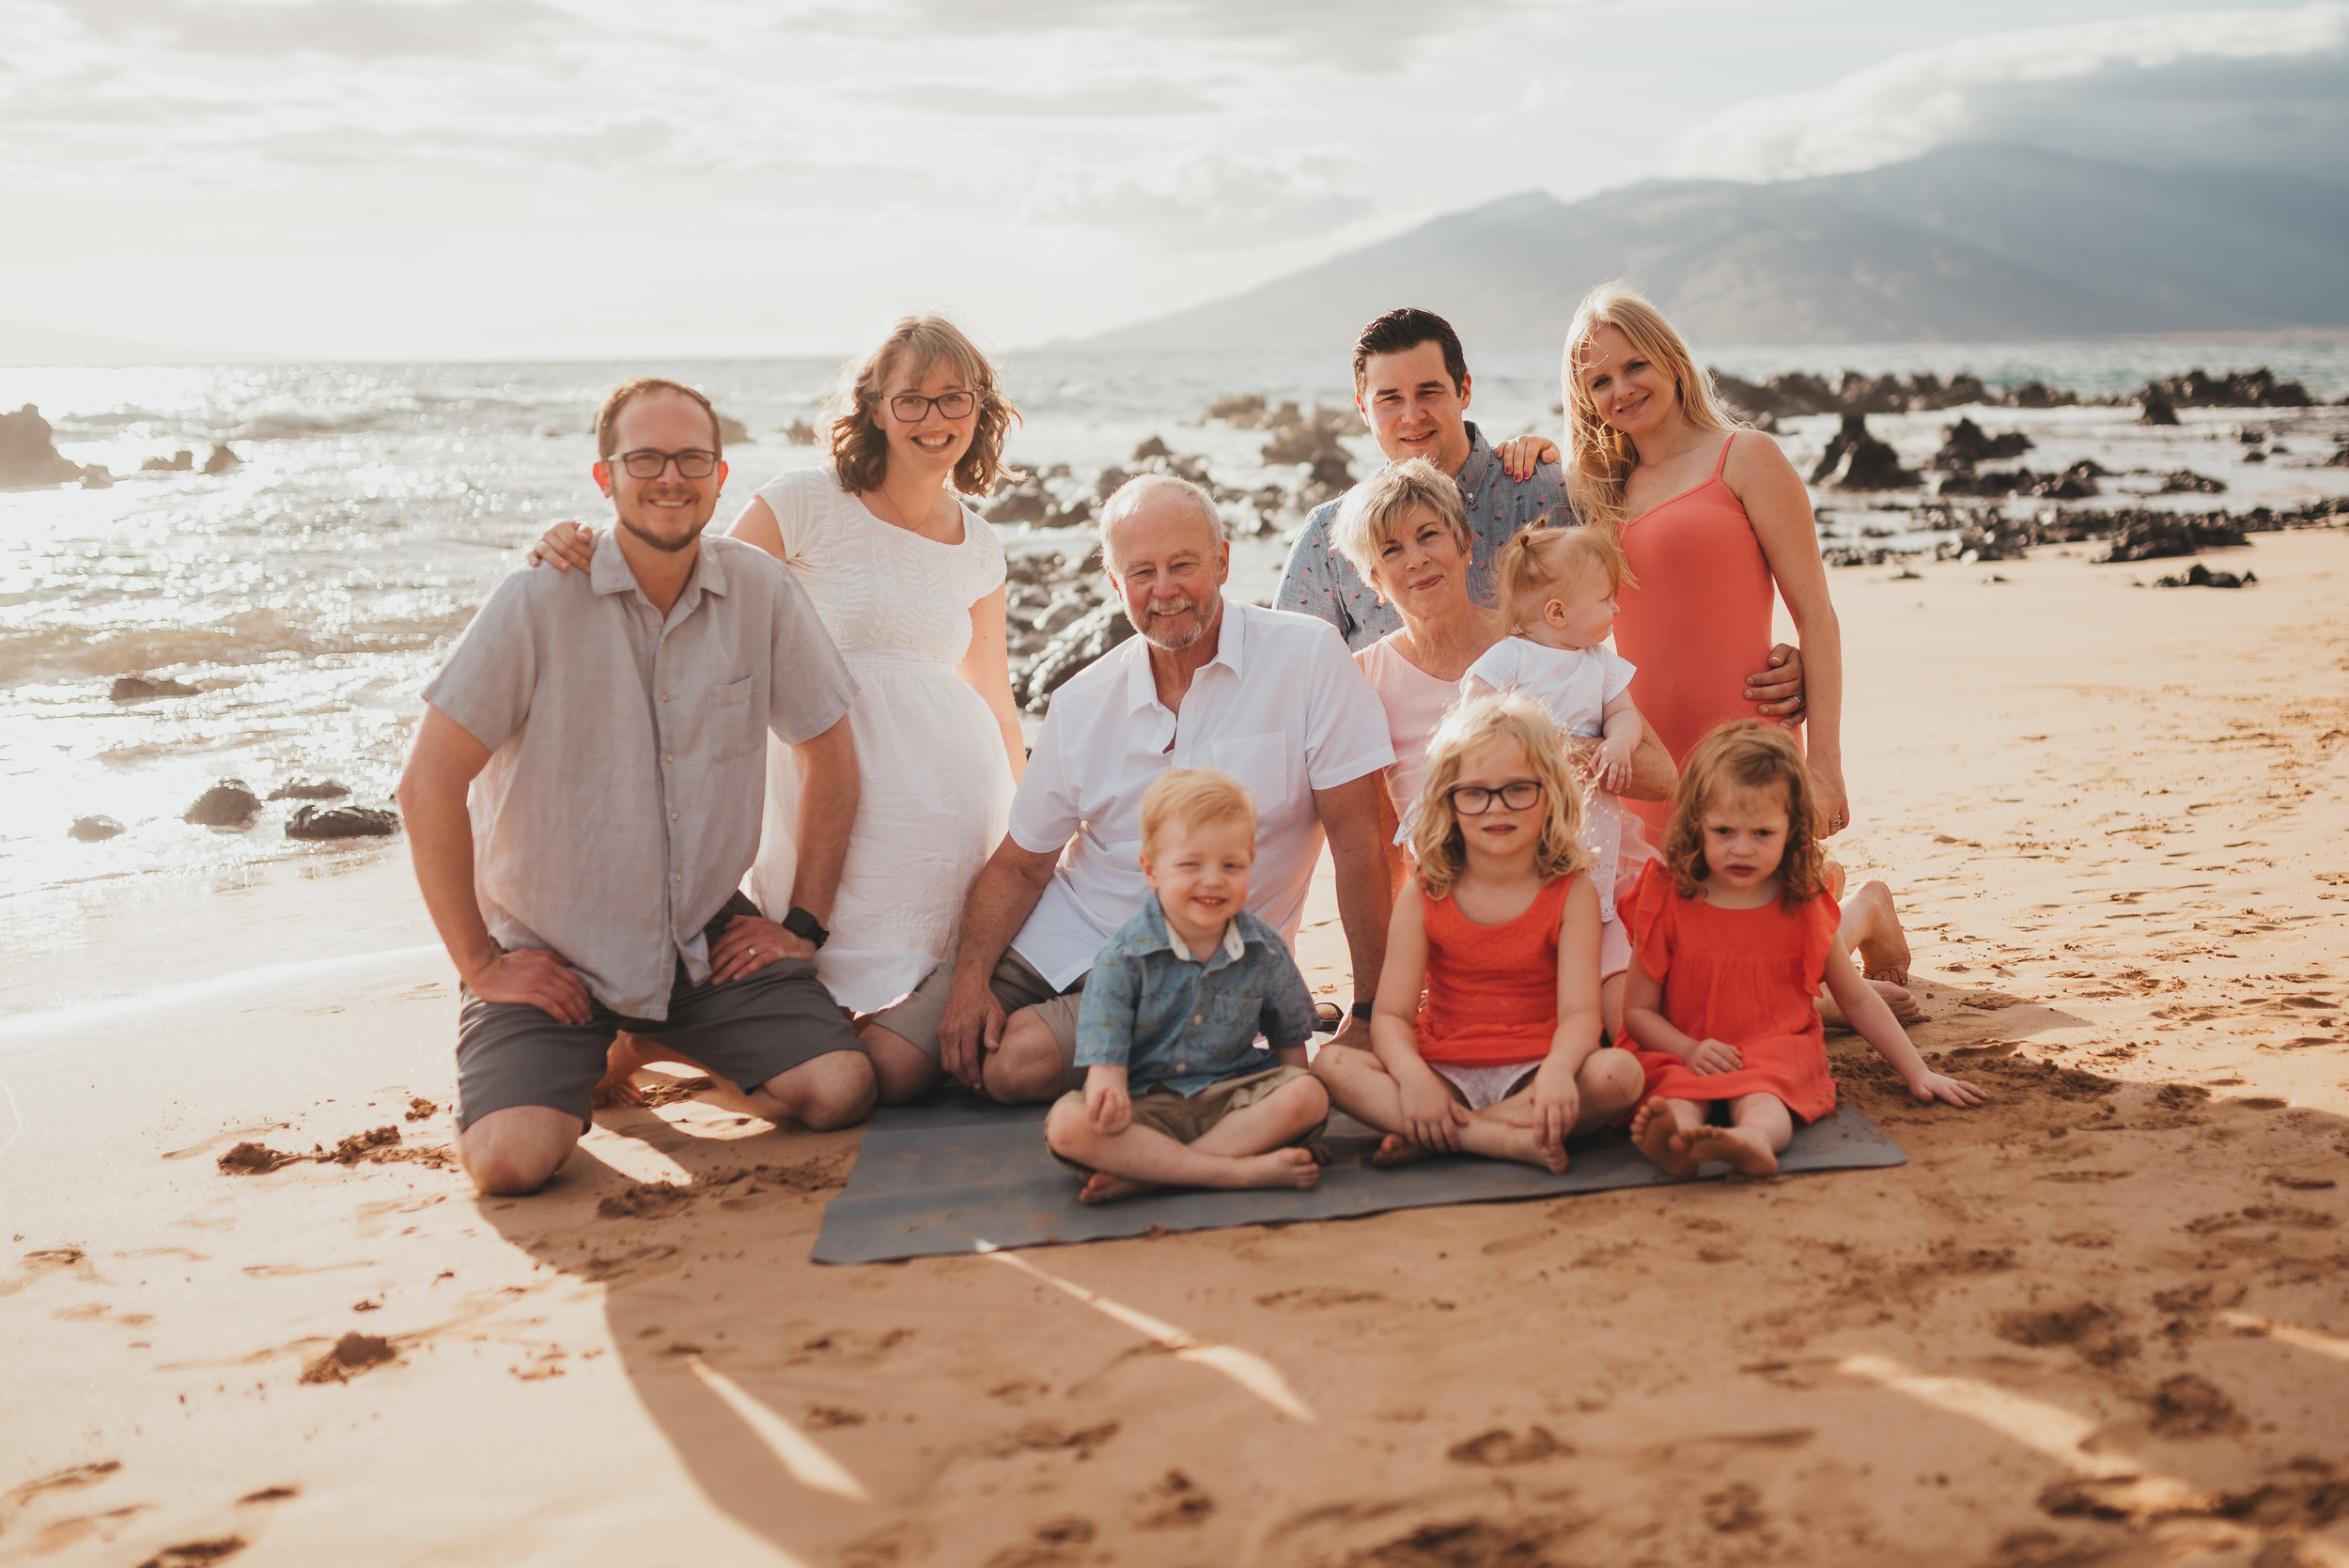
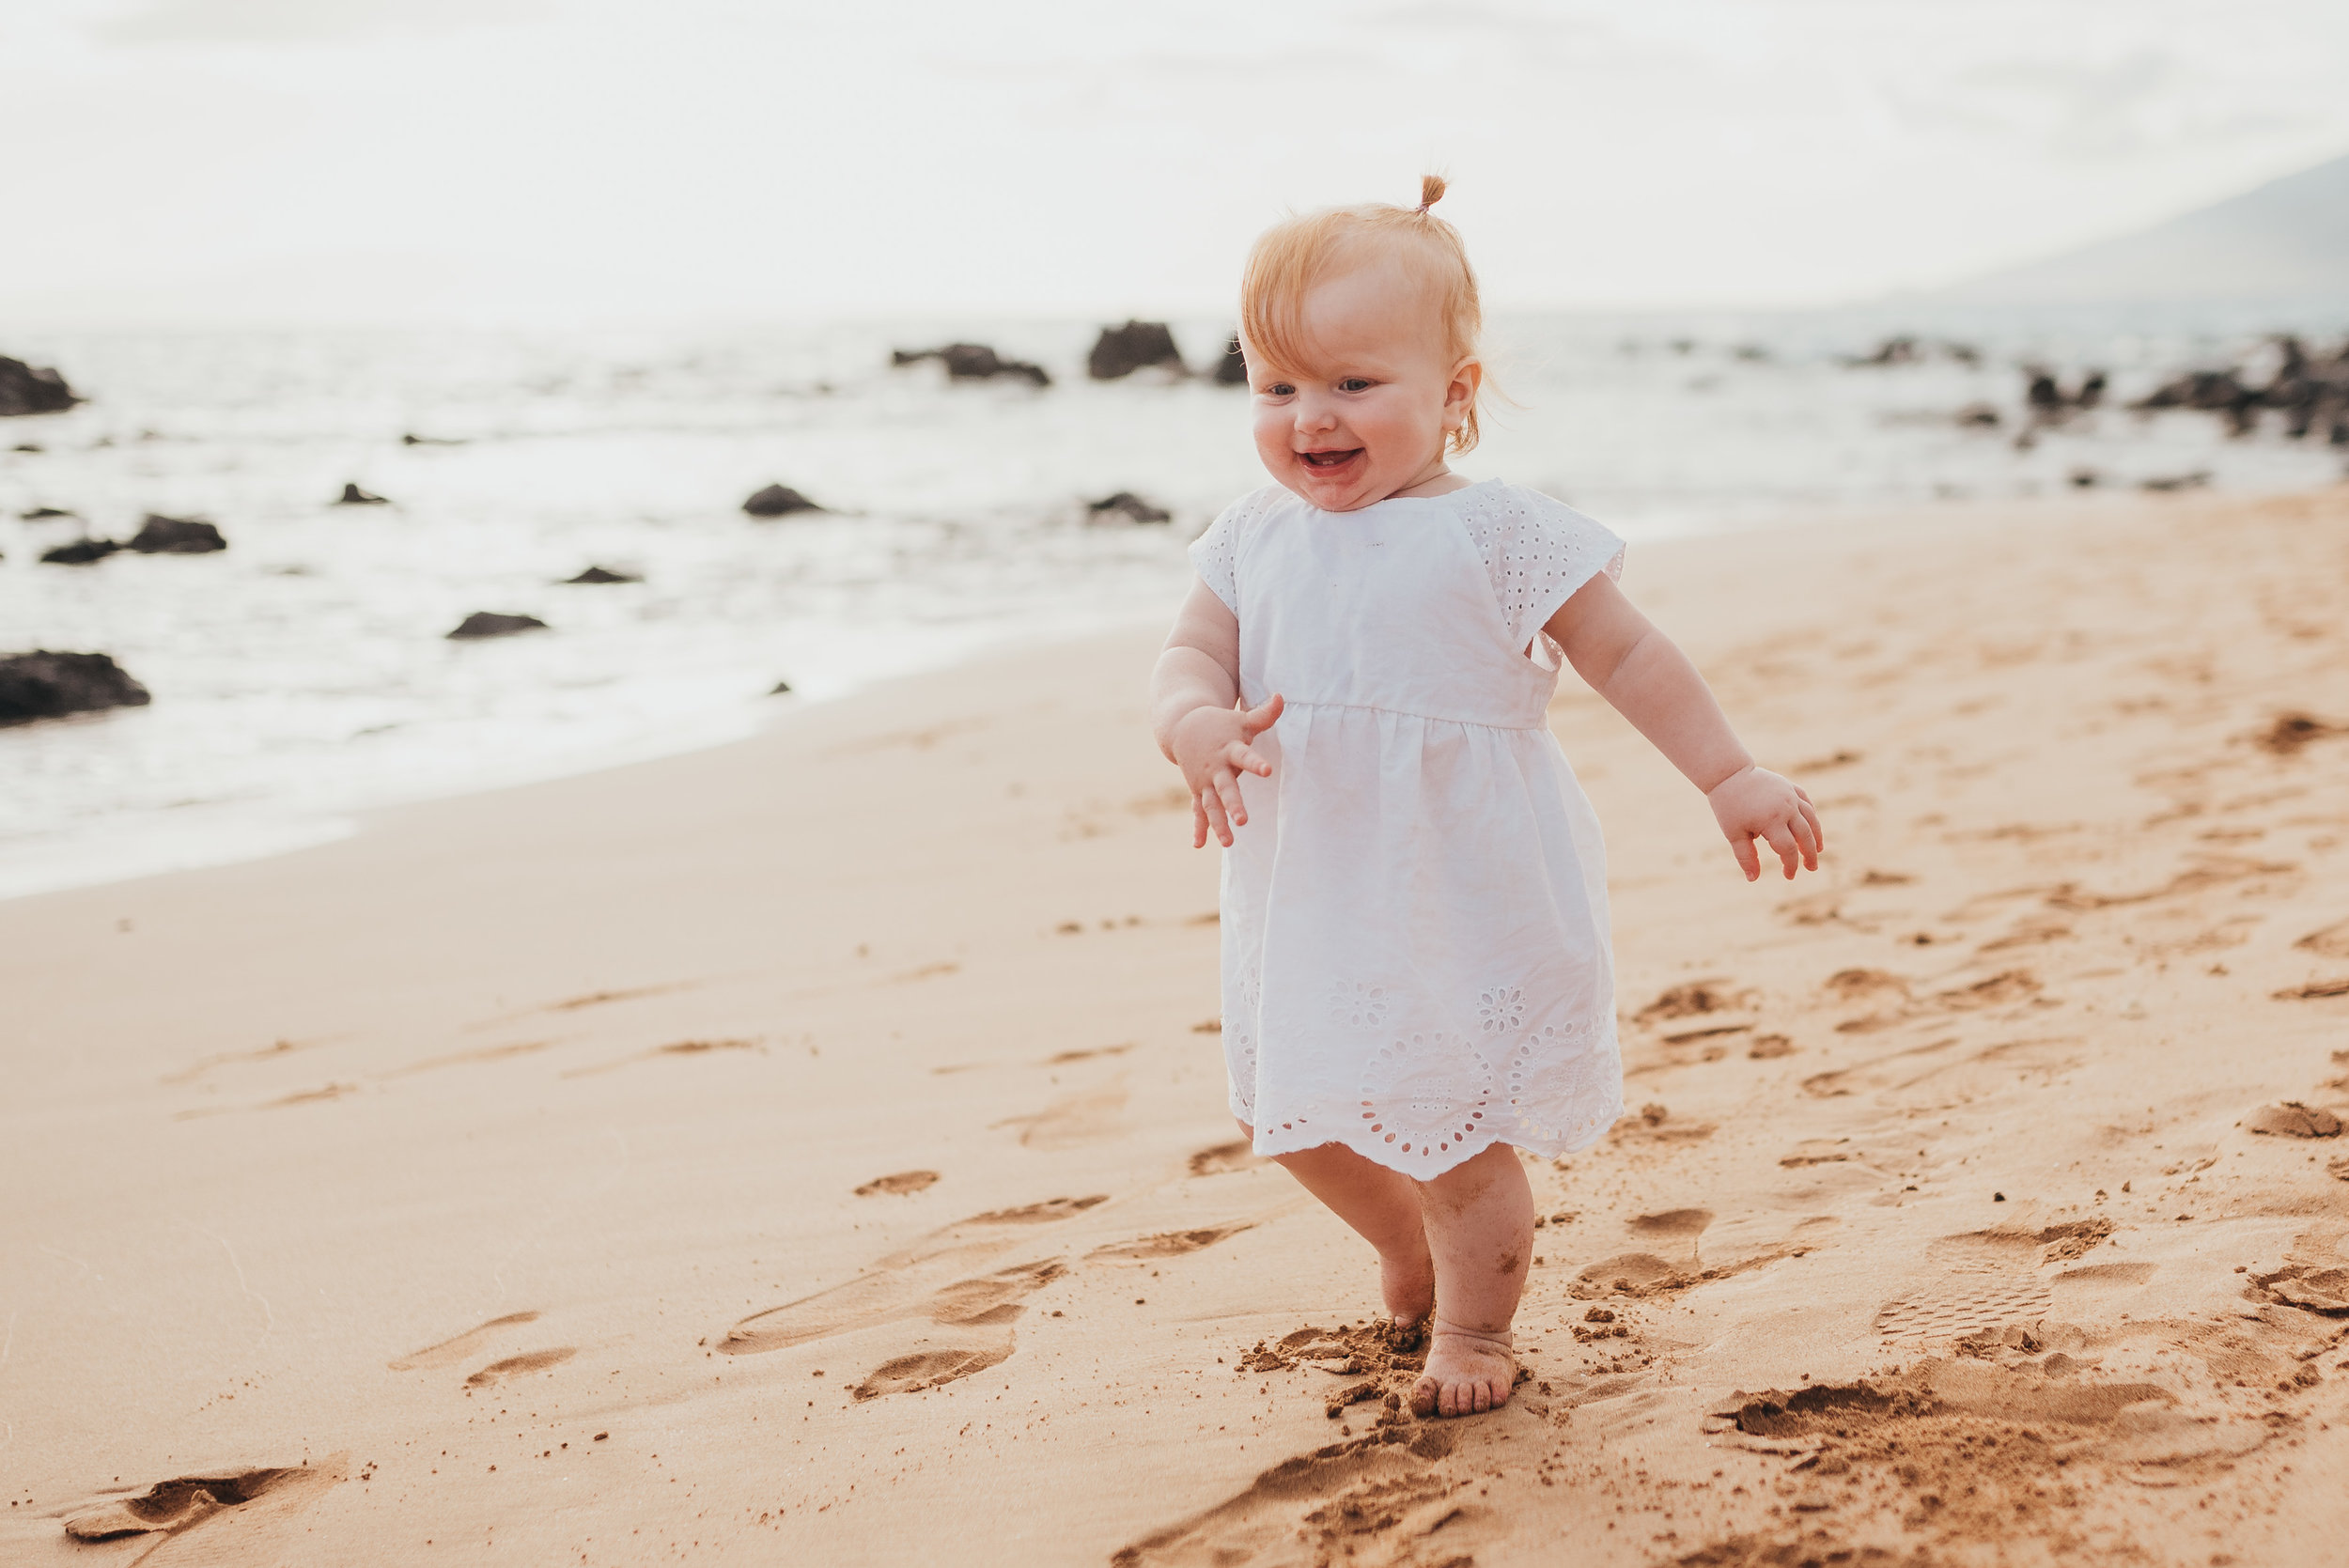
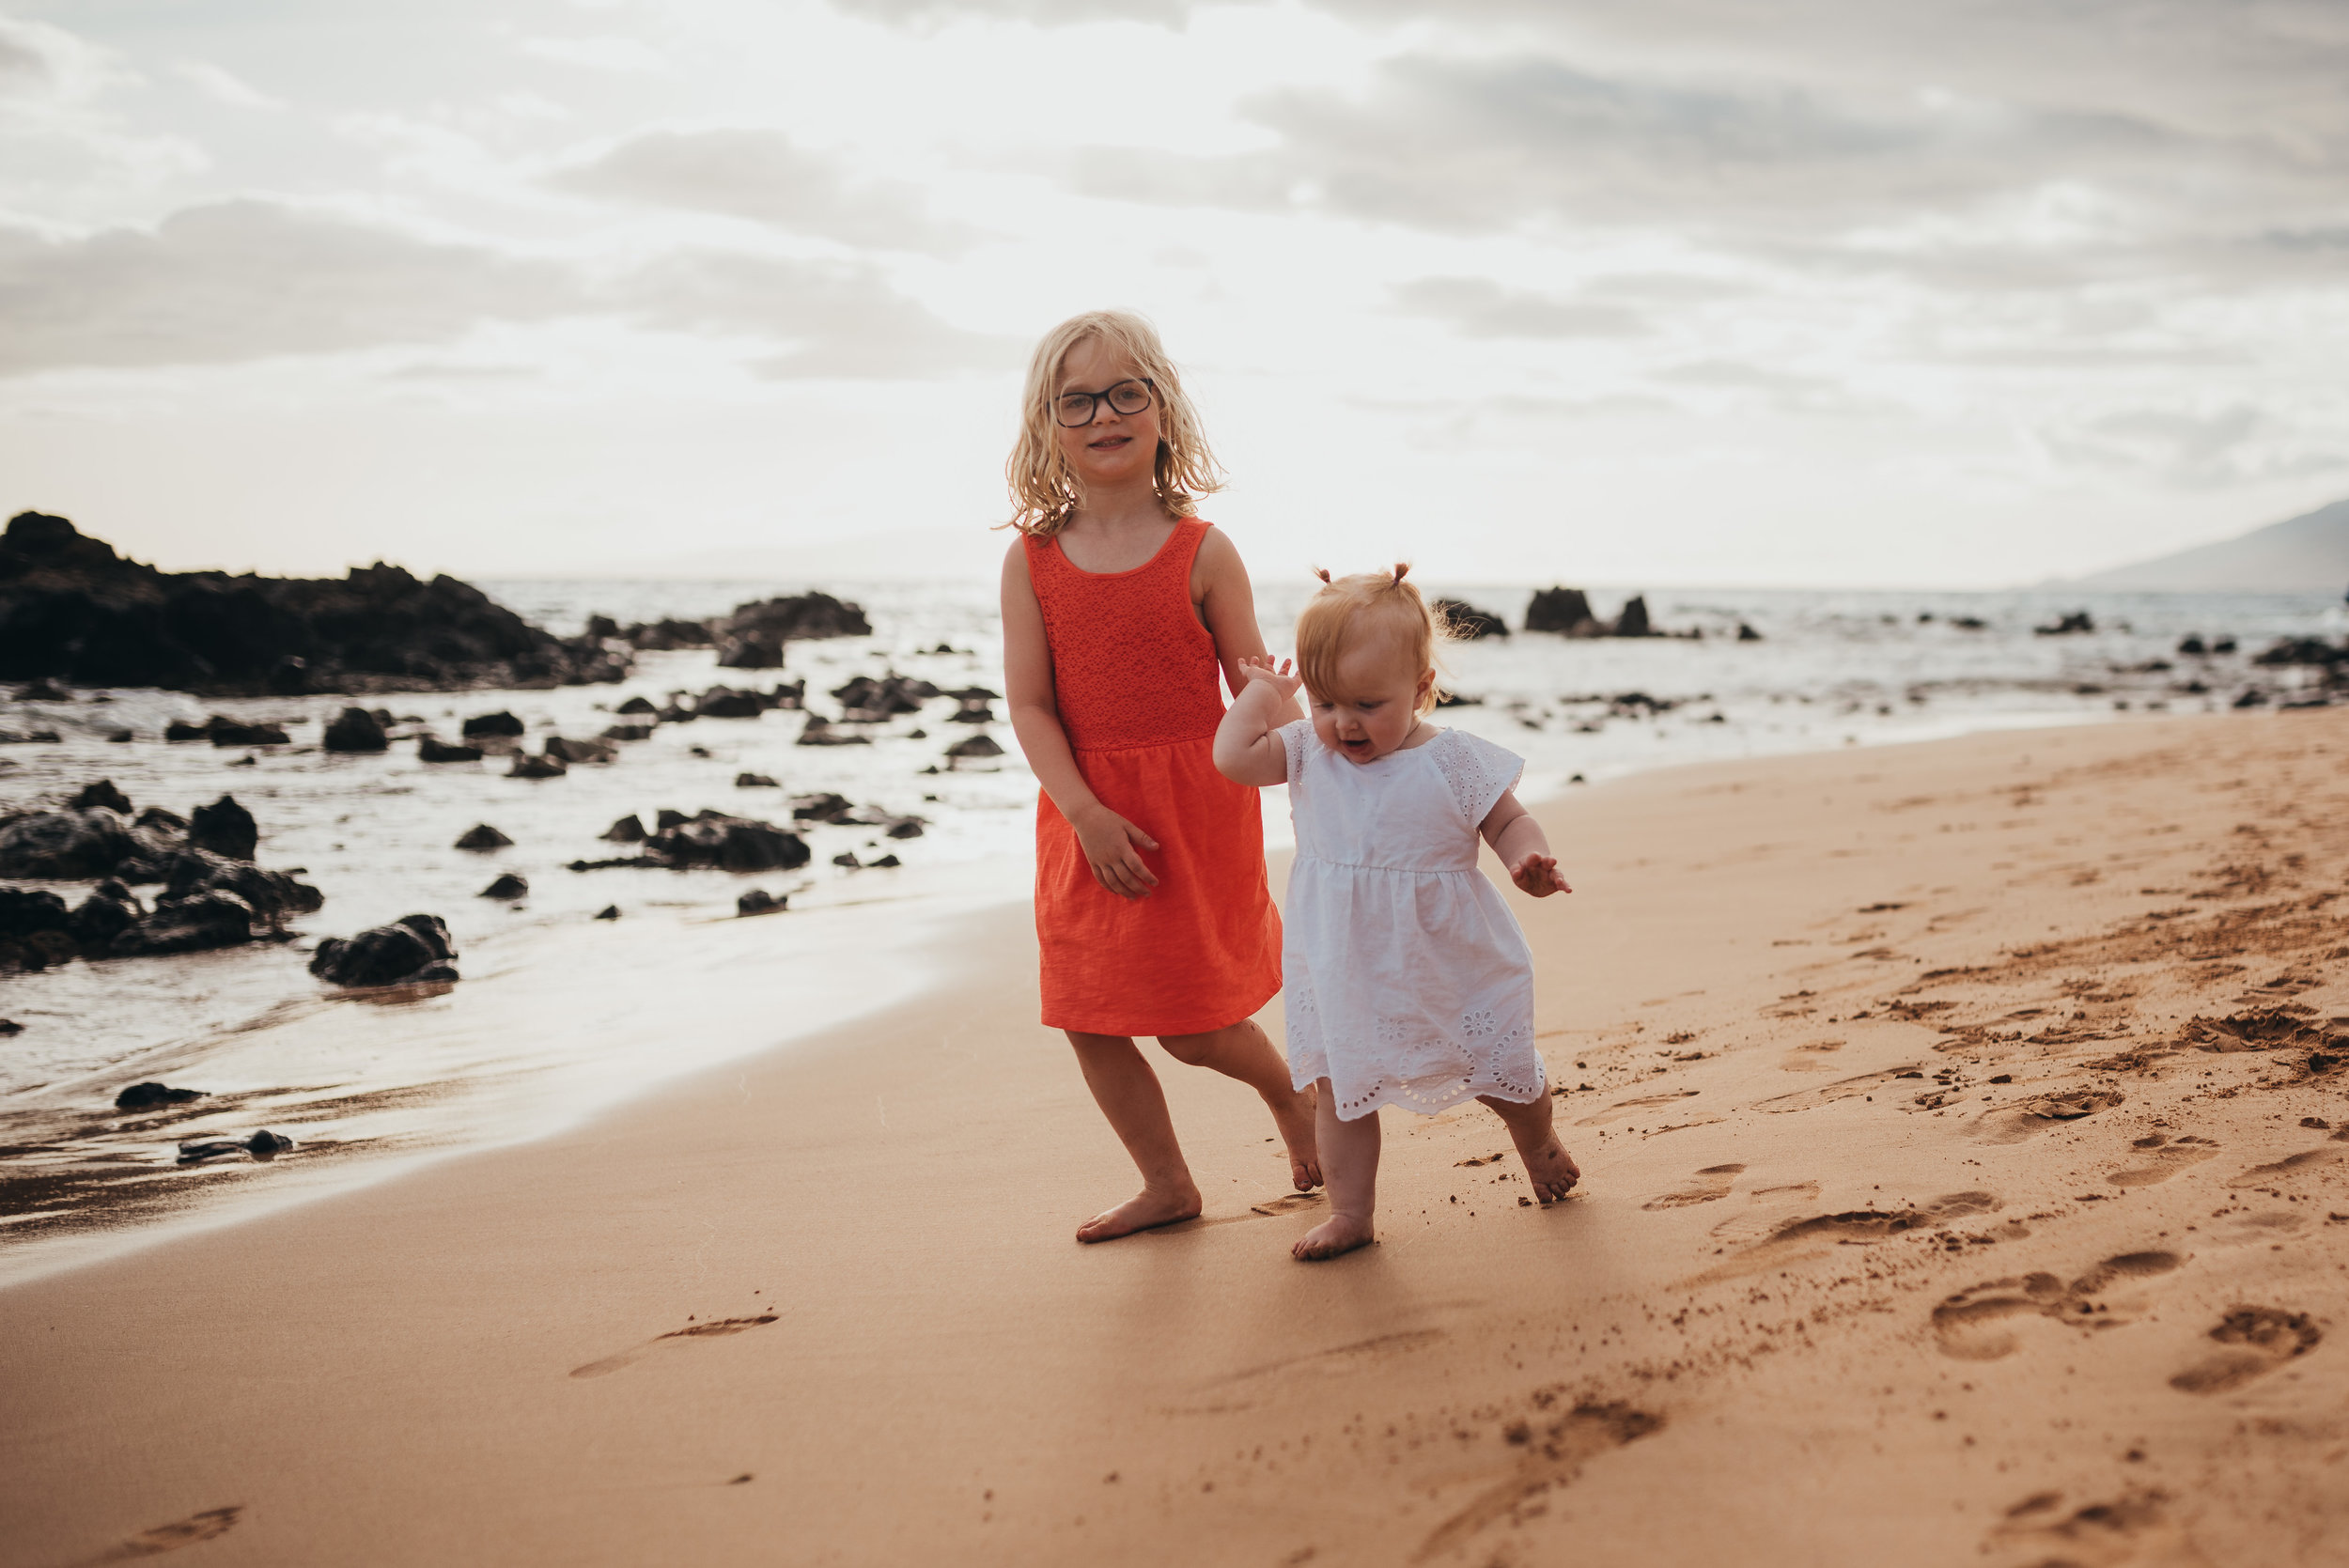
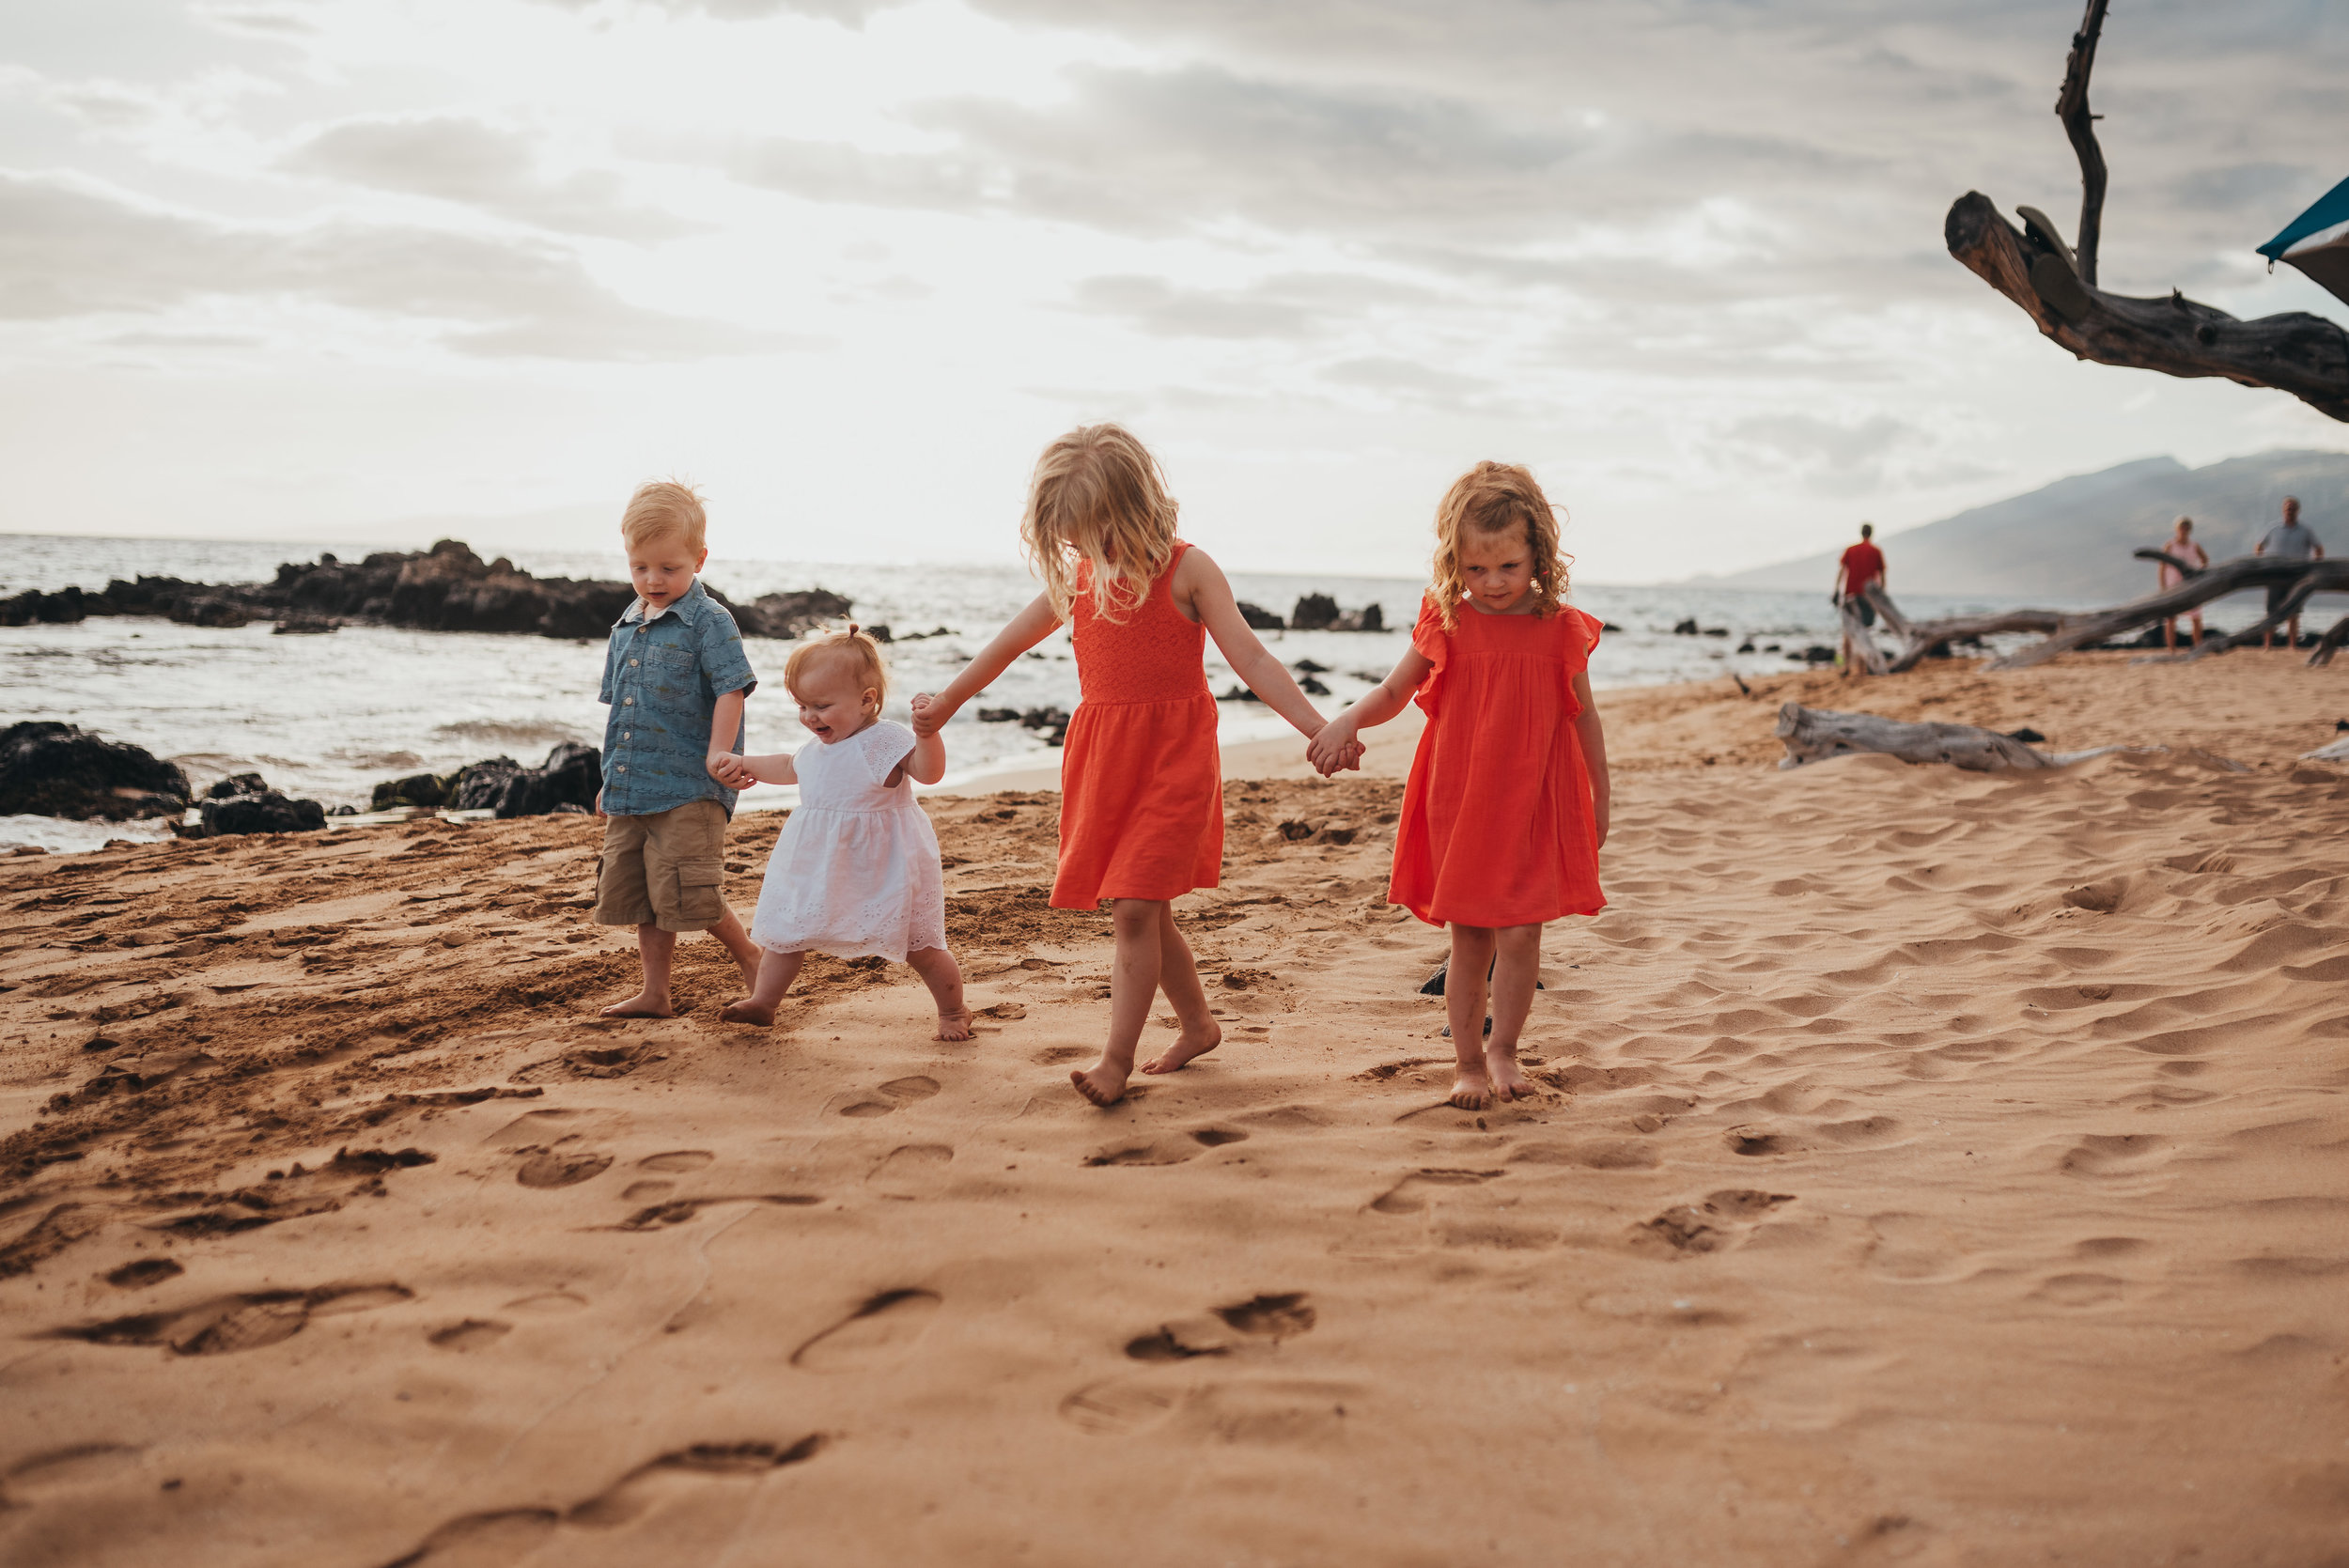
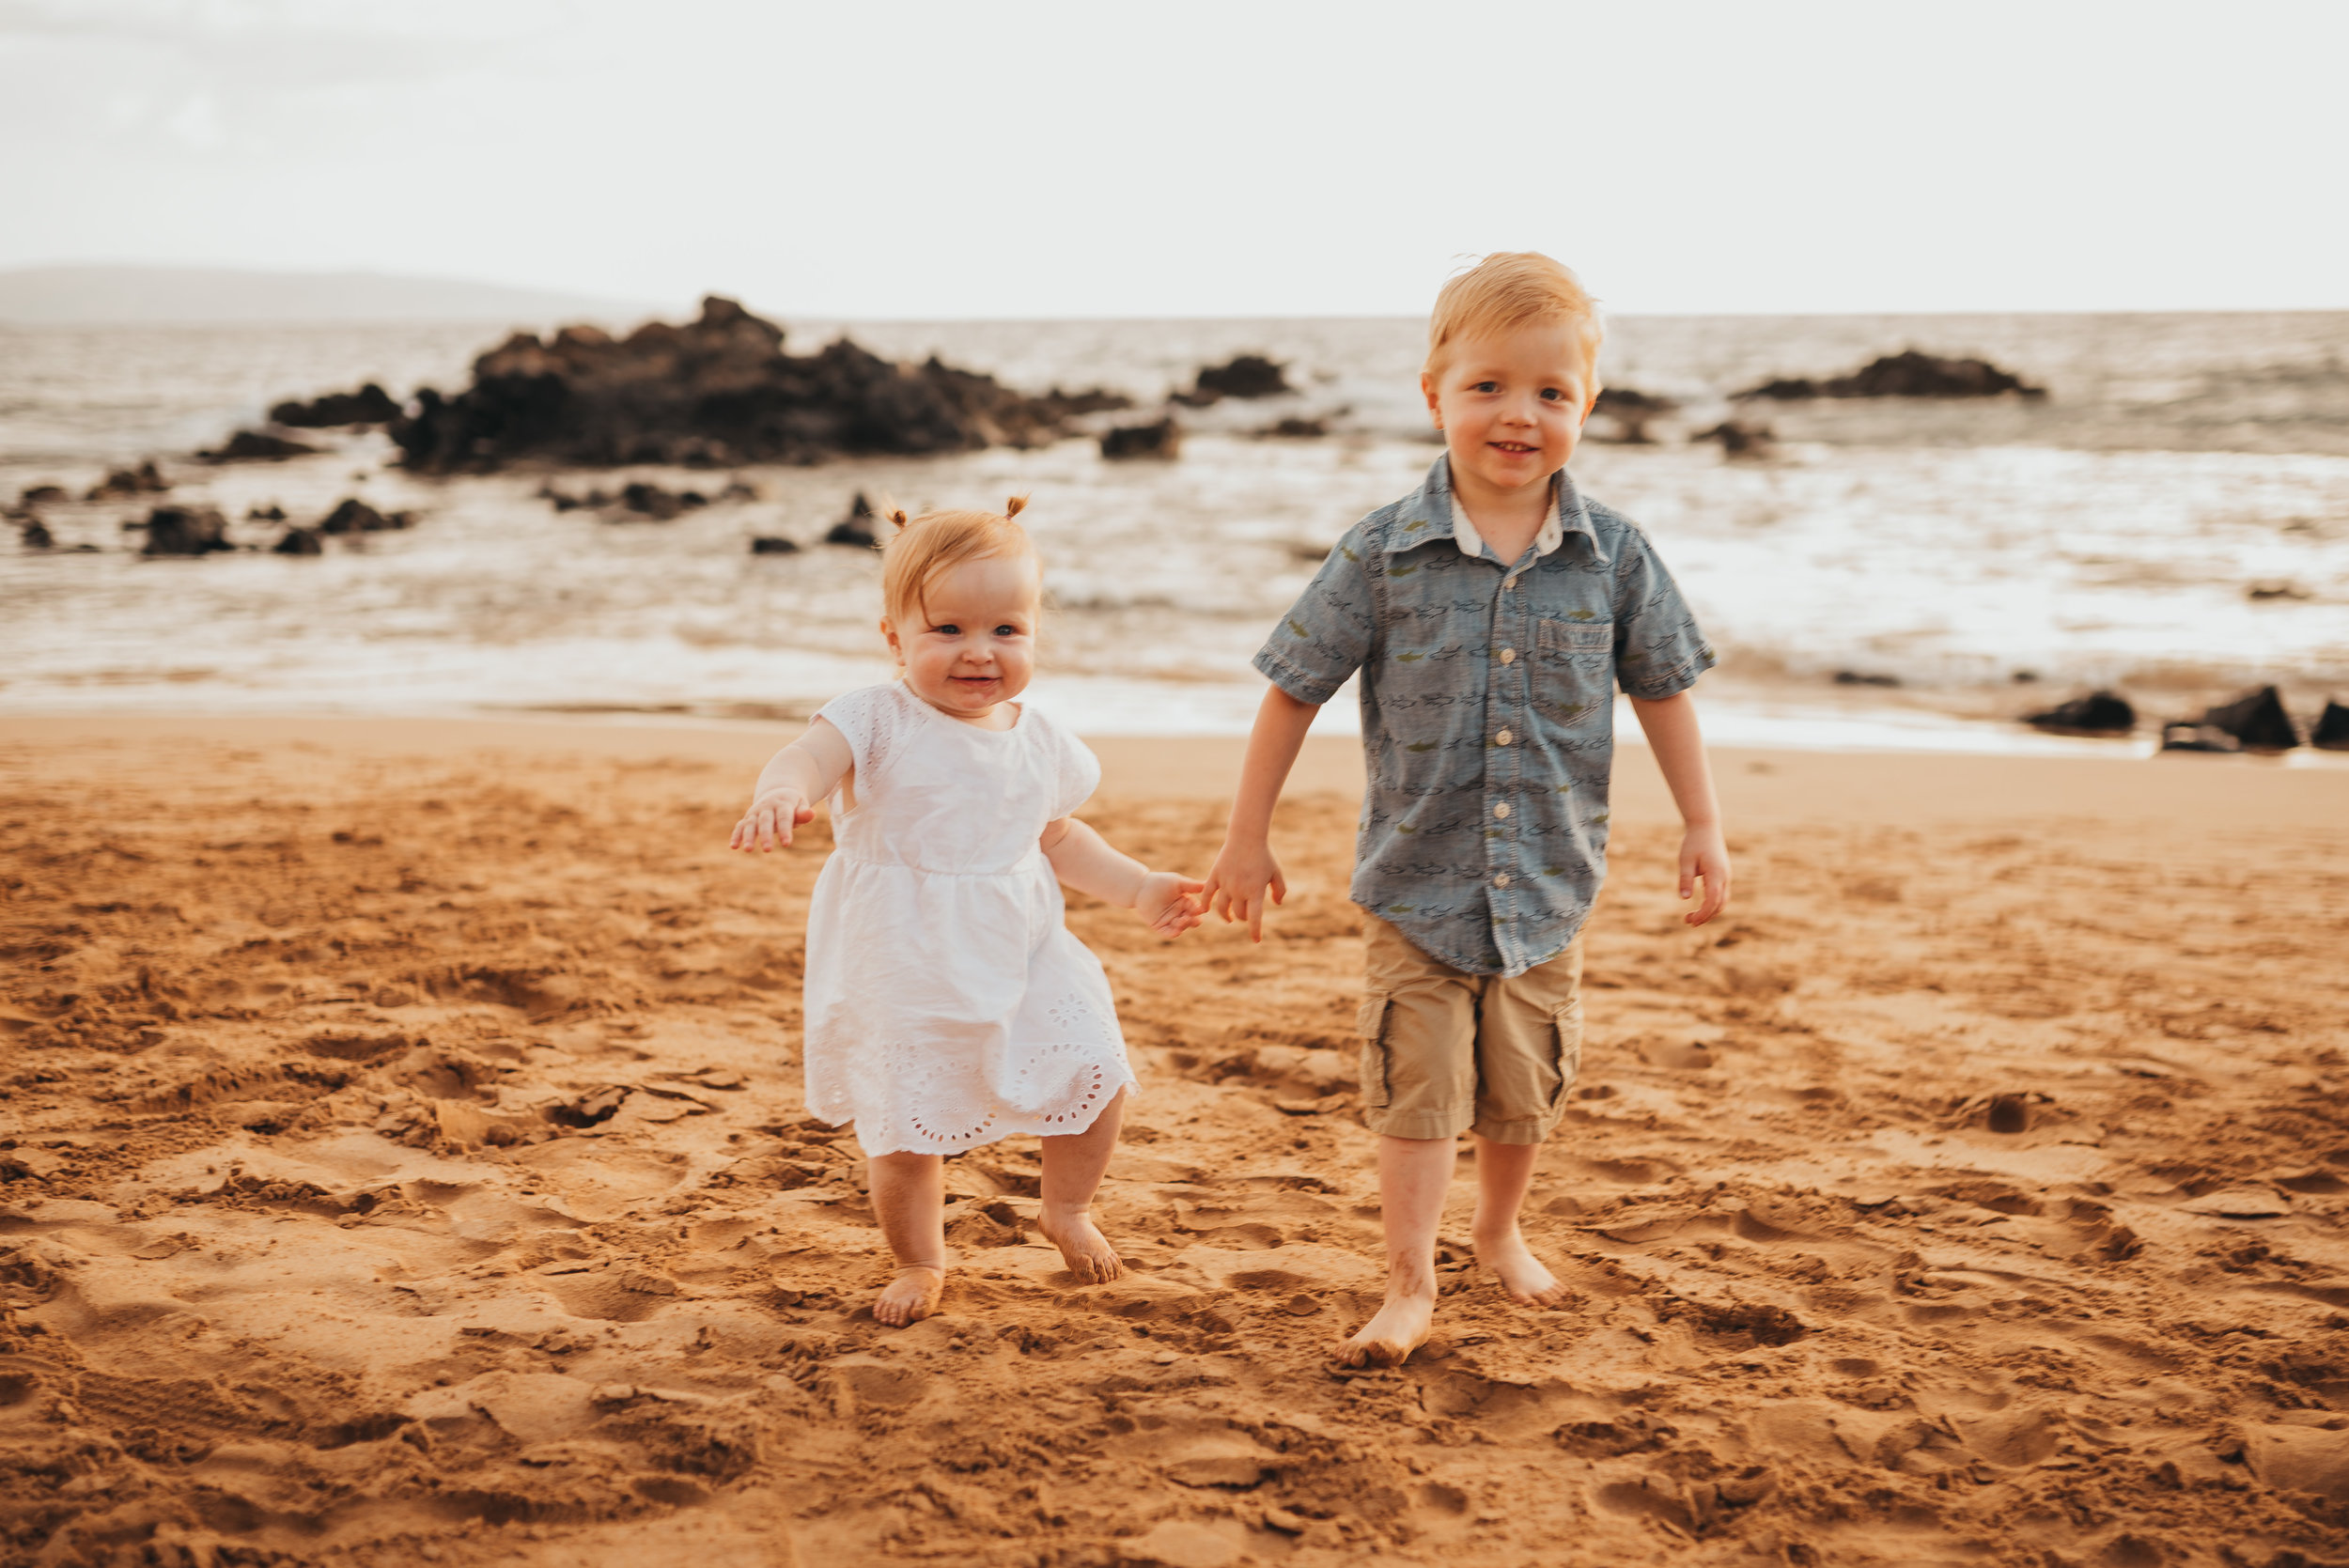
What’s that’s all set up, it’s time to turn on the interval timer. Get familiar with the timer in advance of the shoot - I found blogs that walked me through all the settings and what they meant. I found it was best to take a picture every second. I generally have the camera take about 200 photos in each batch of interval photos. This was a lot of photos, I’ll admit. But, it guaranteed that I got the shot. Initially I was taking photos every five seconds and I missed some really great shots of our kids playing together in front of the rest of the family. Lesson learned.
Once it’s all set up, hit go and run into the frame. From here it’s just about coaching like you’re at a normal photo shoot. Talk people through the poses you want them to do, the way you want them to look. It’s probably a good idea to have some go-to poses for each of your groupings in advance. In hindsight I wished I had made a list of groupings and poses for reference
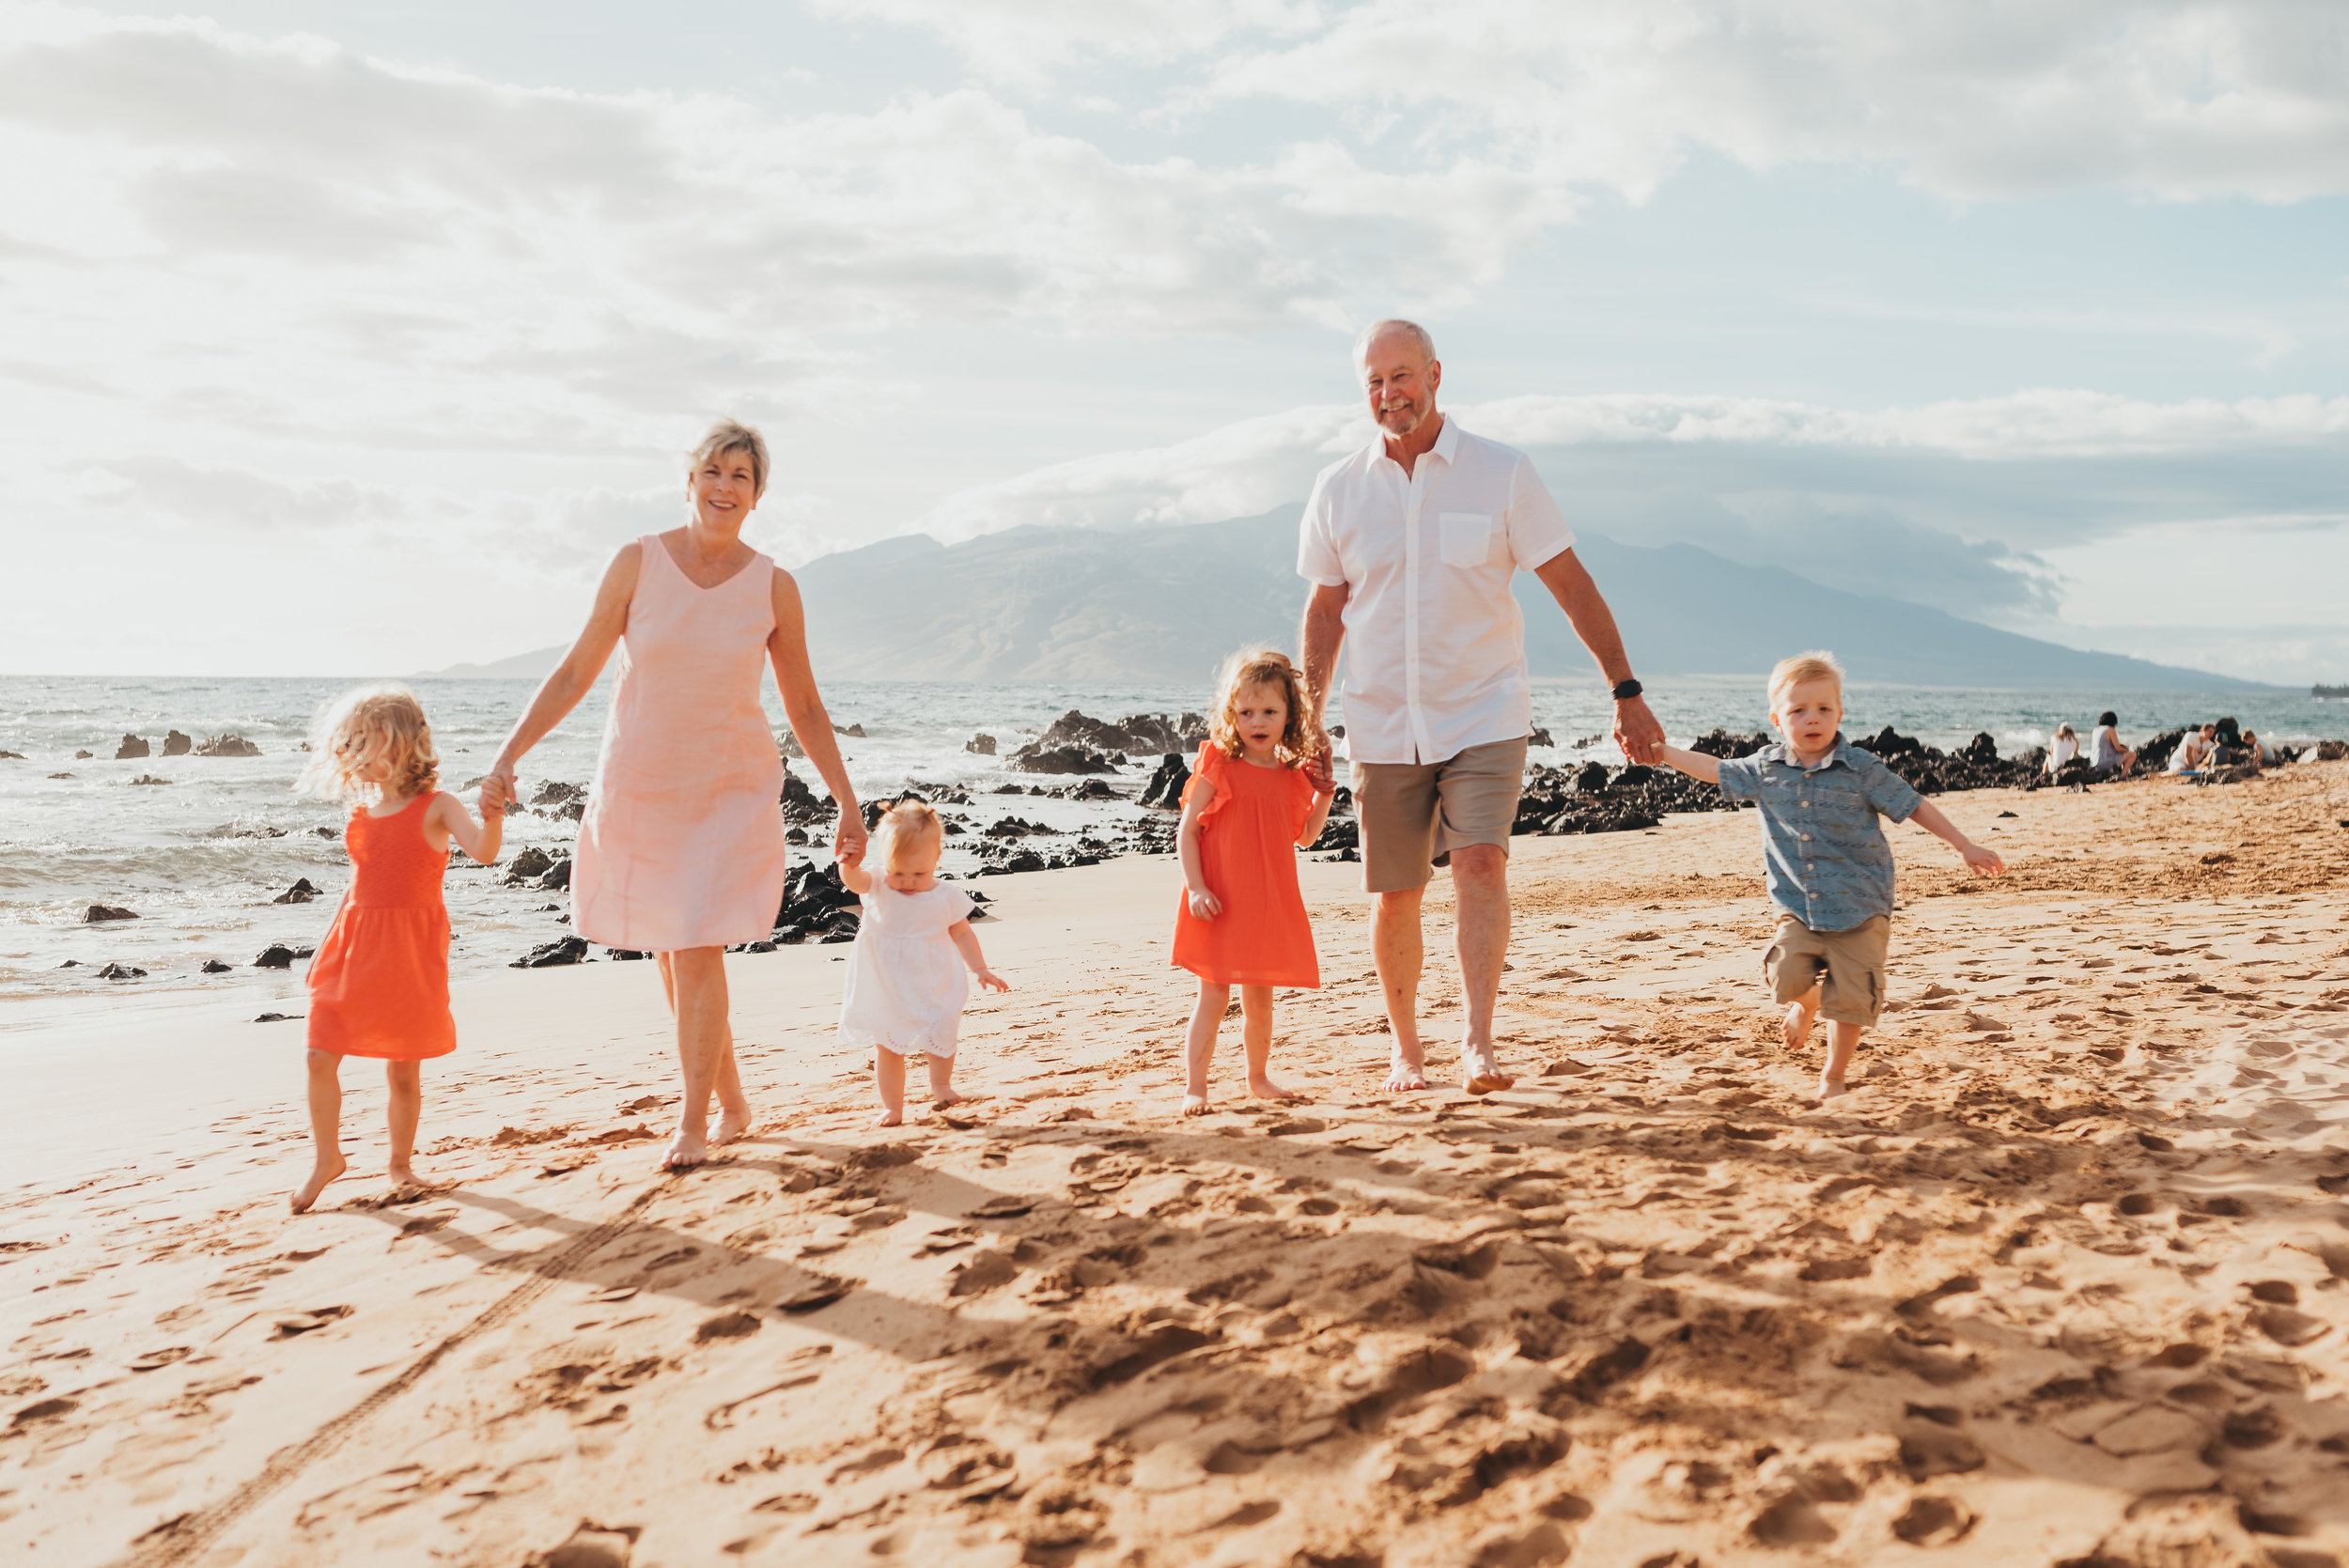
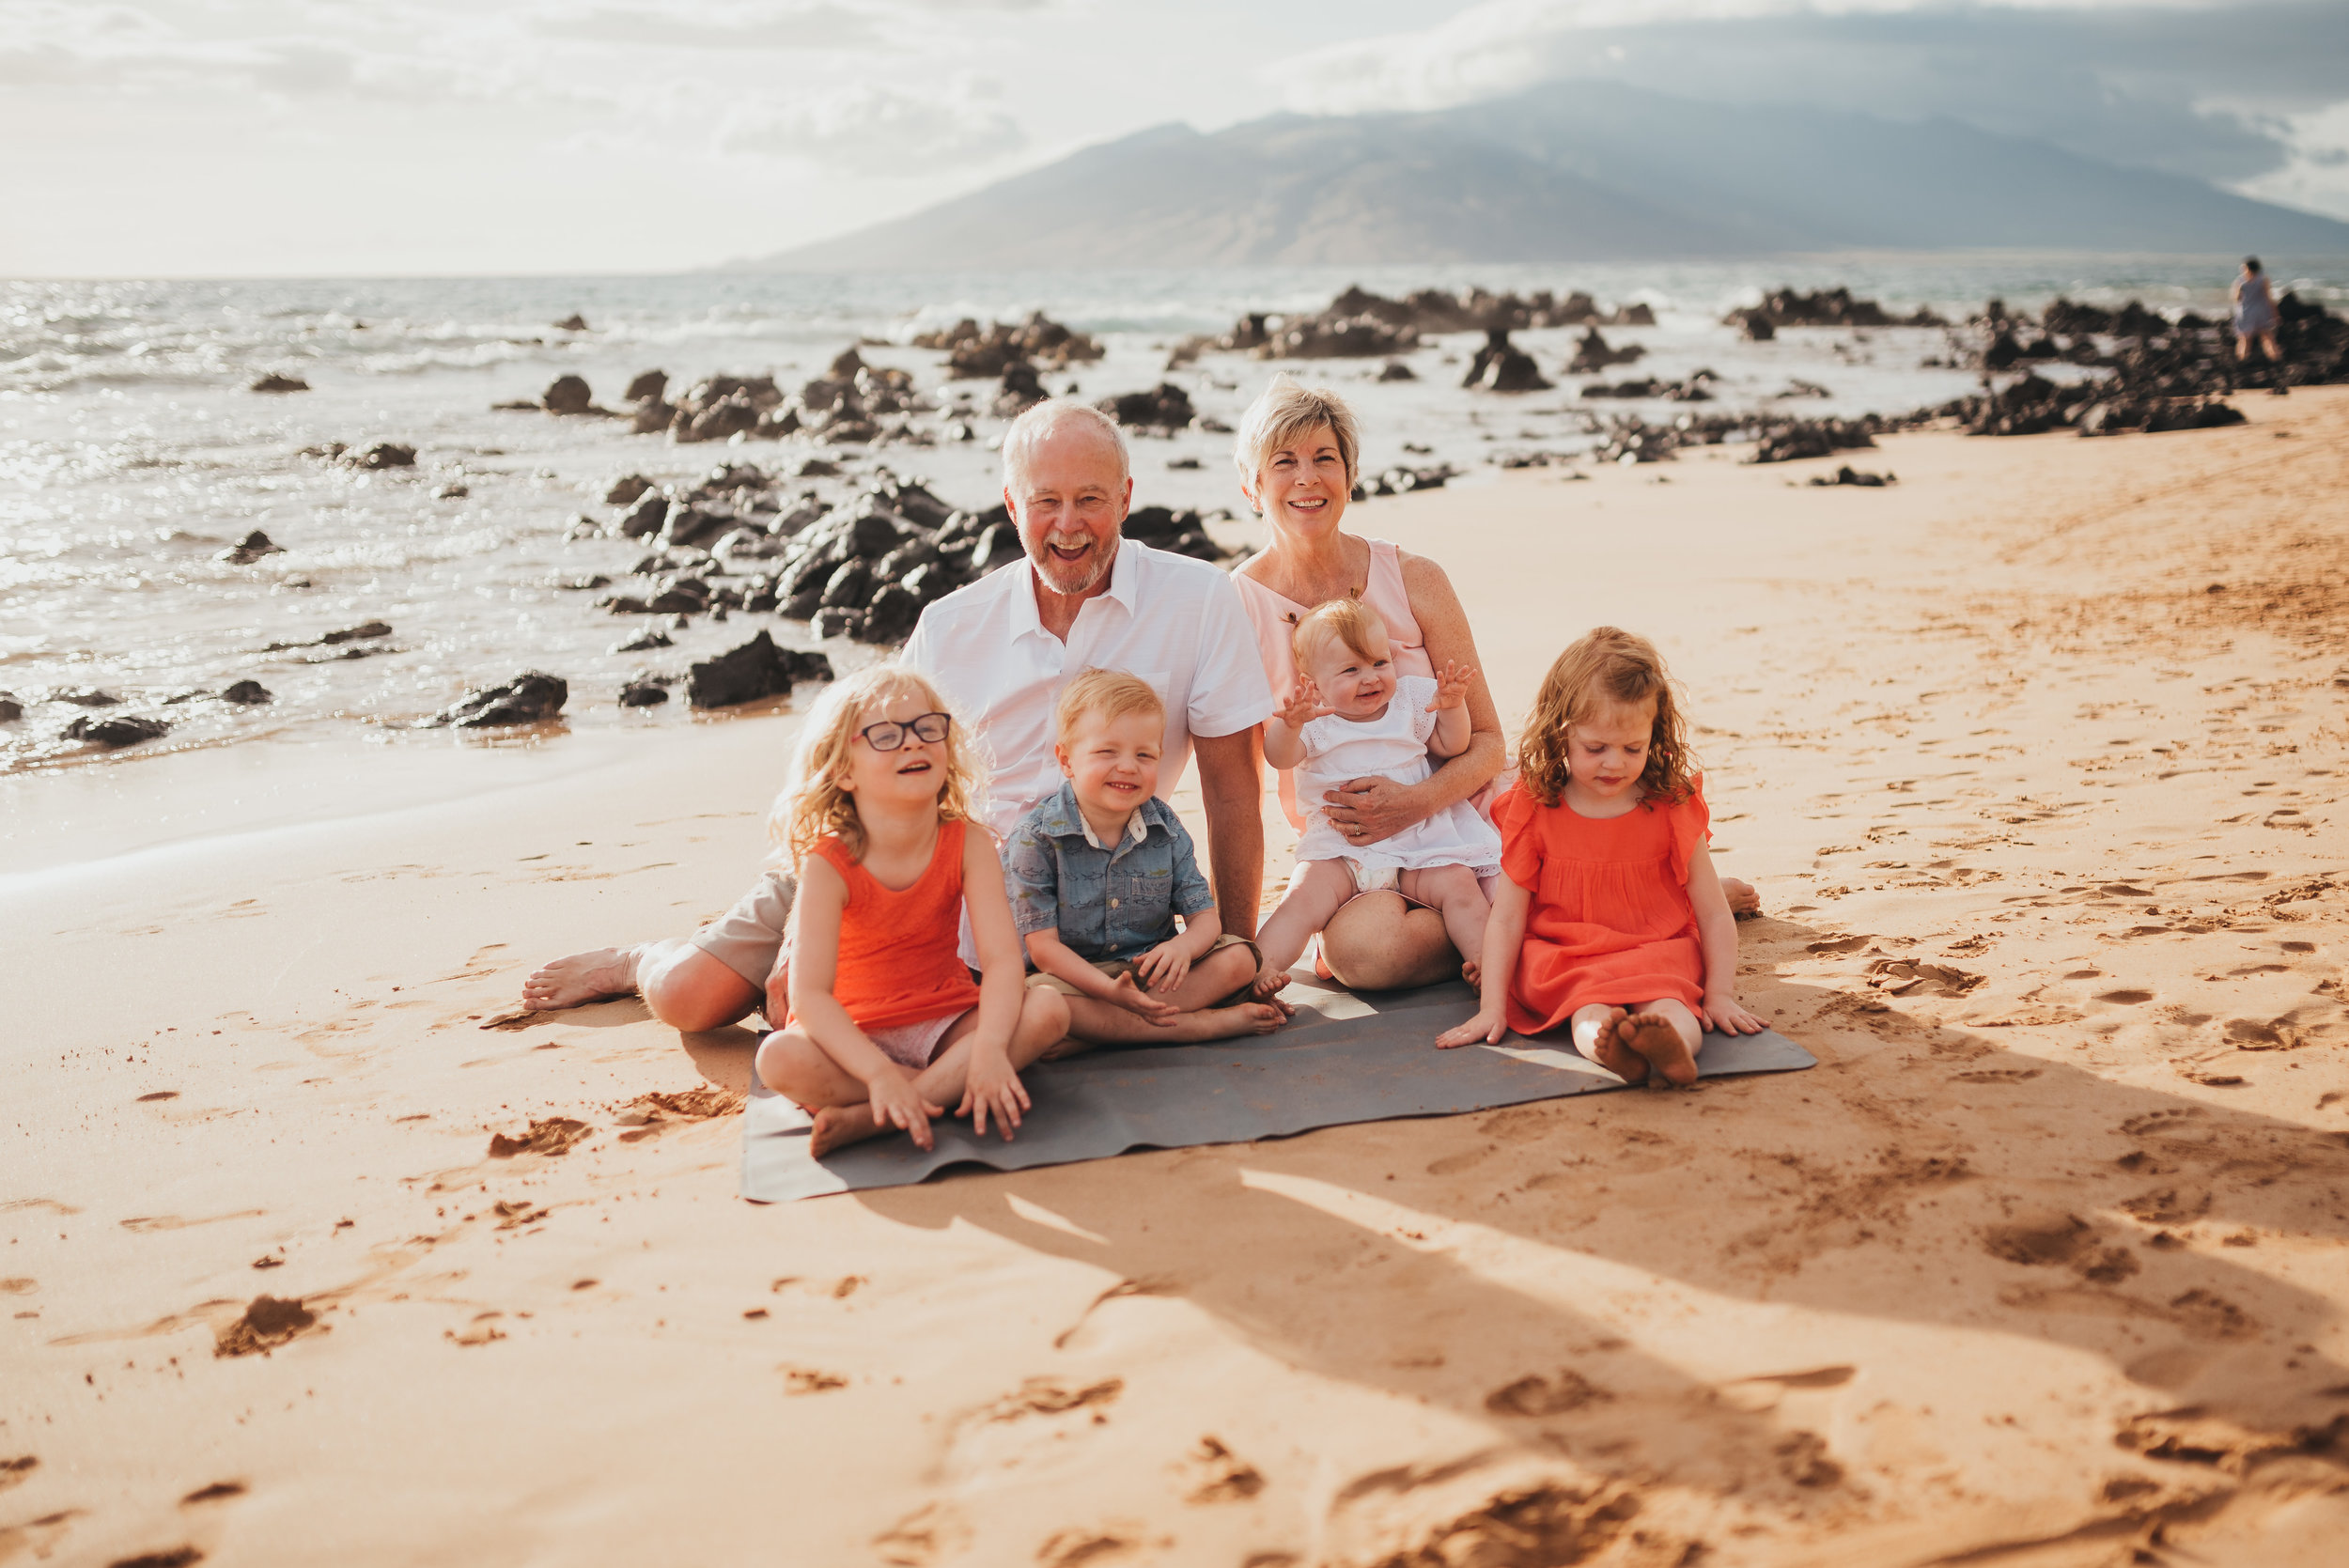
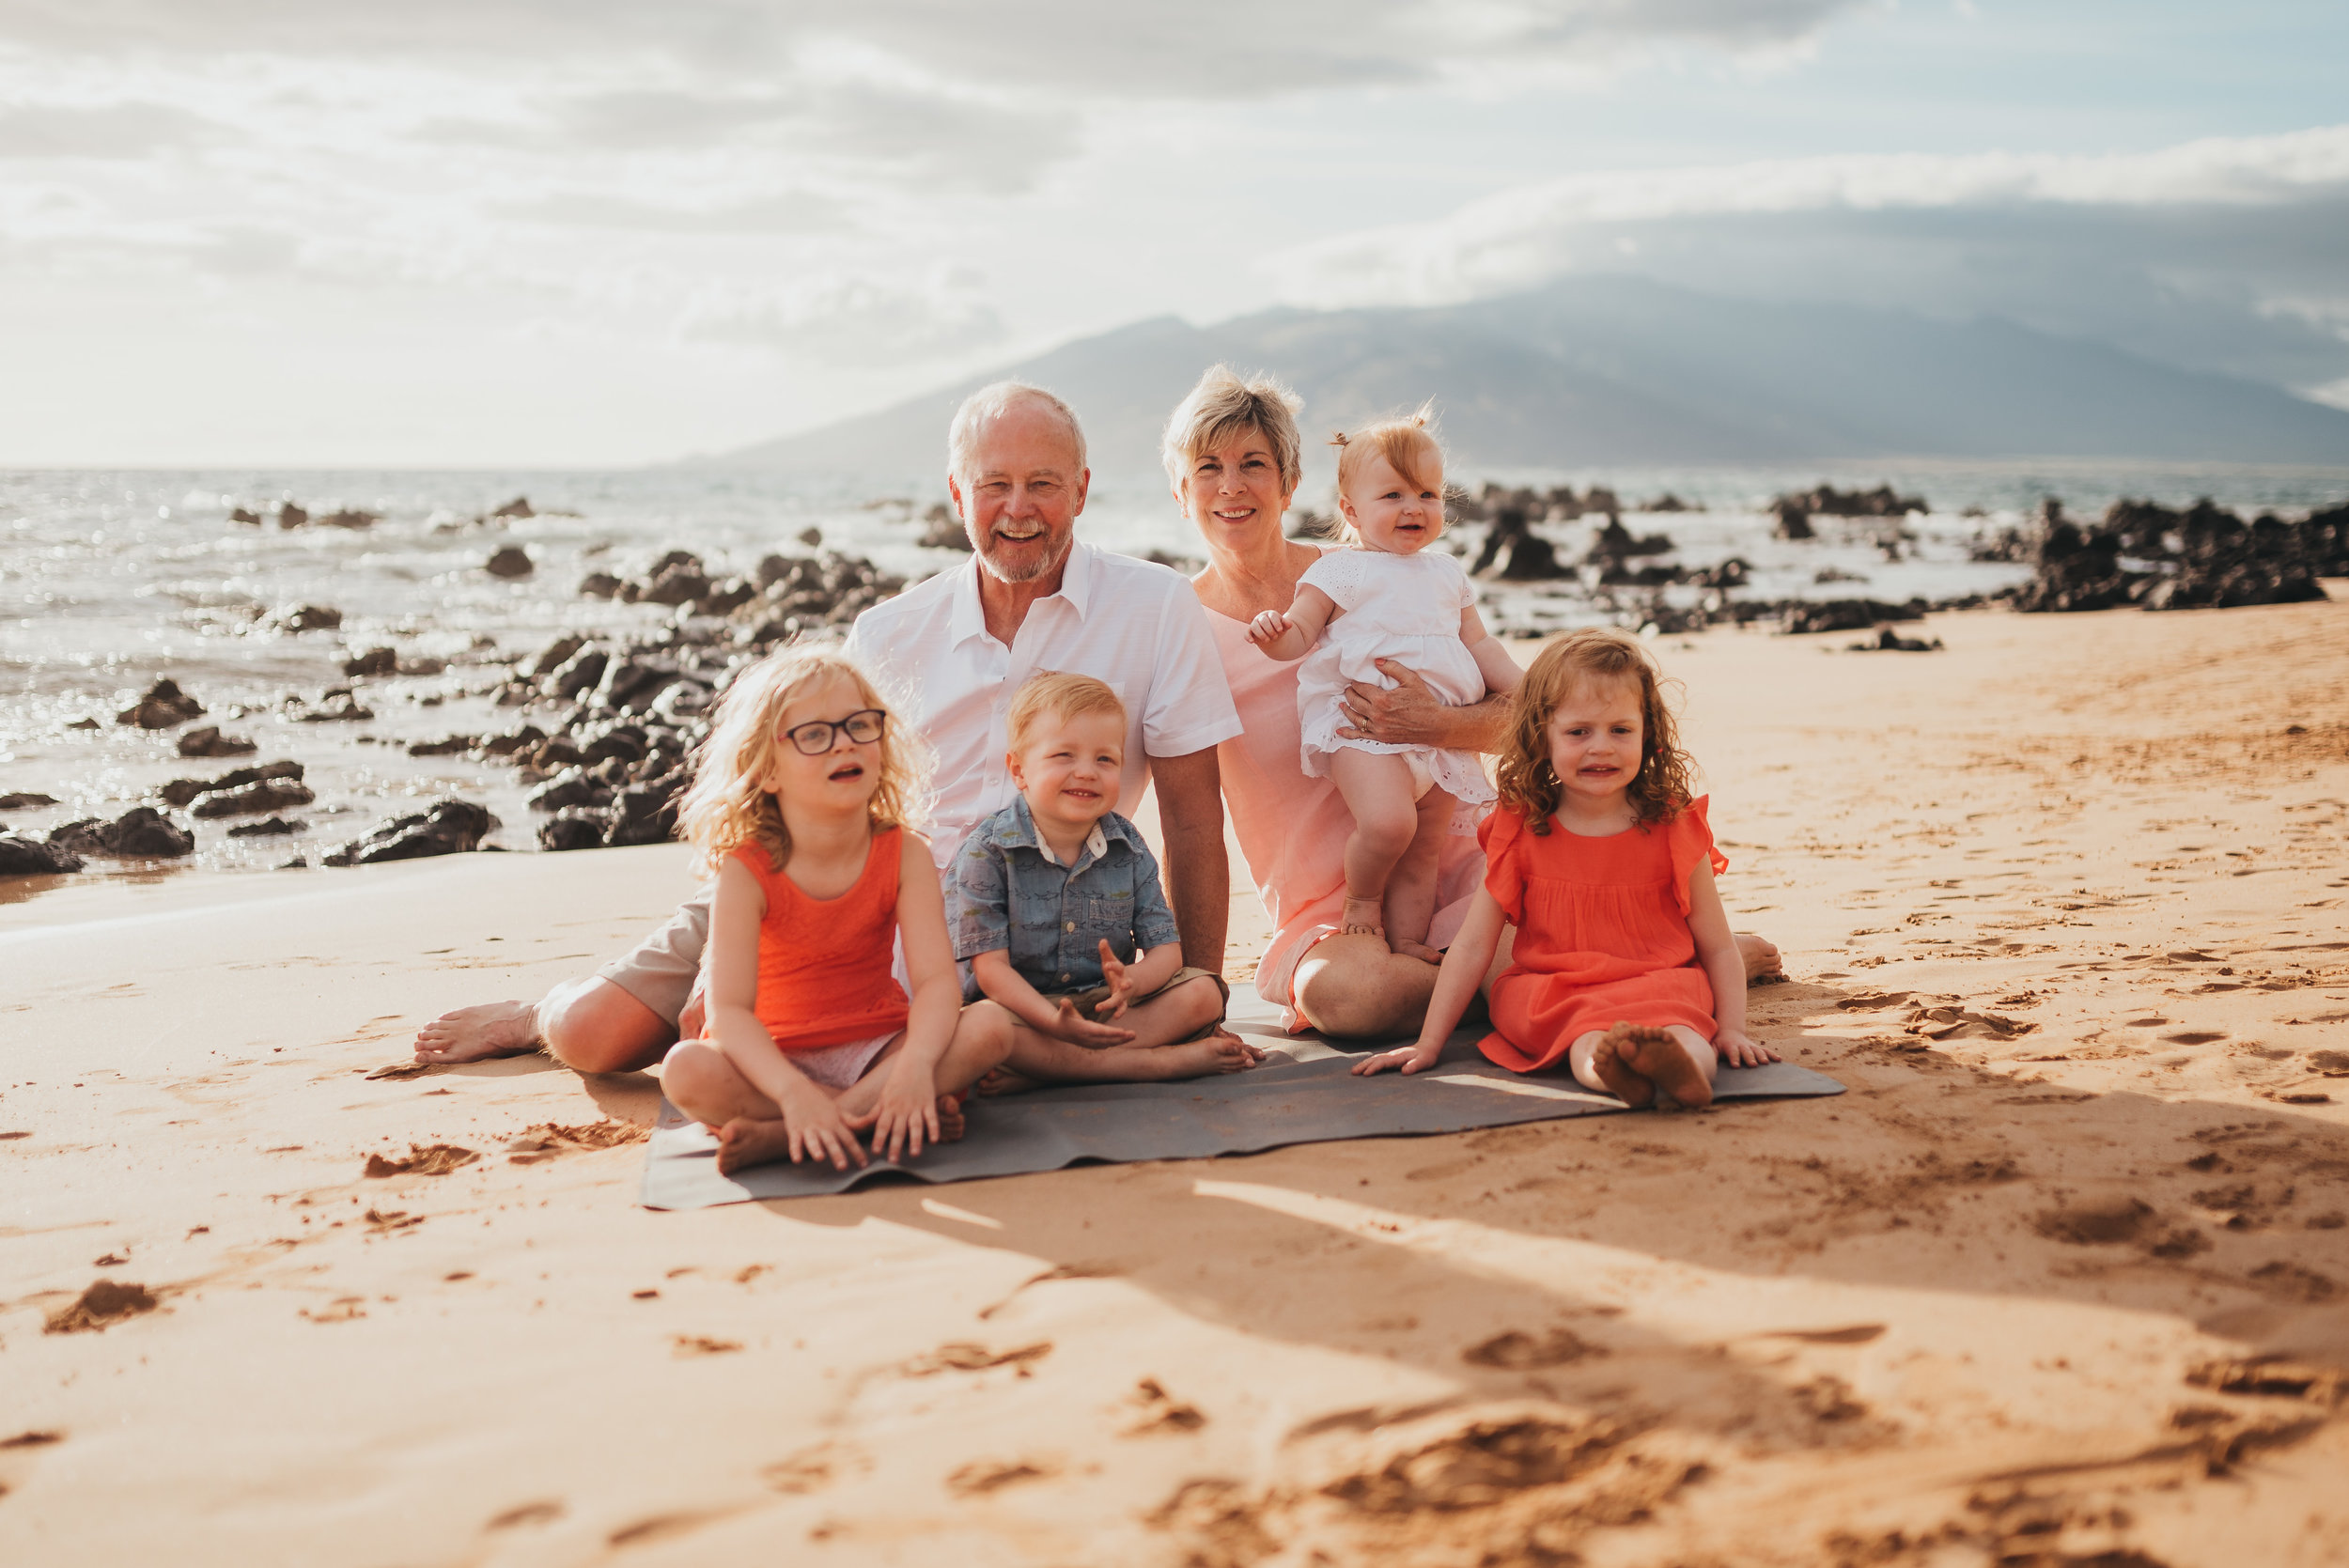
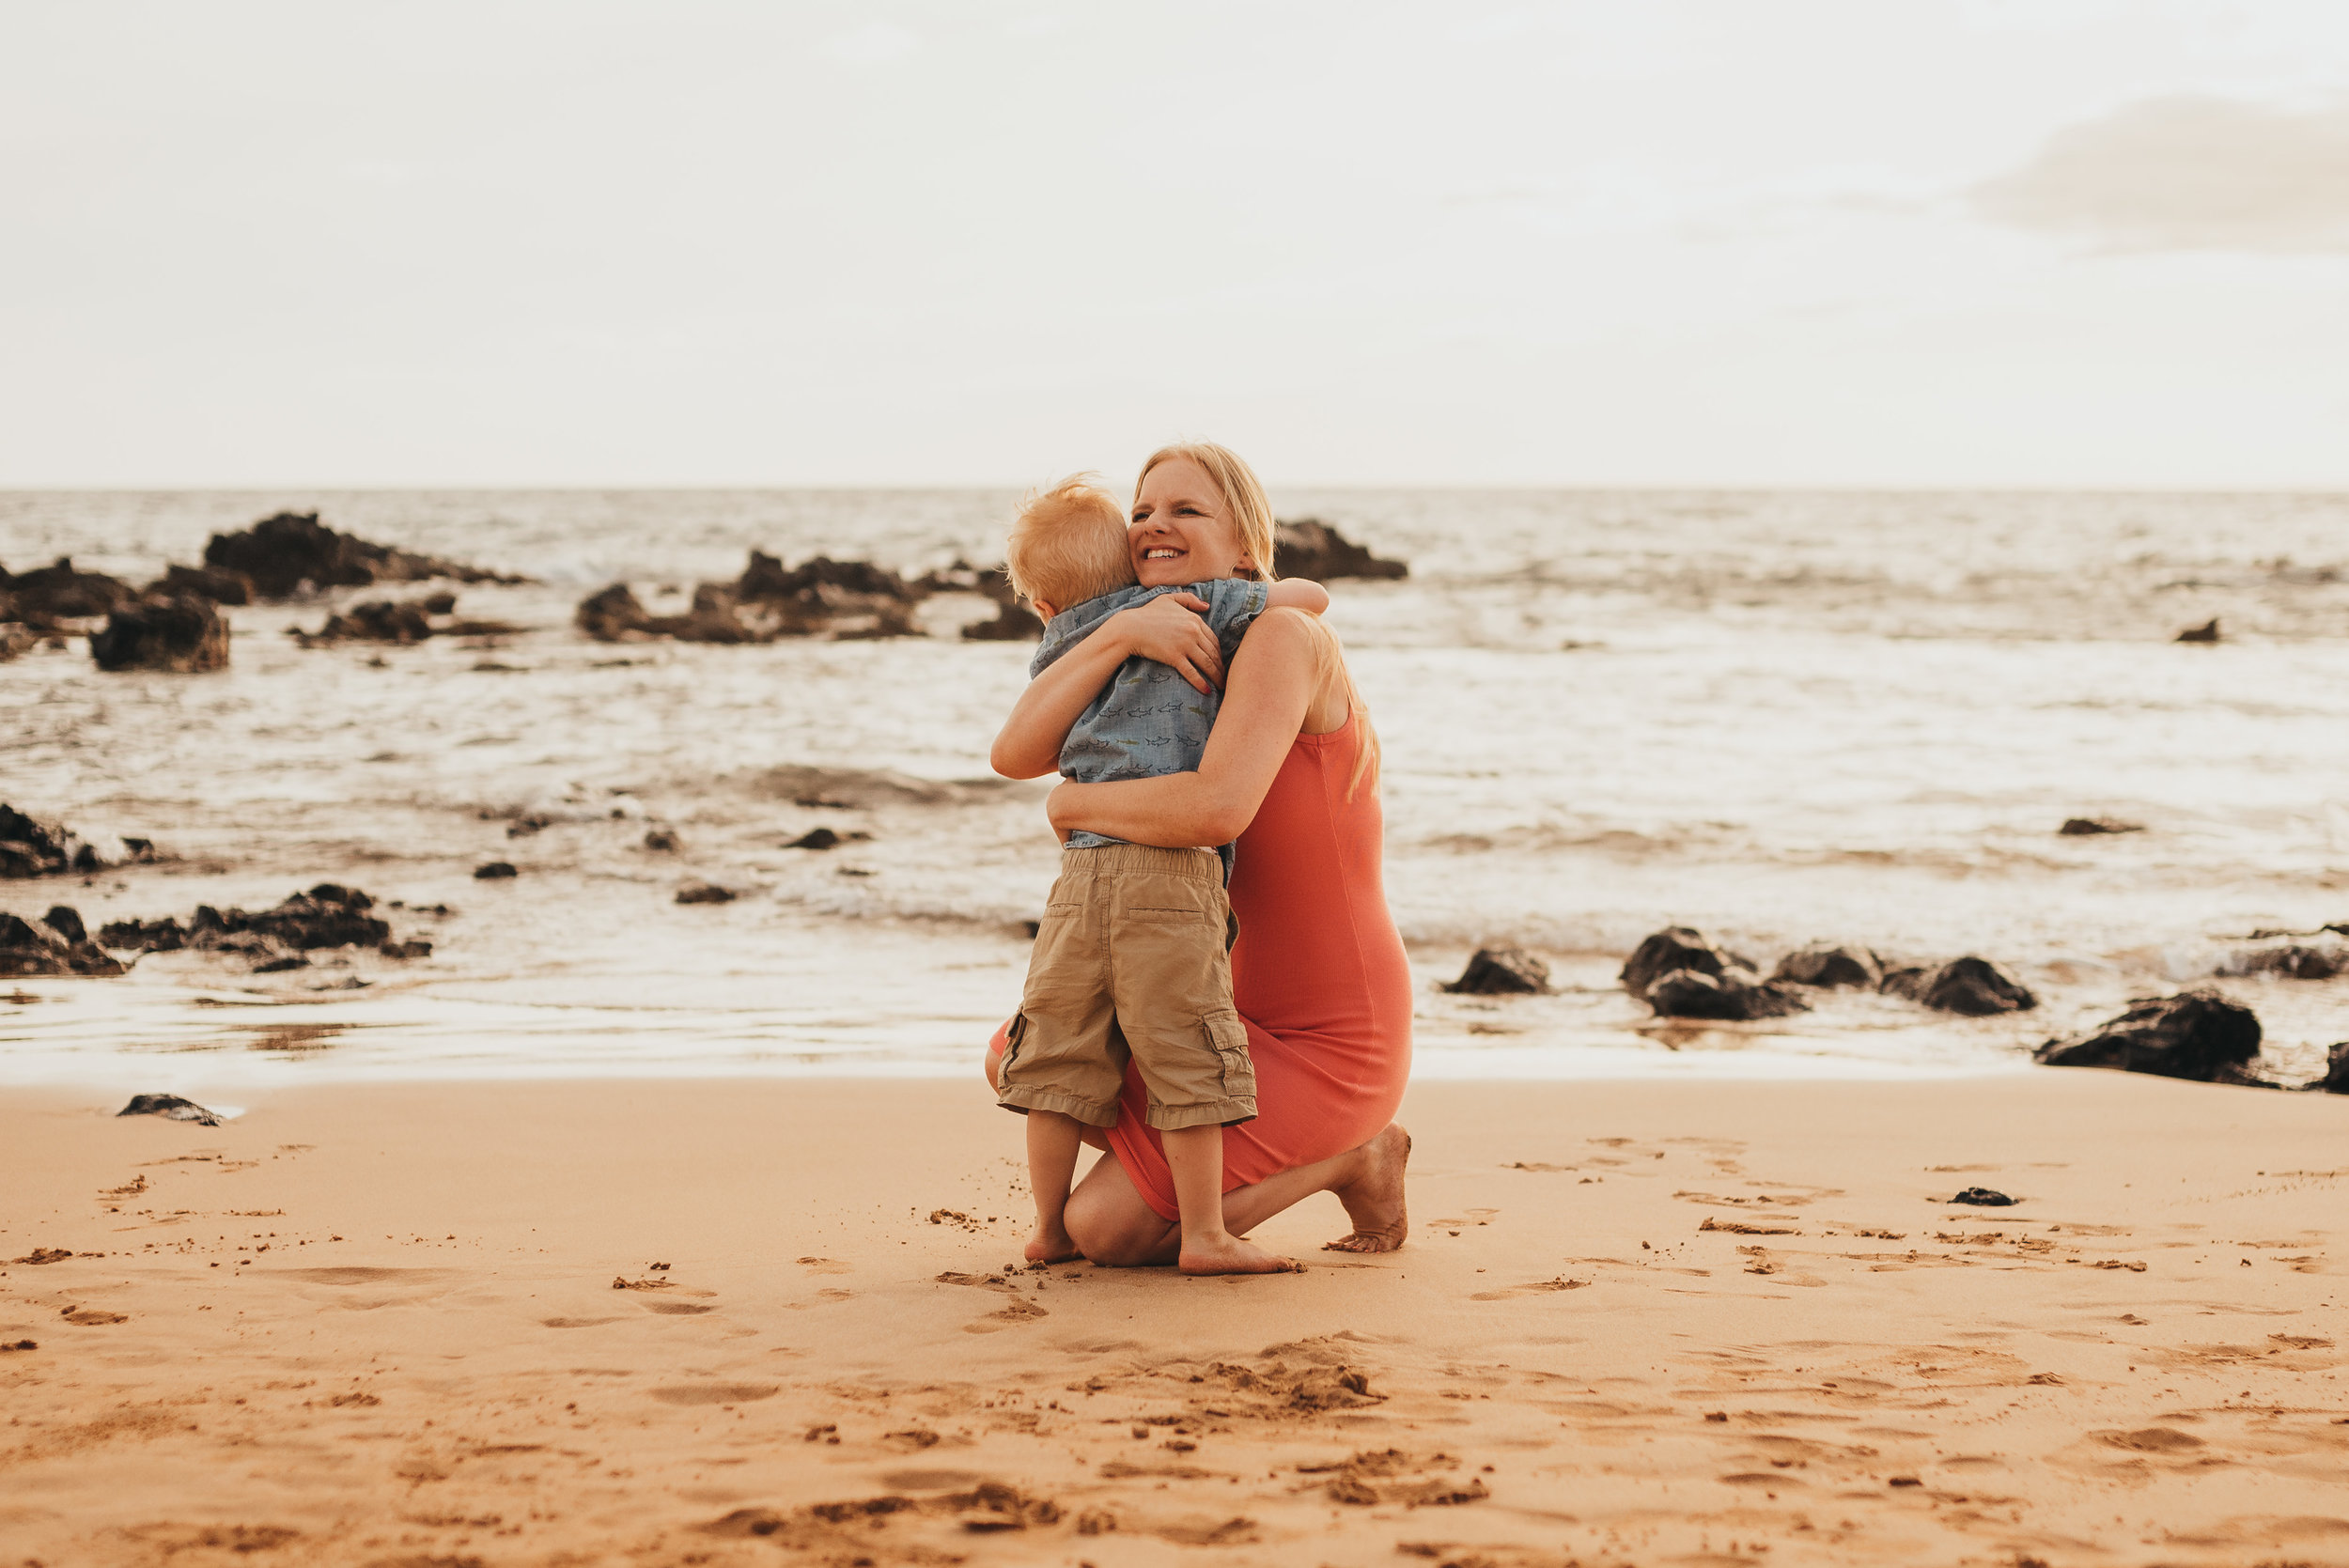
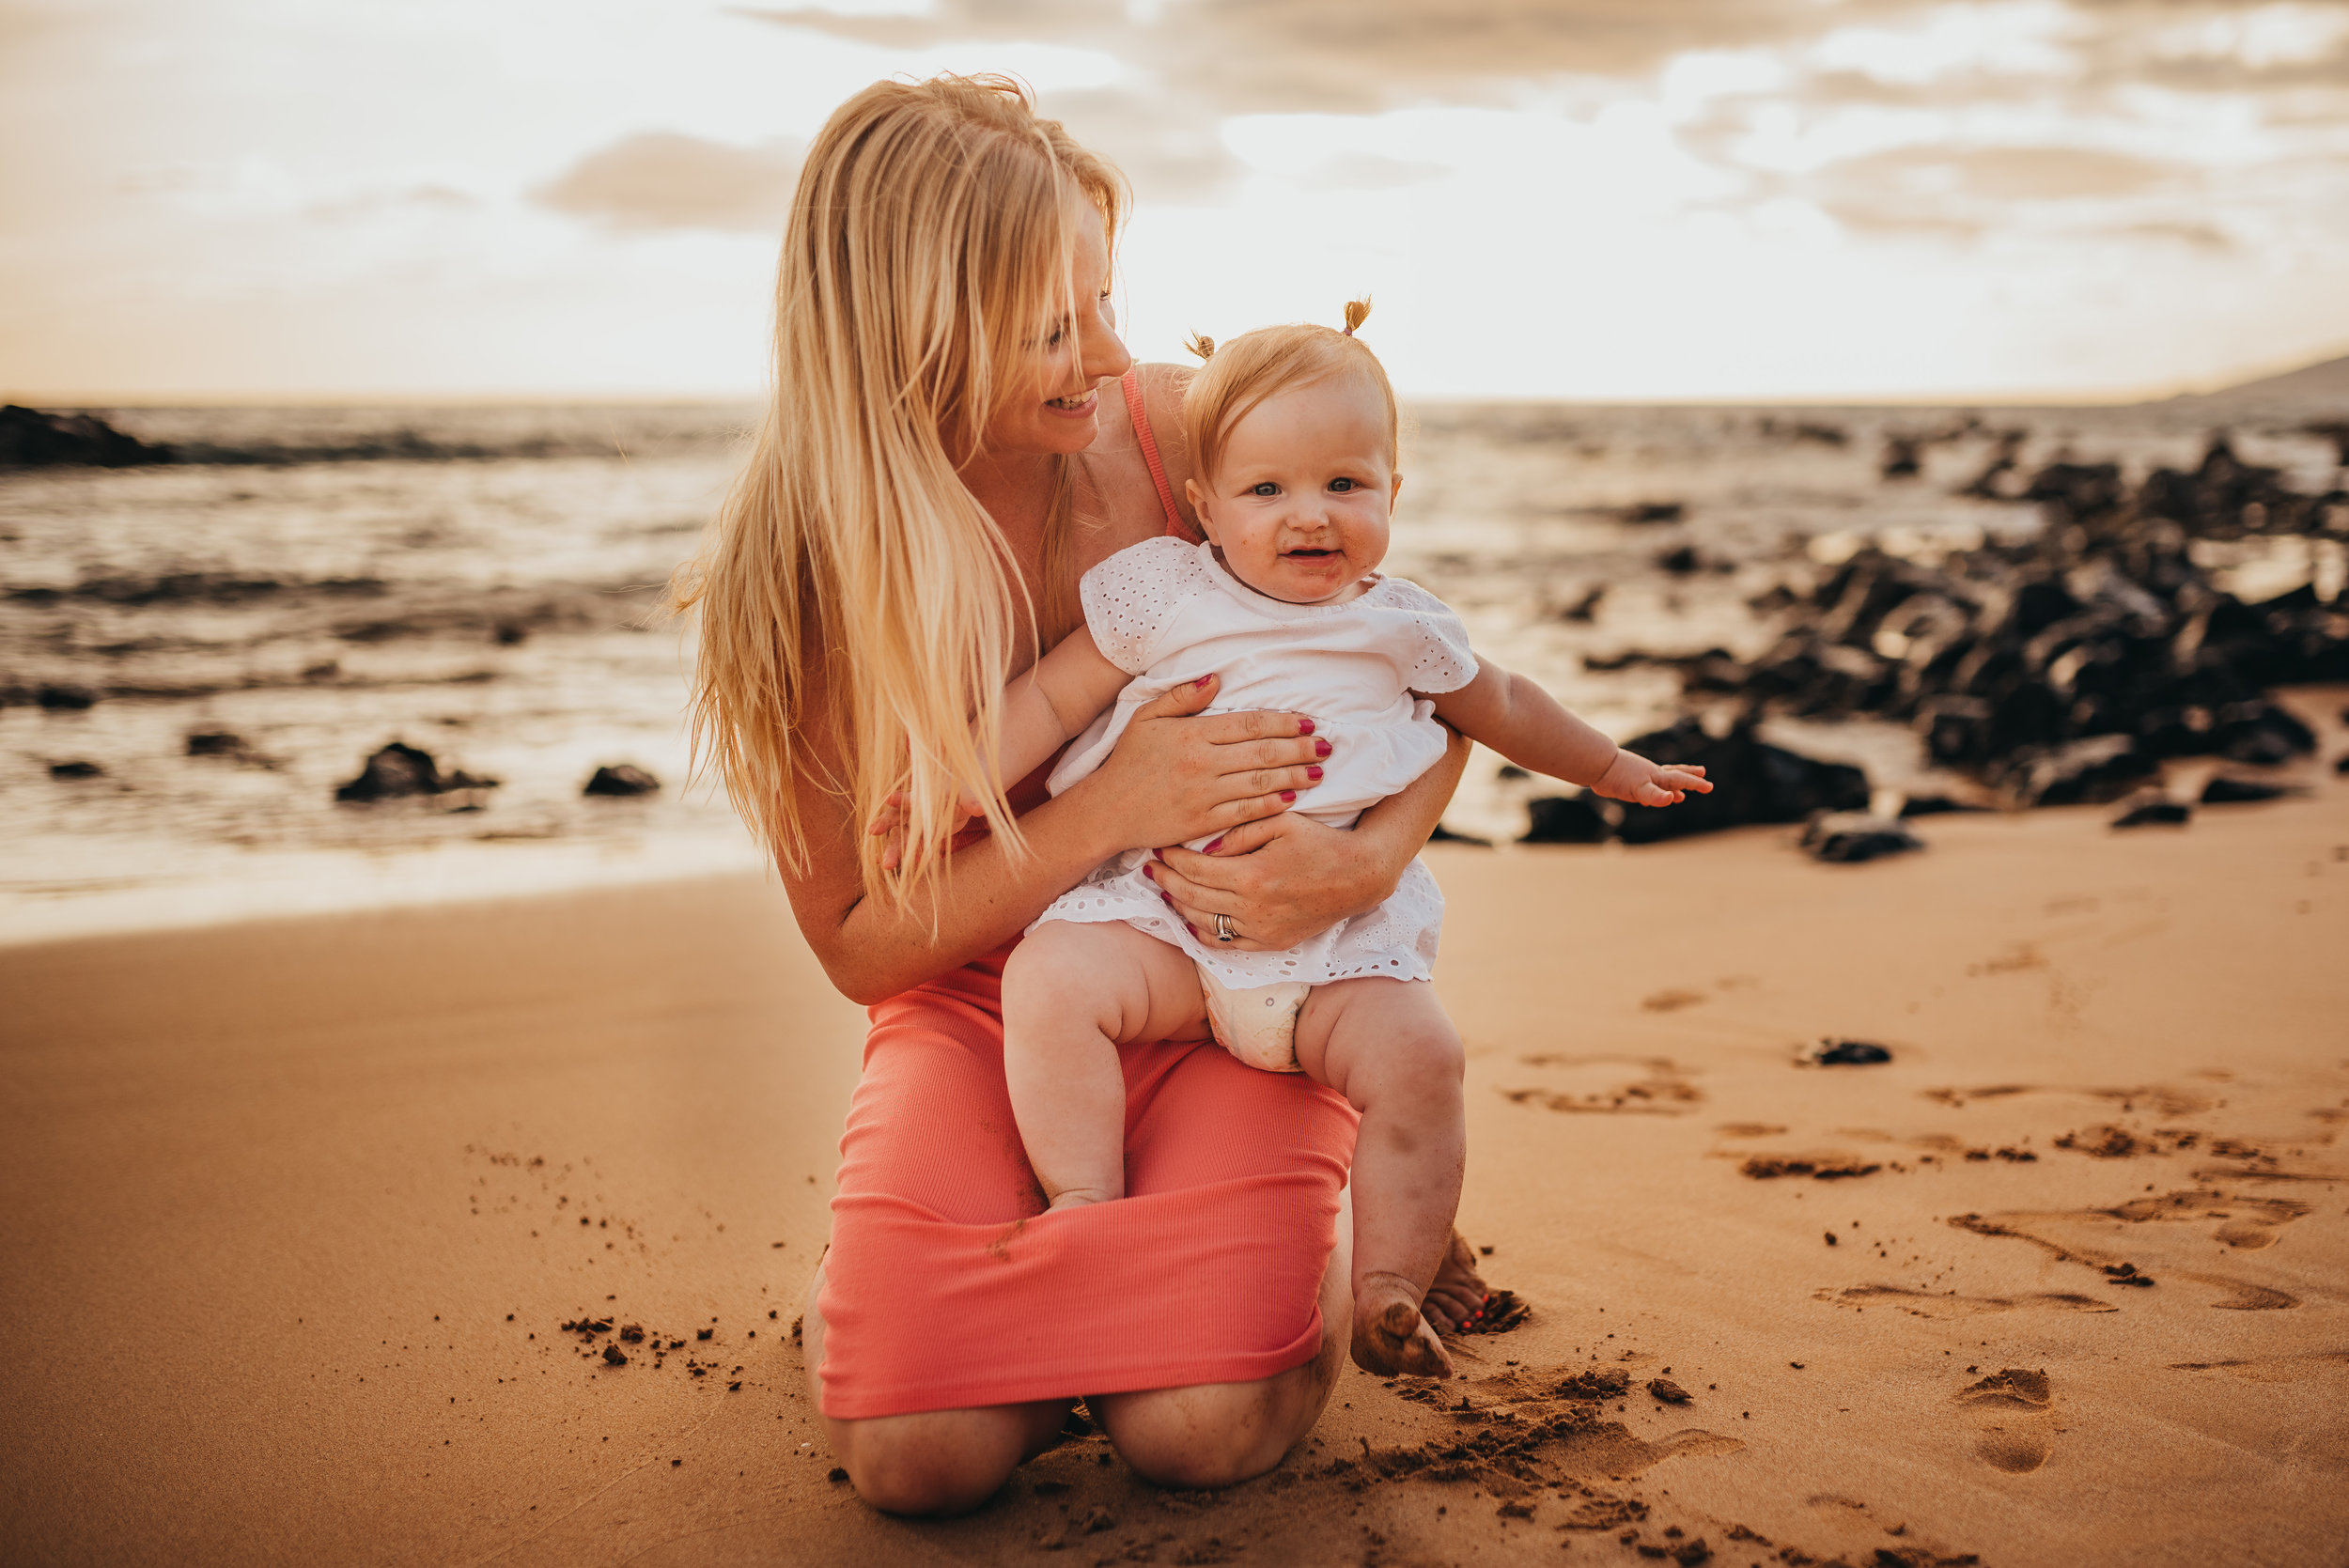
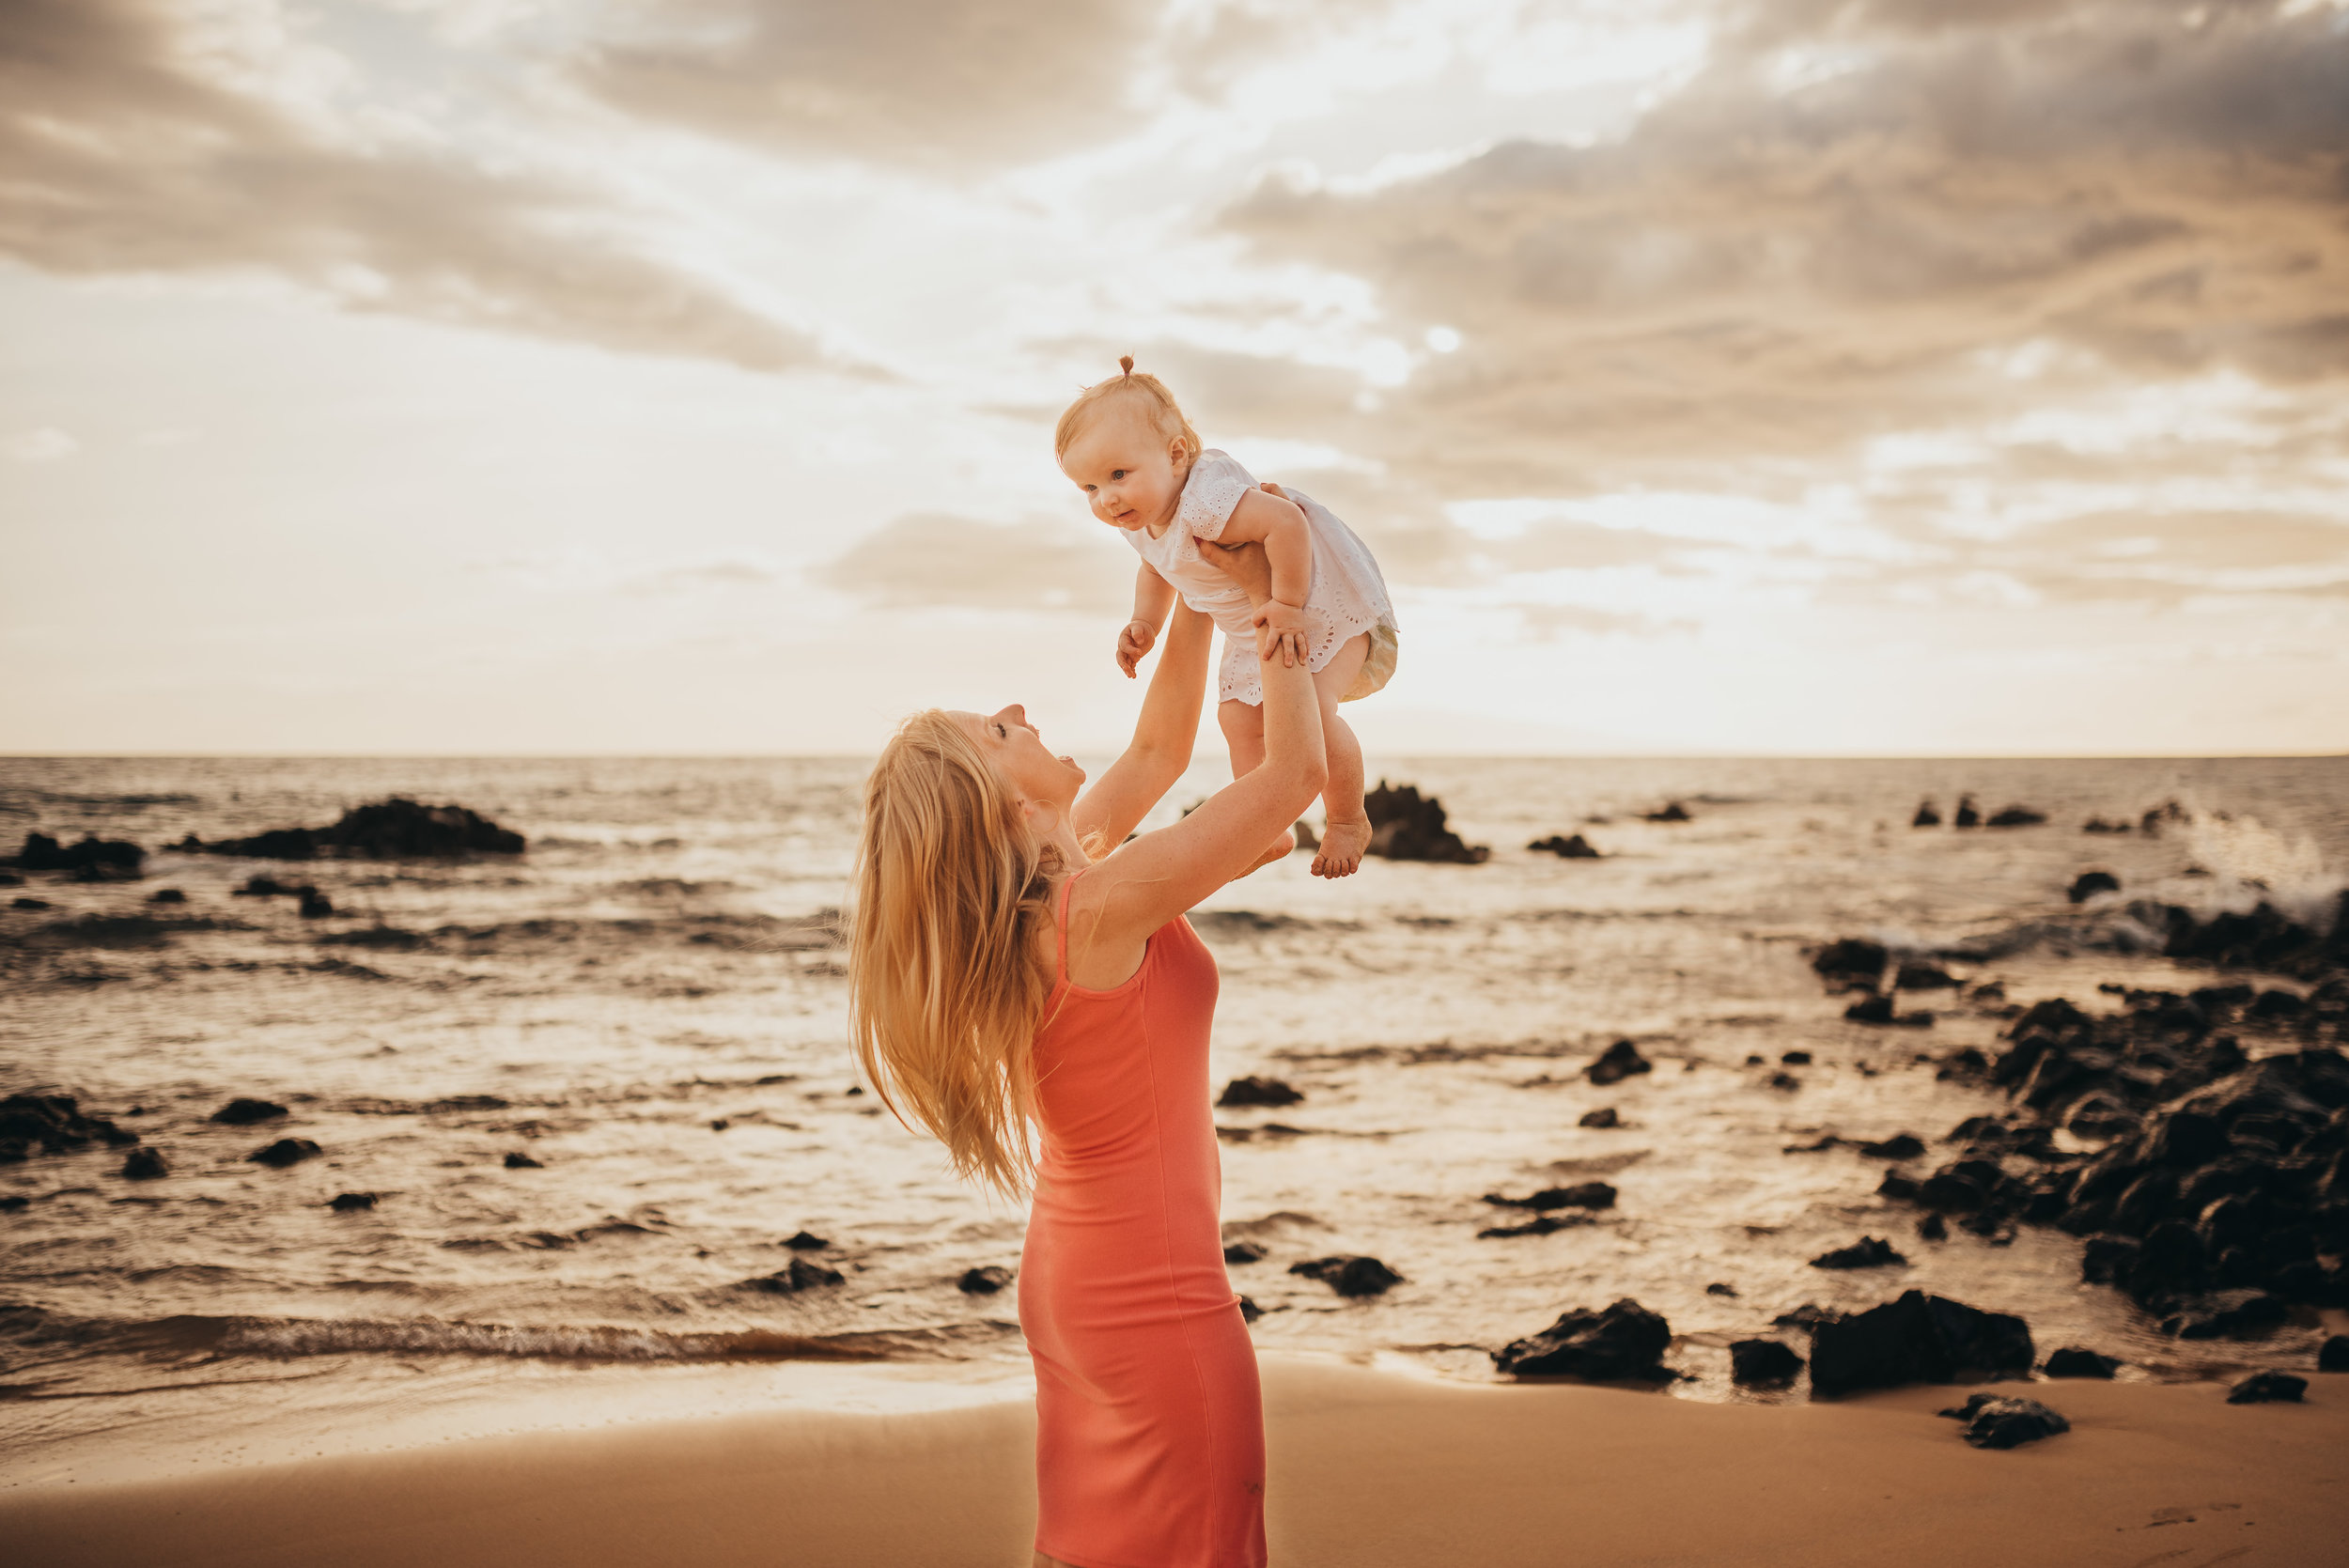
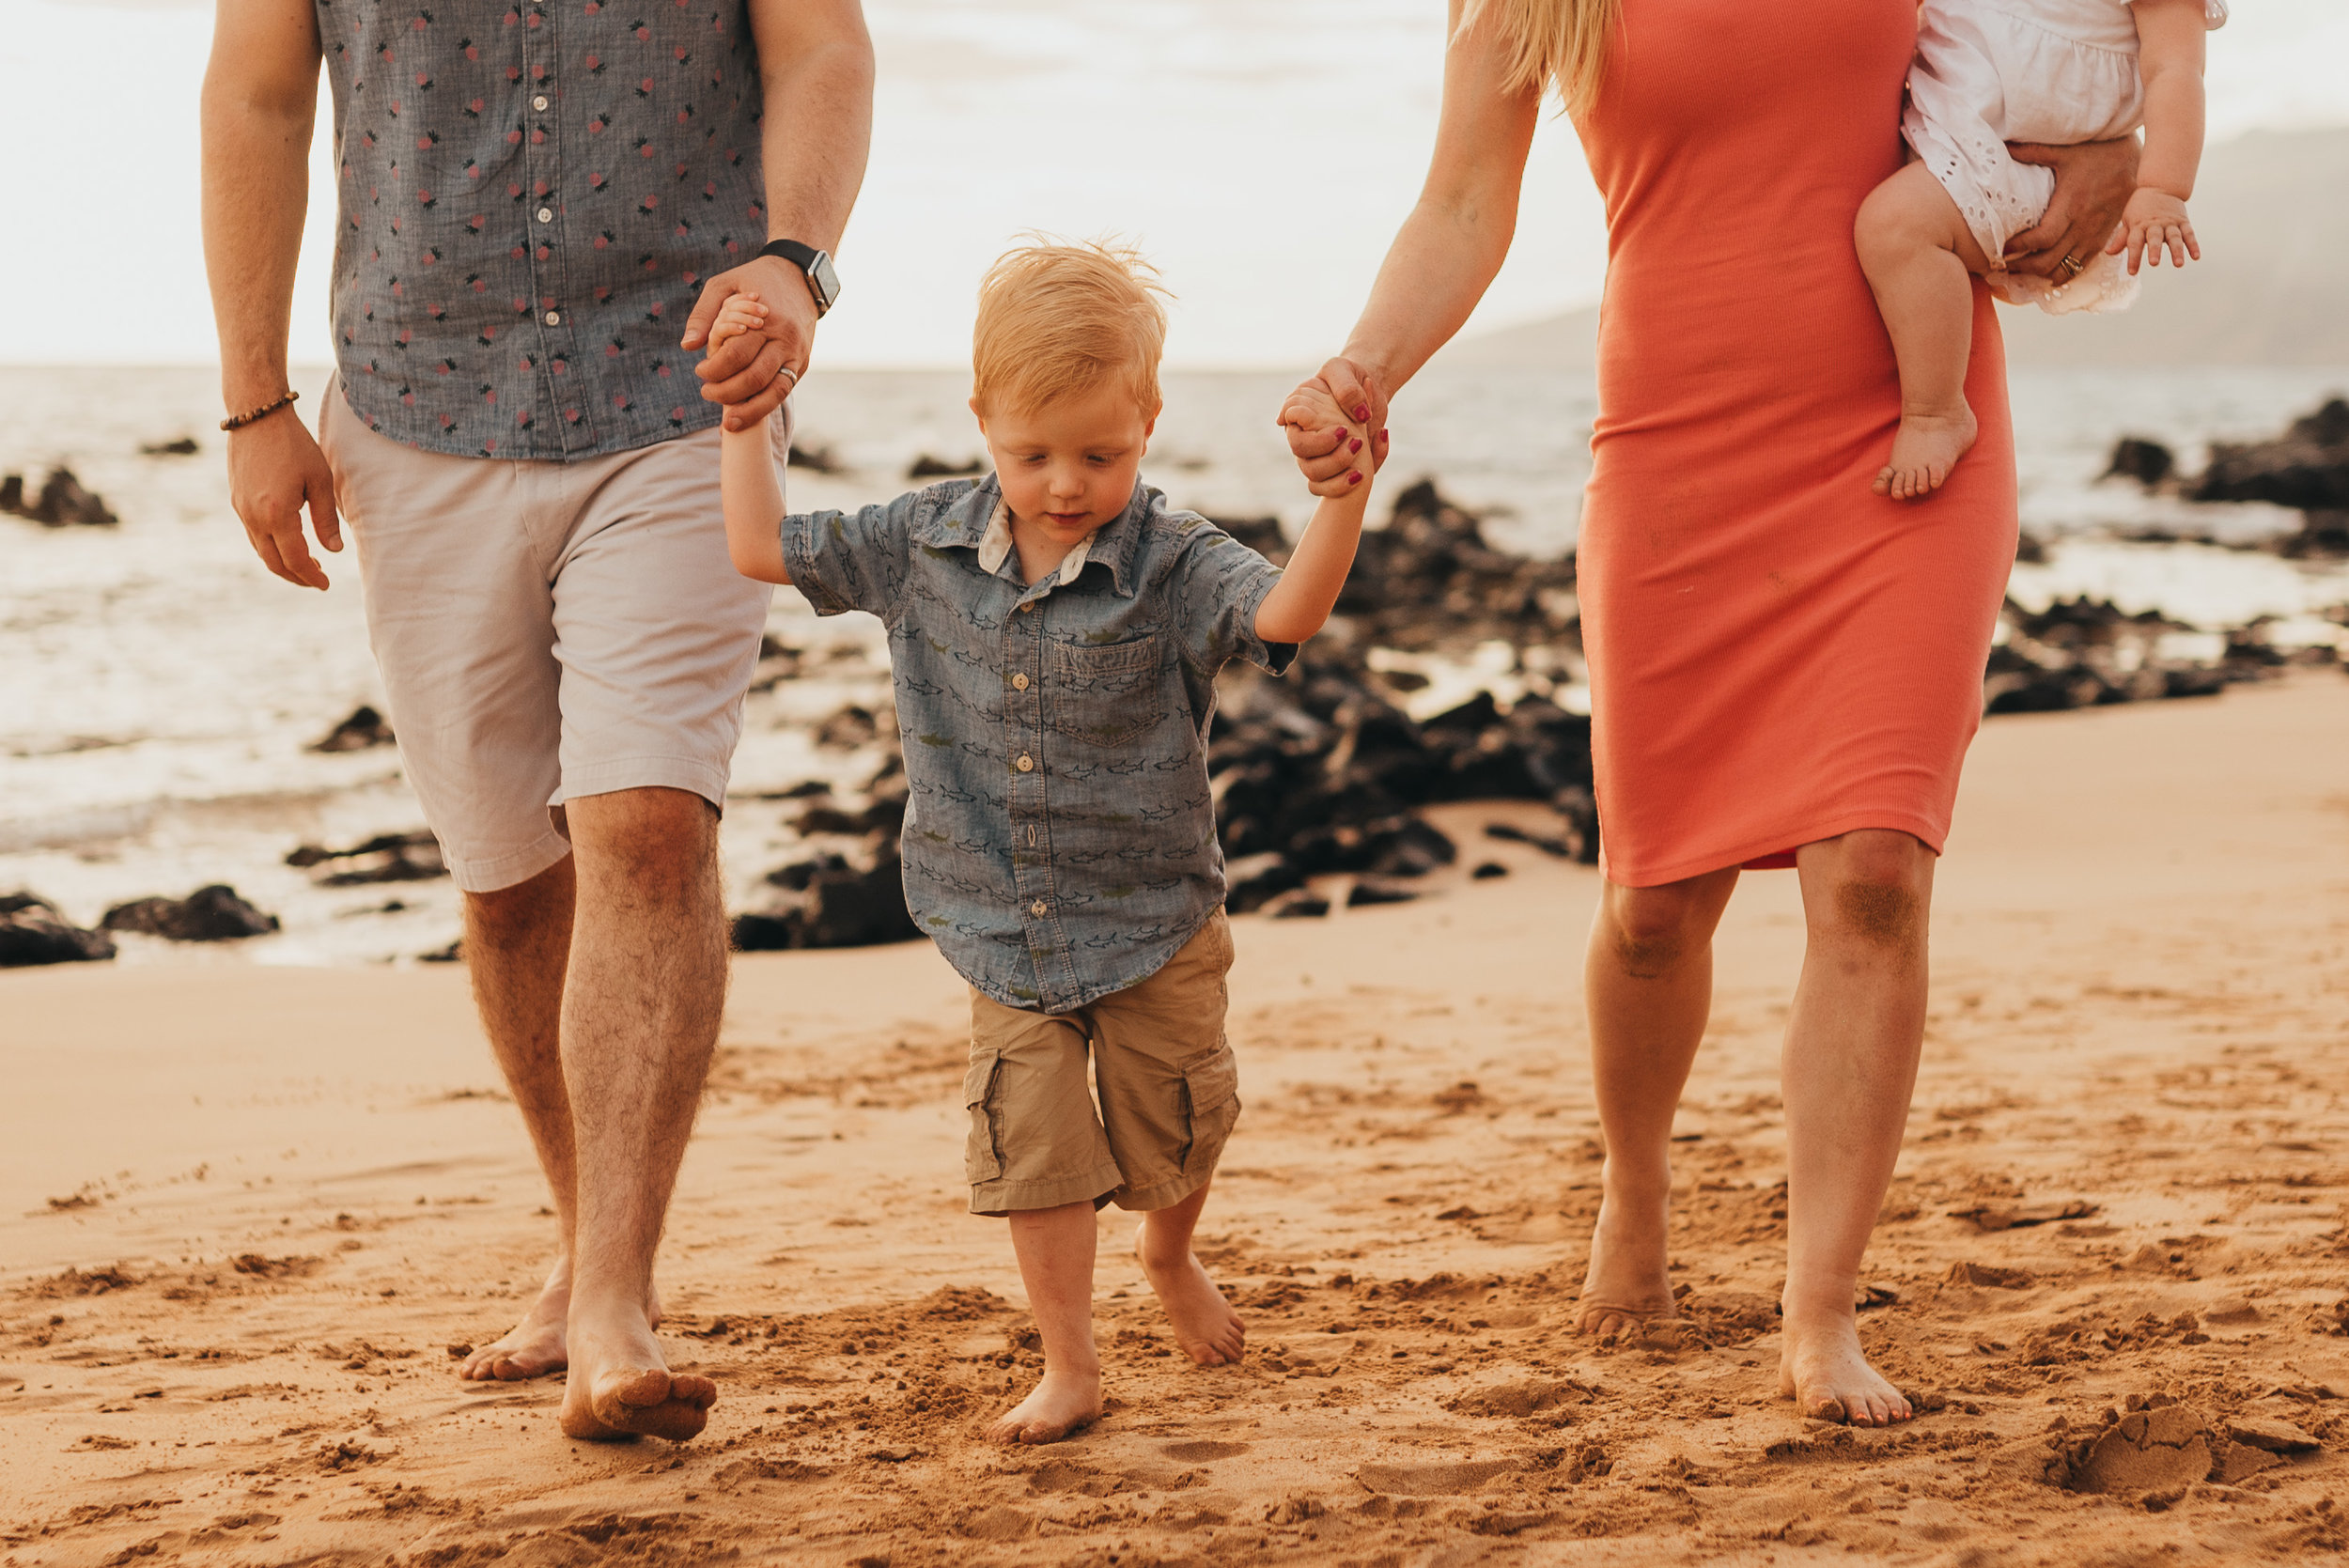
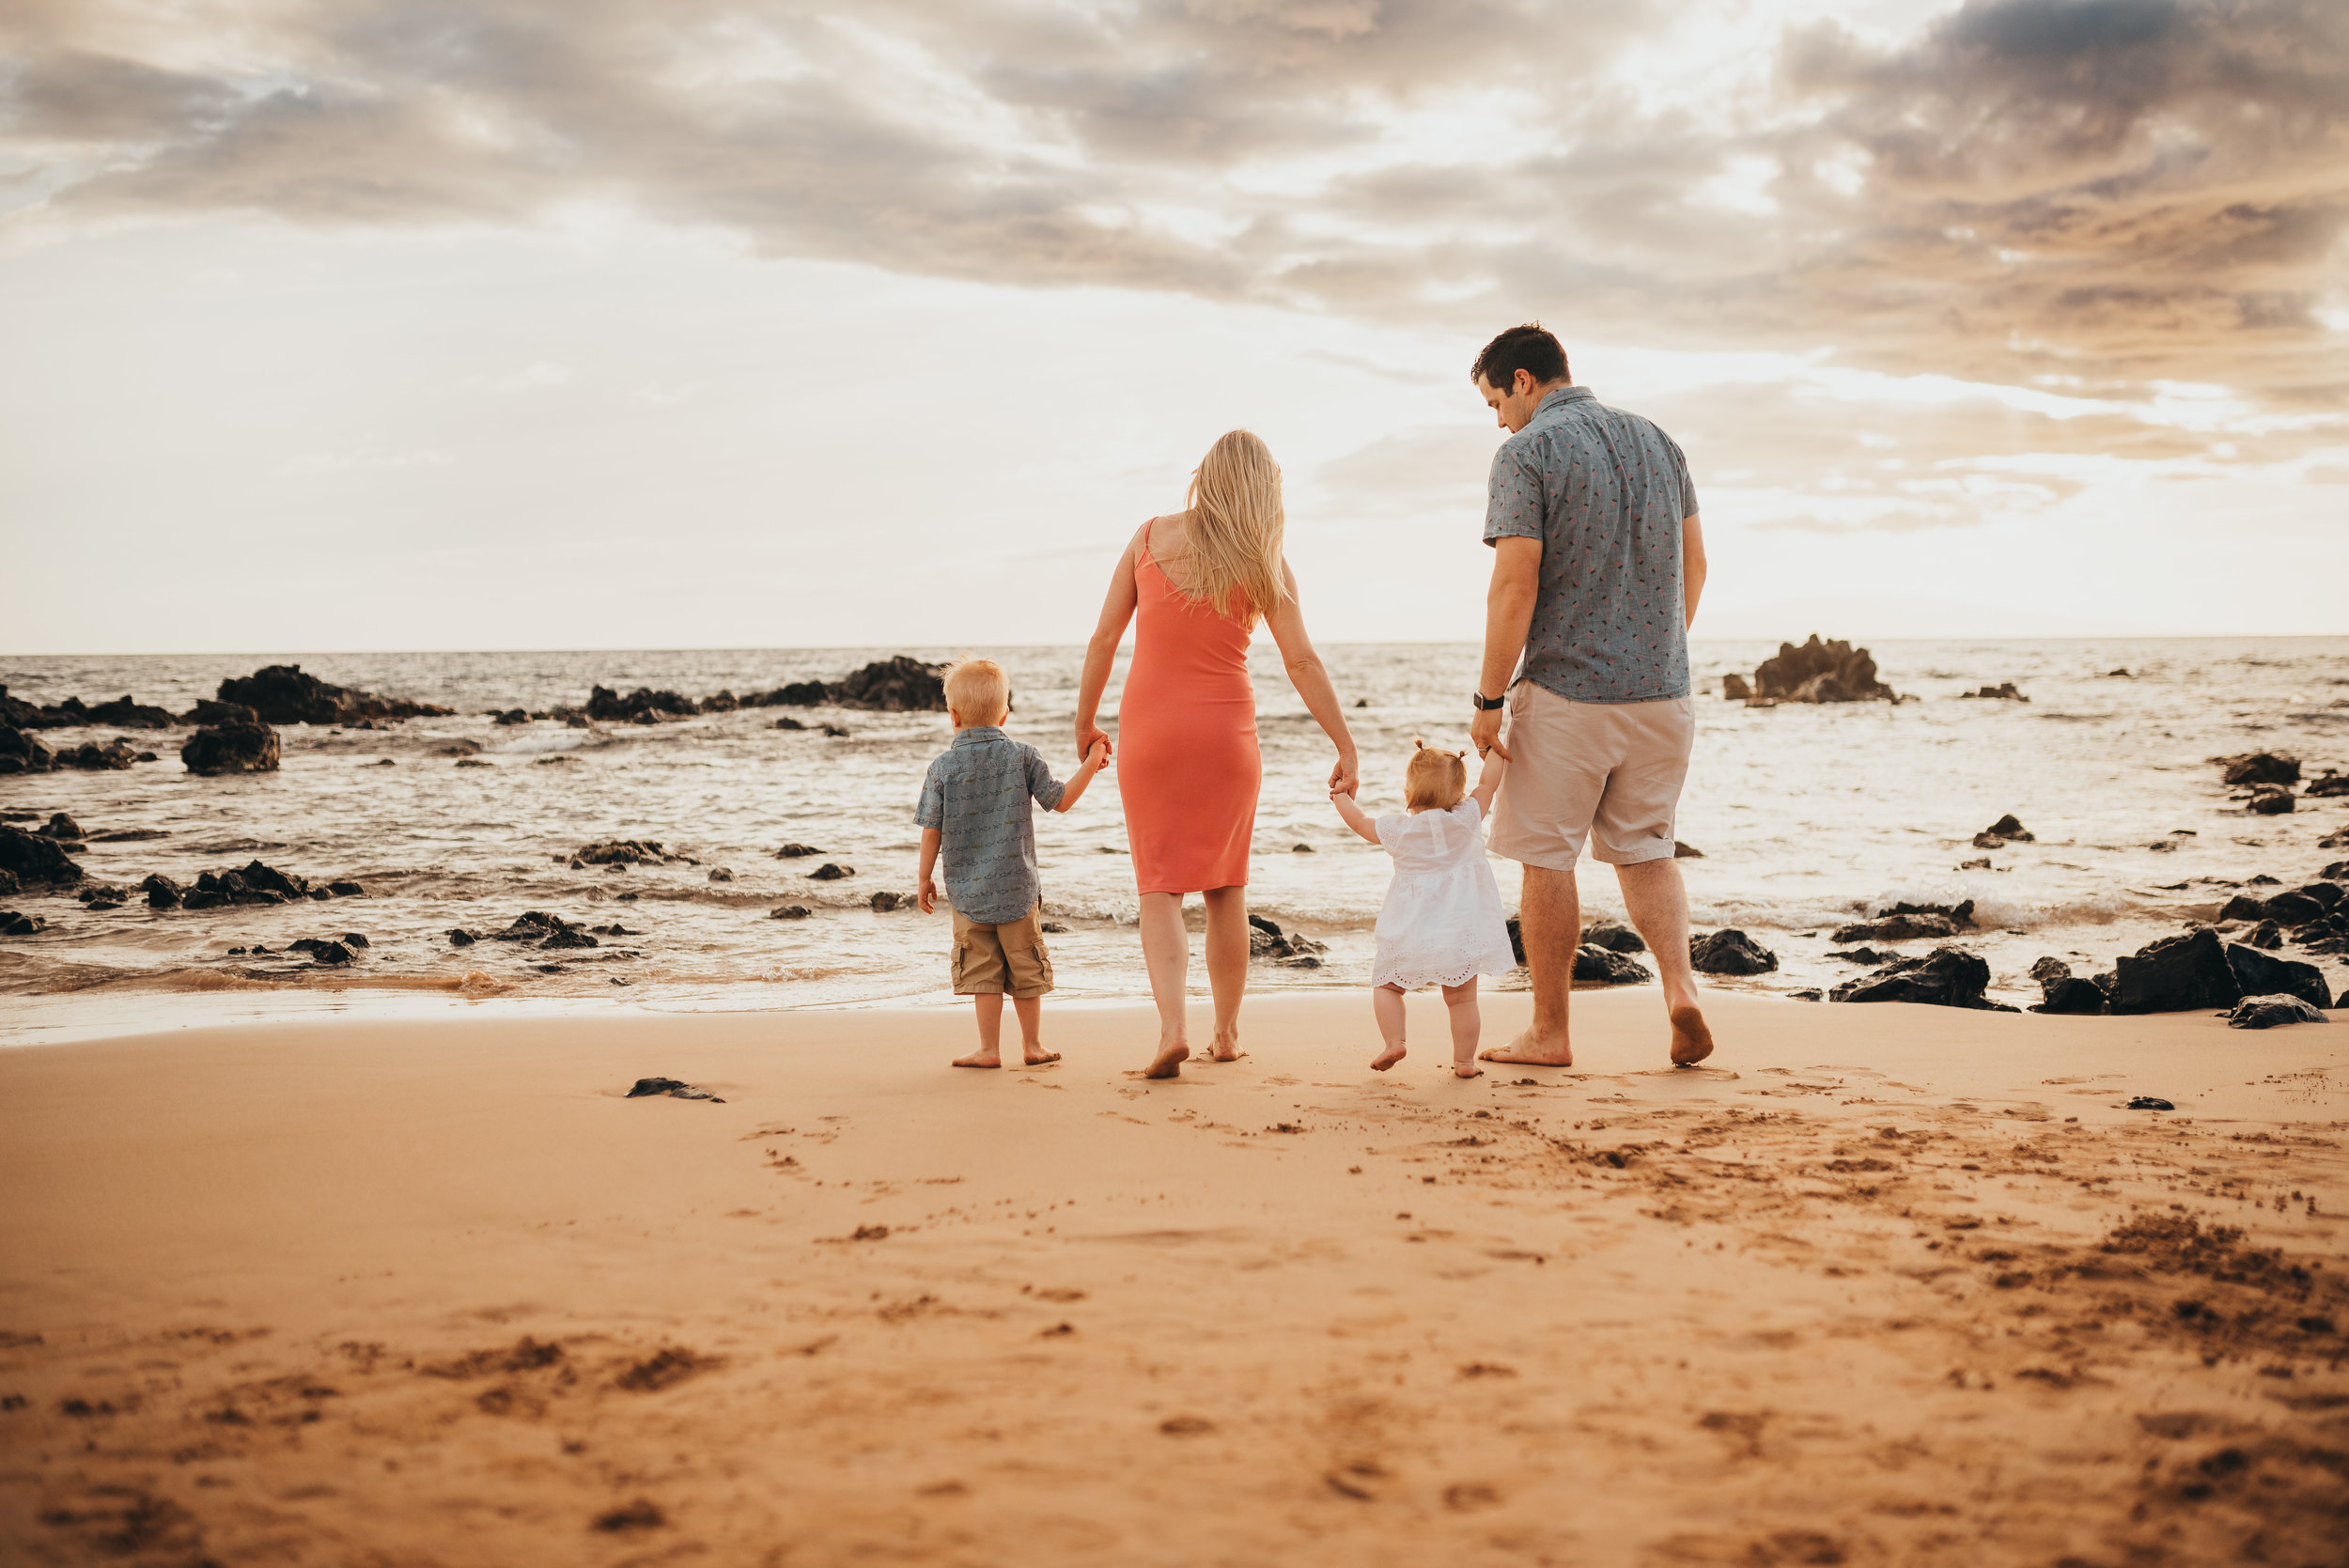
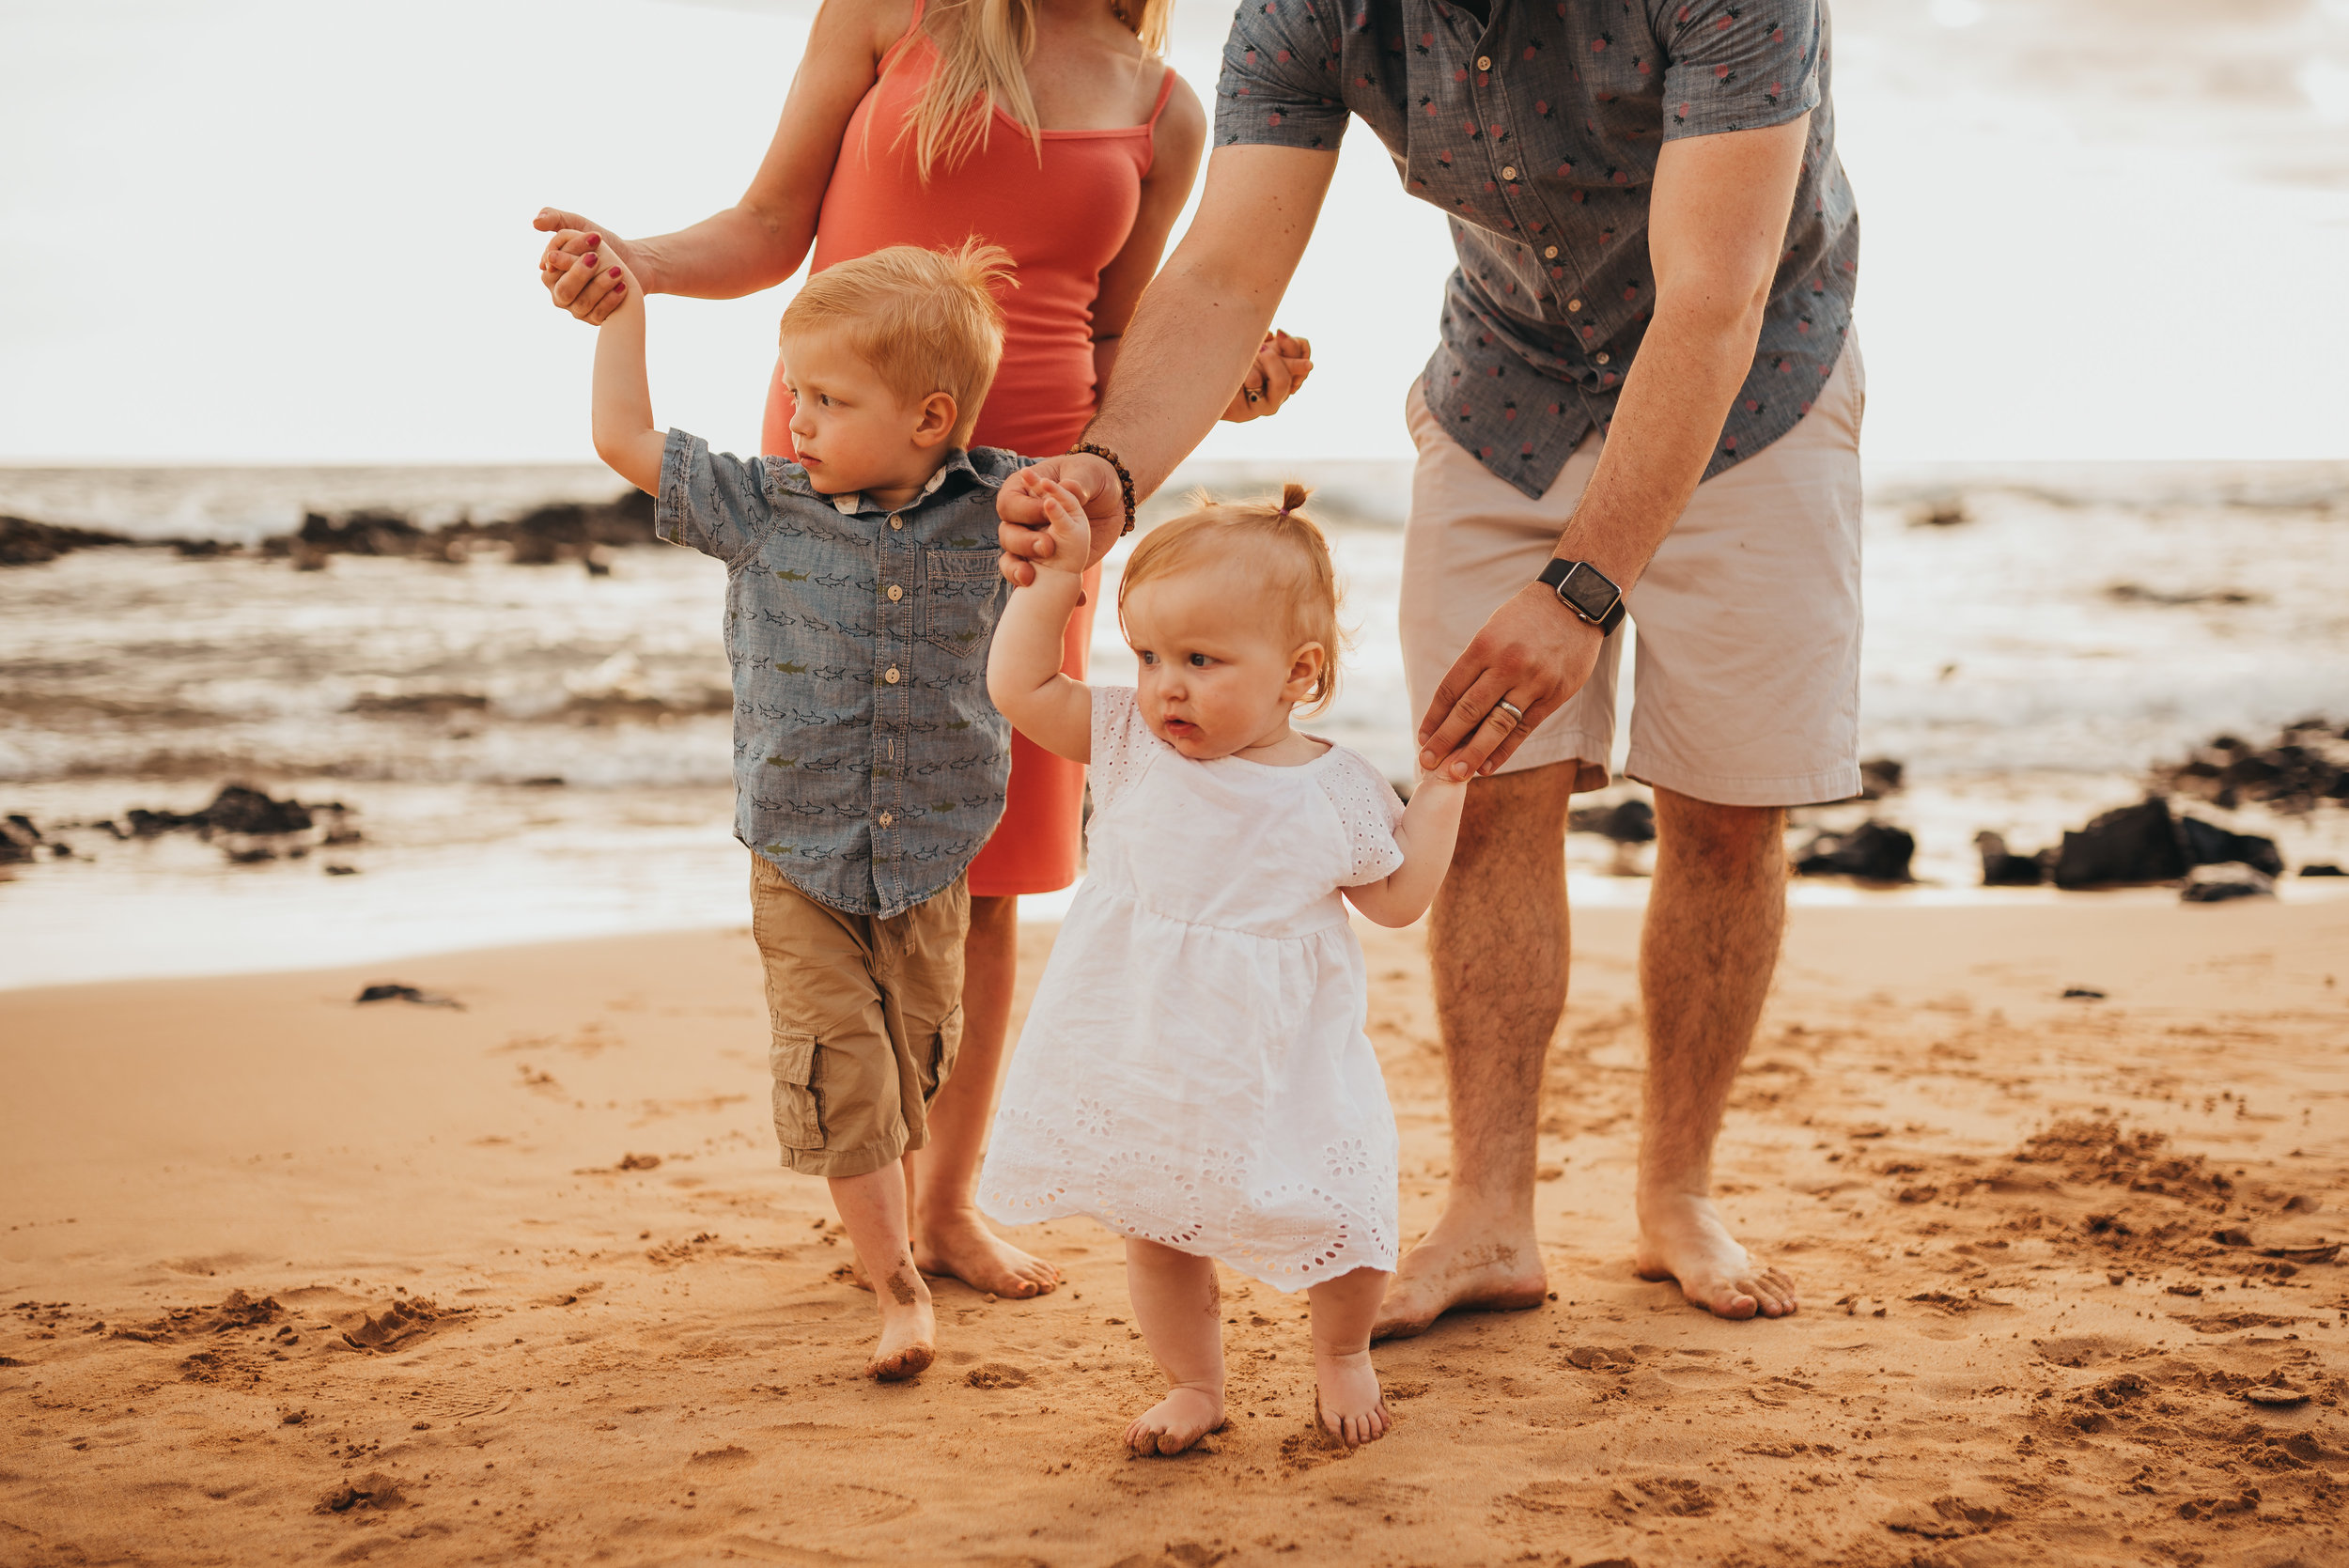
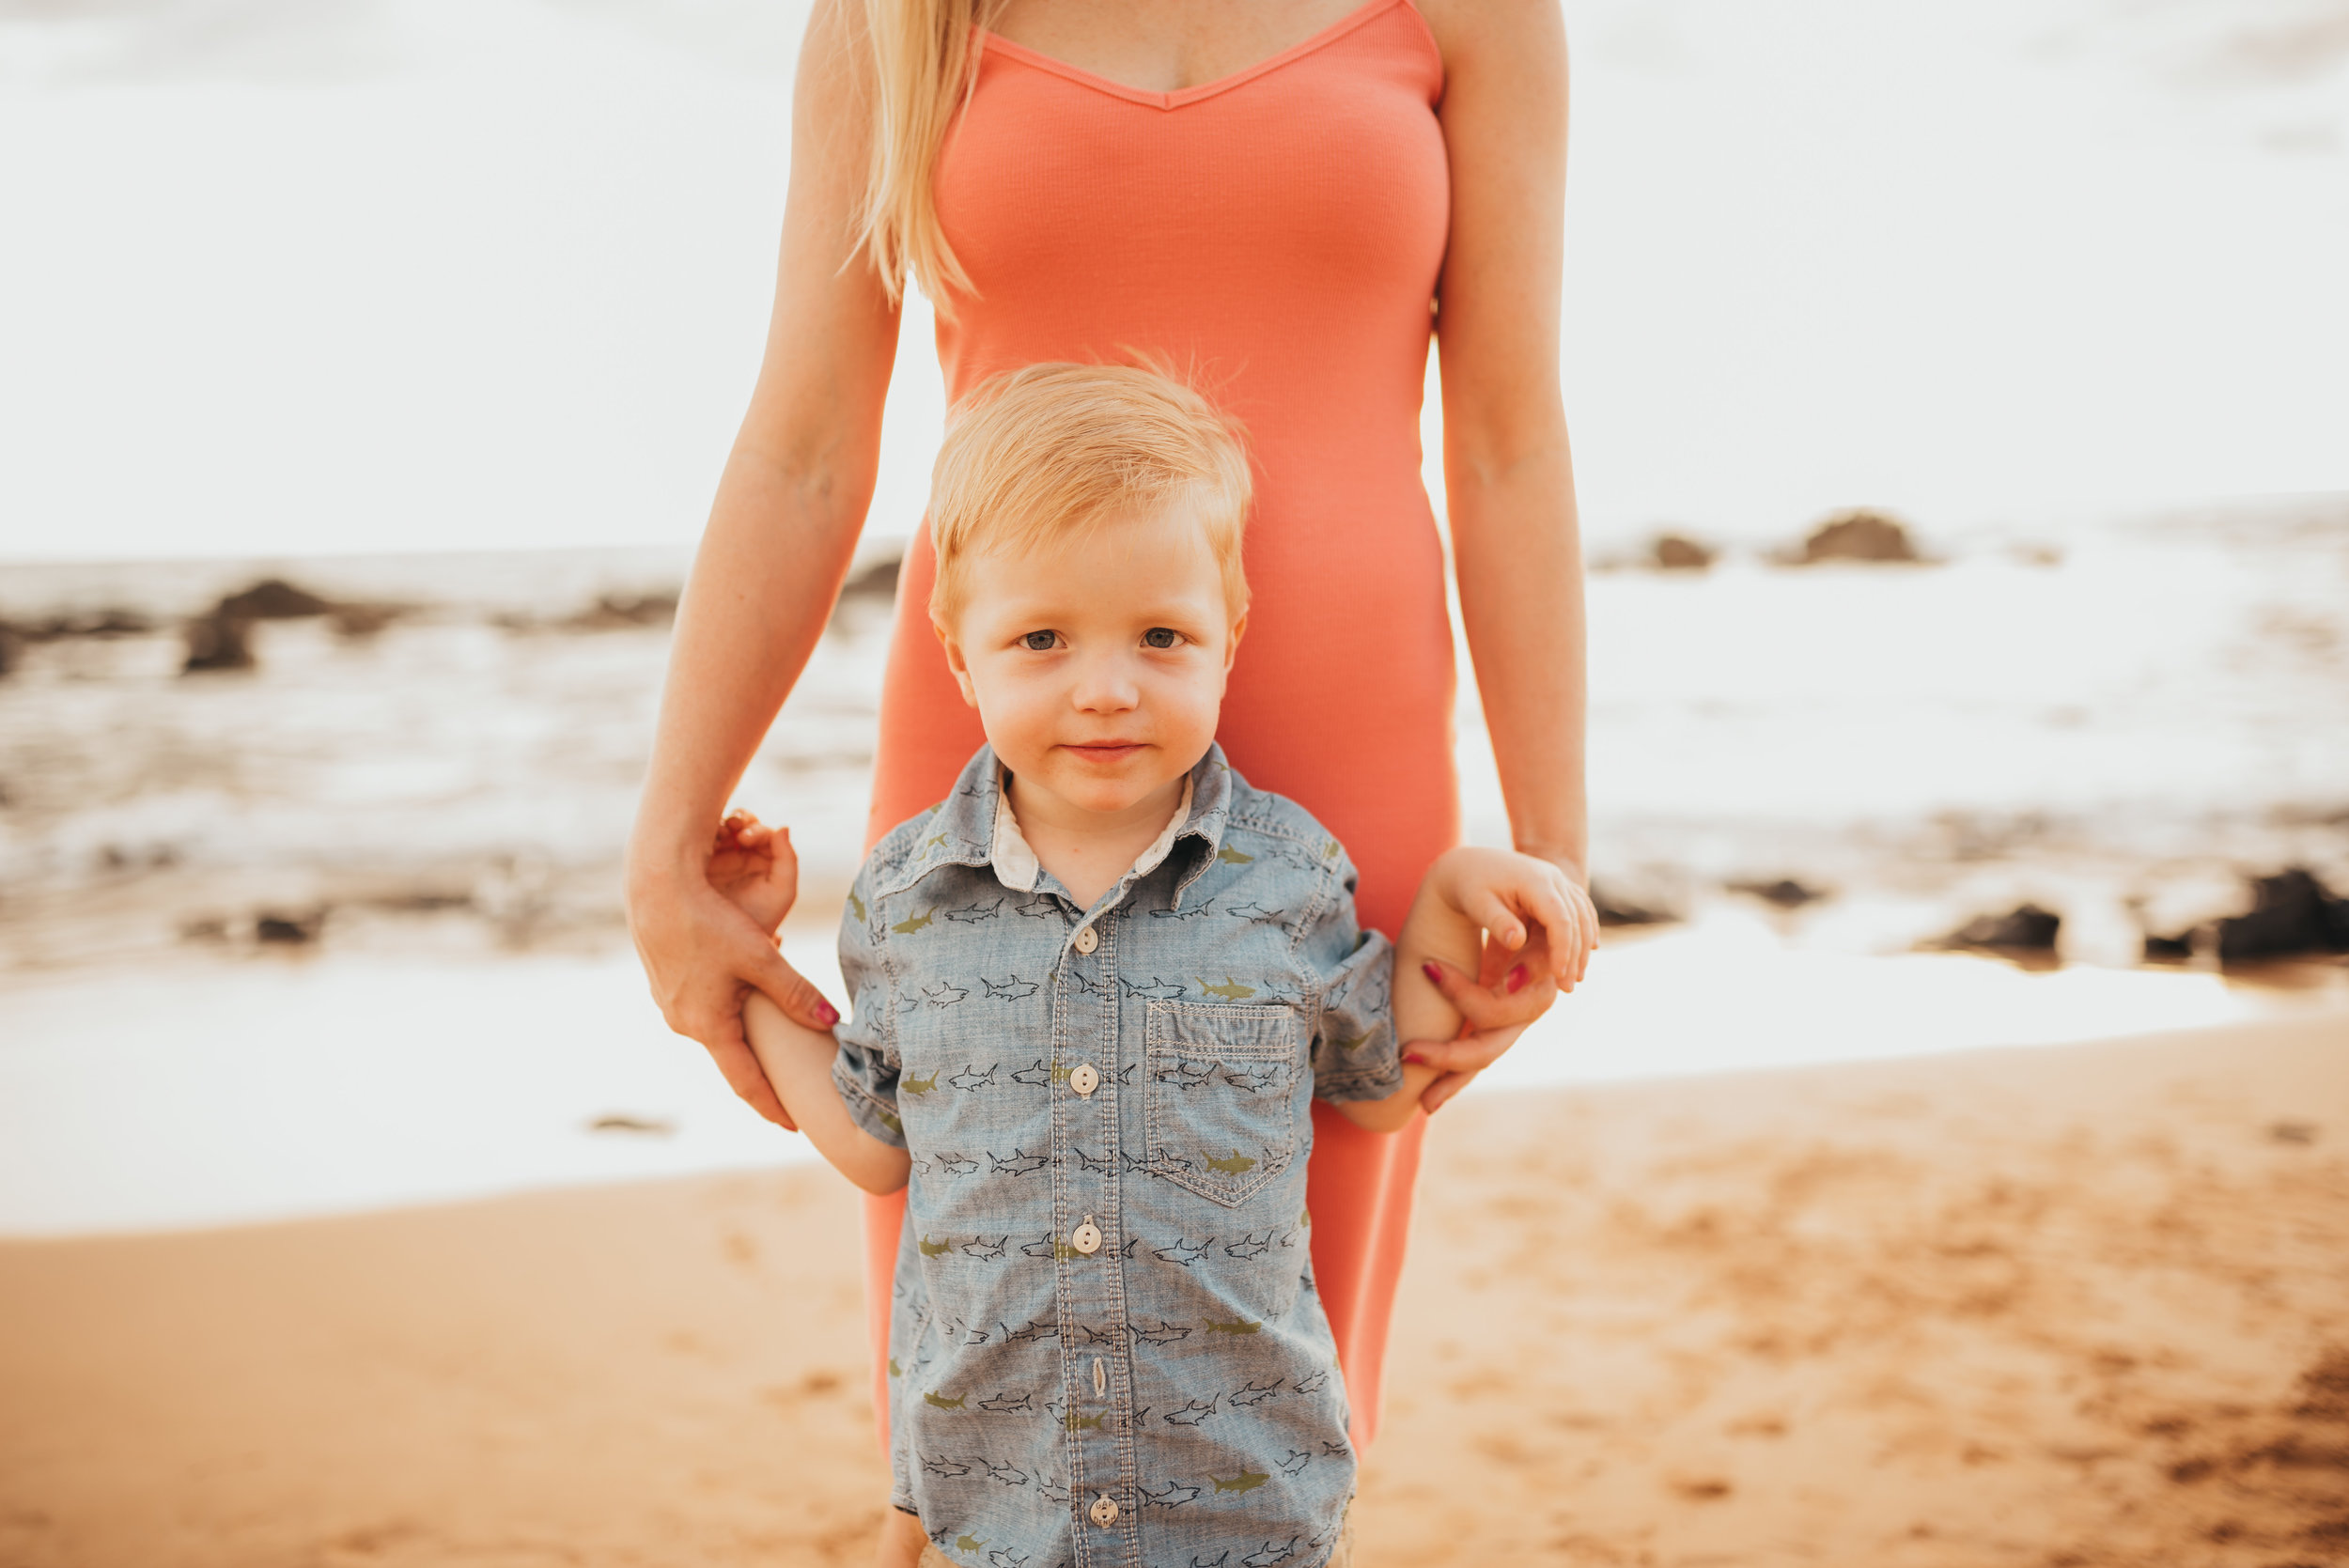
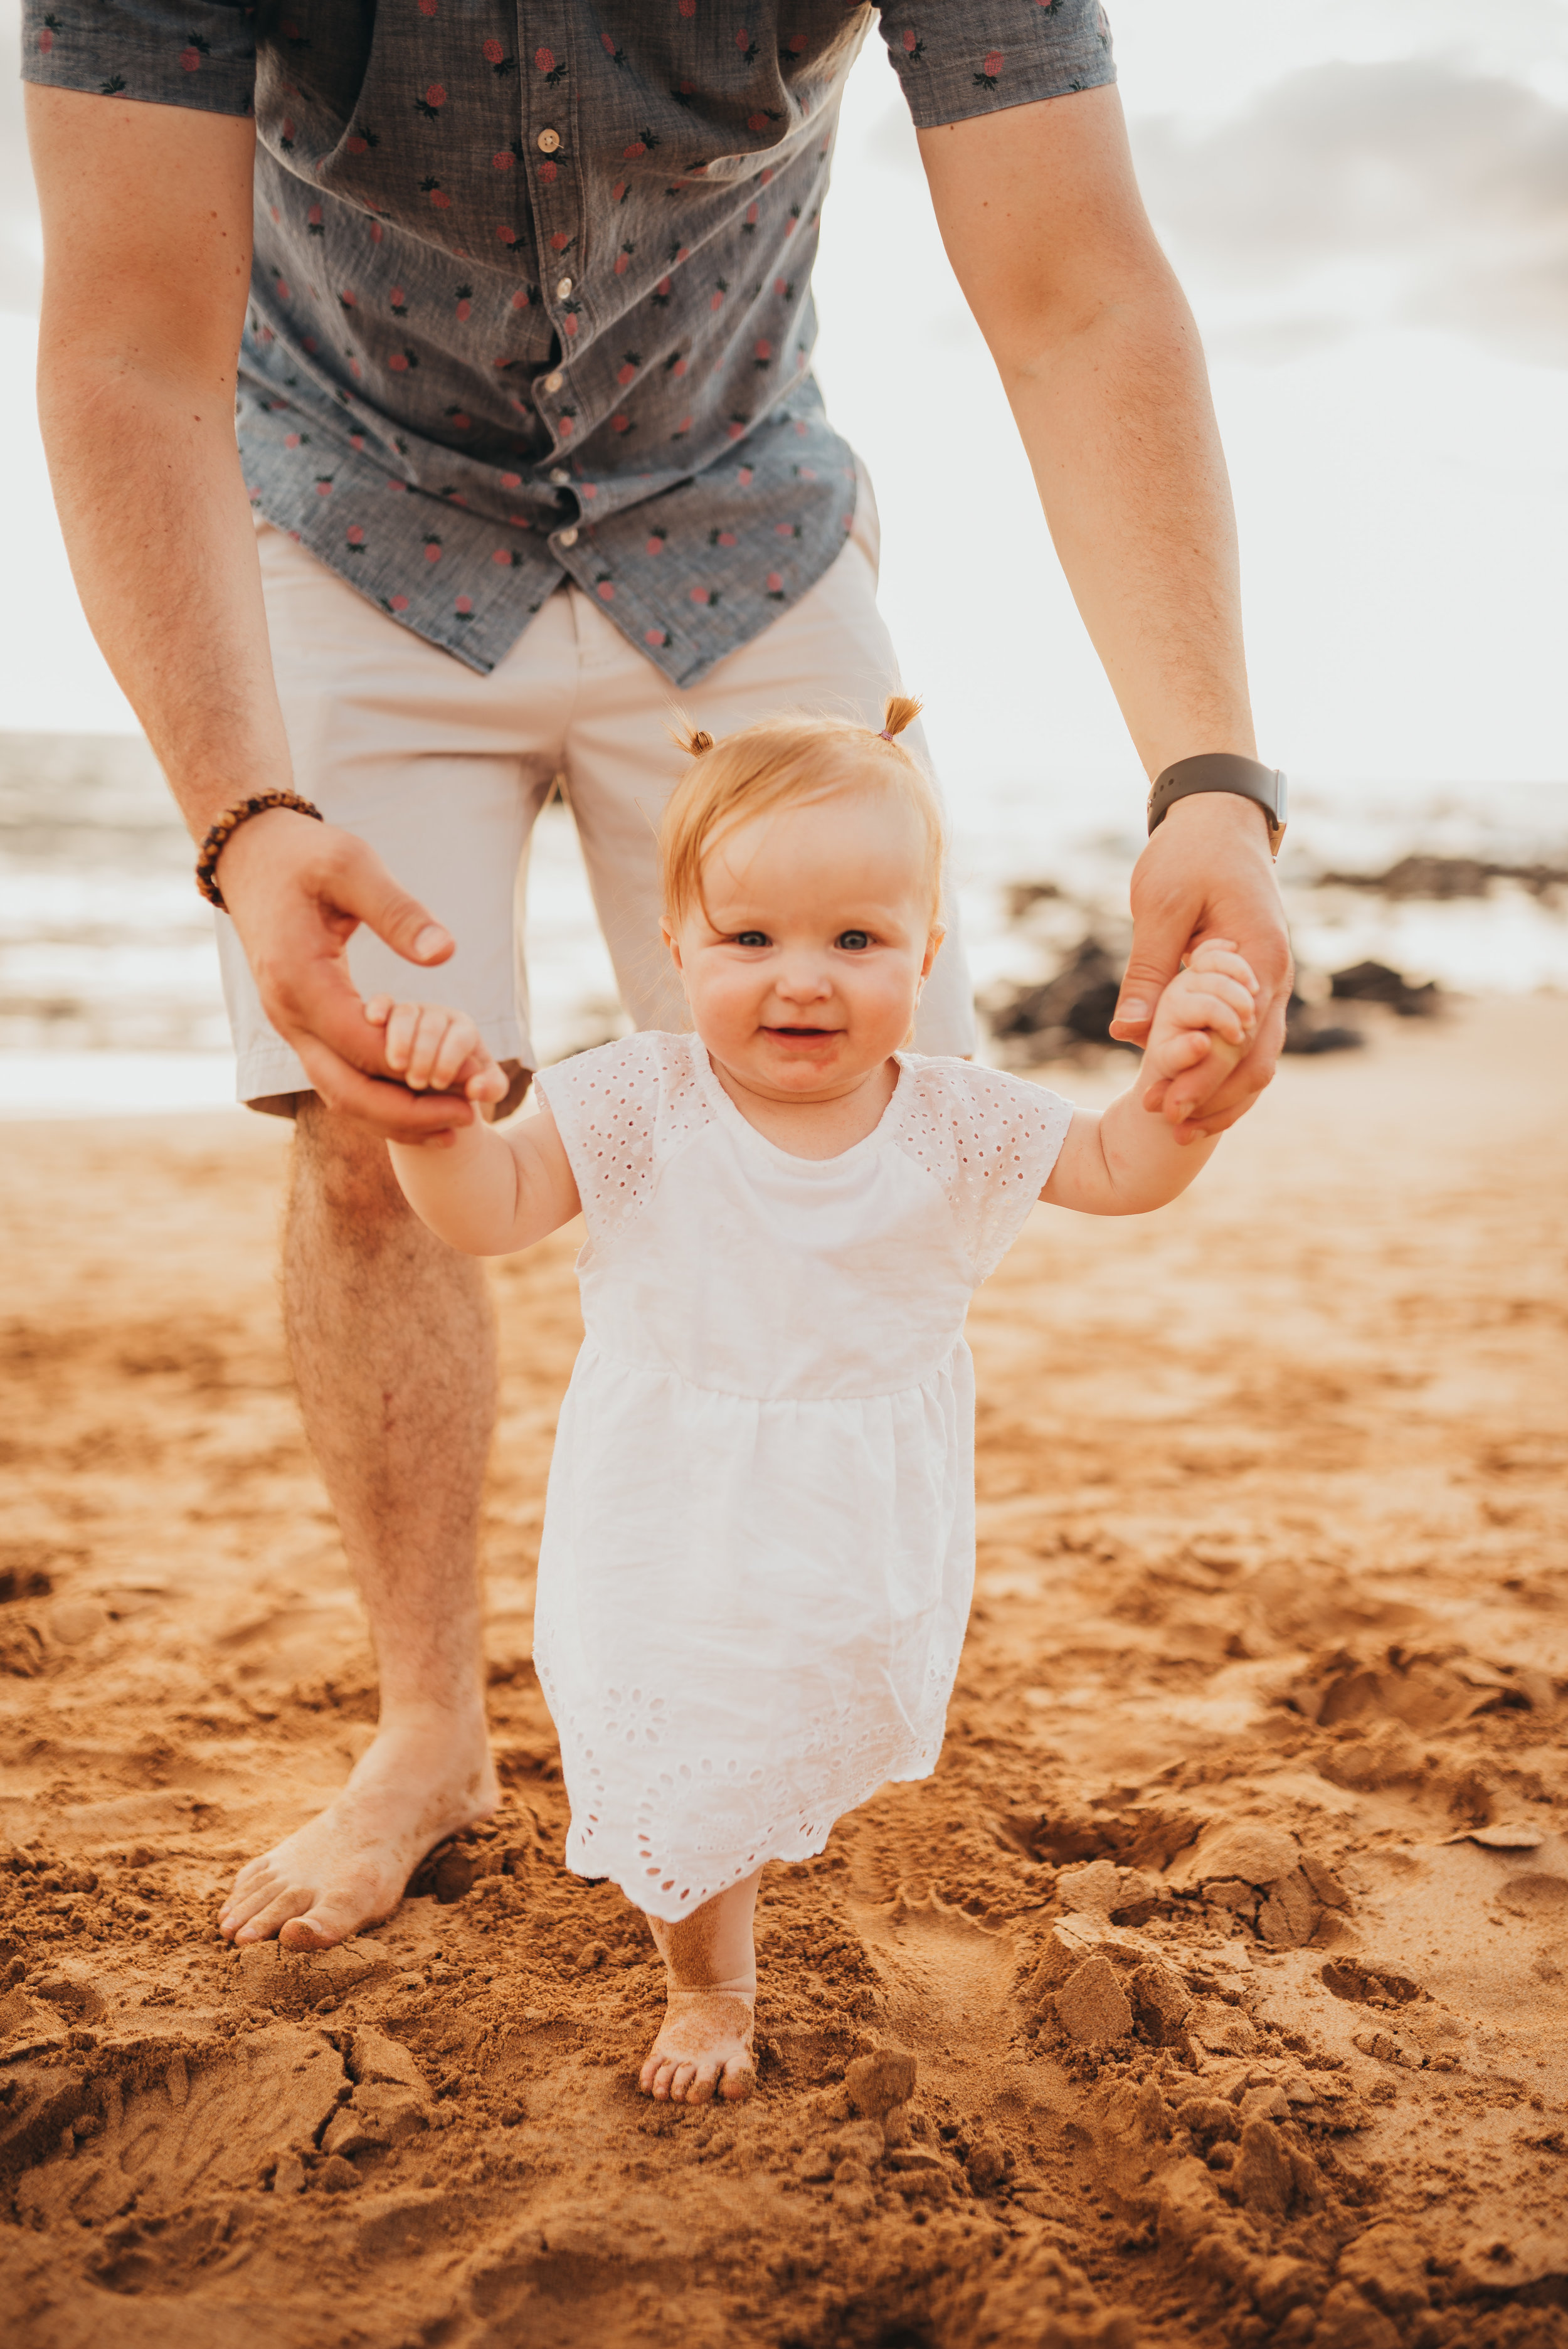
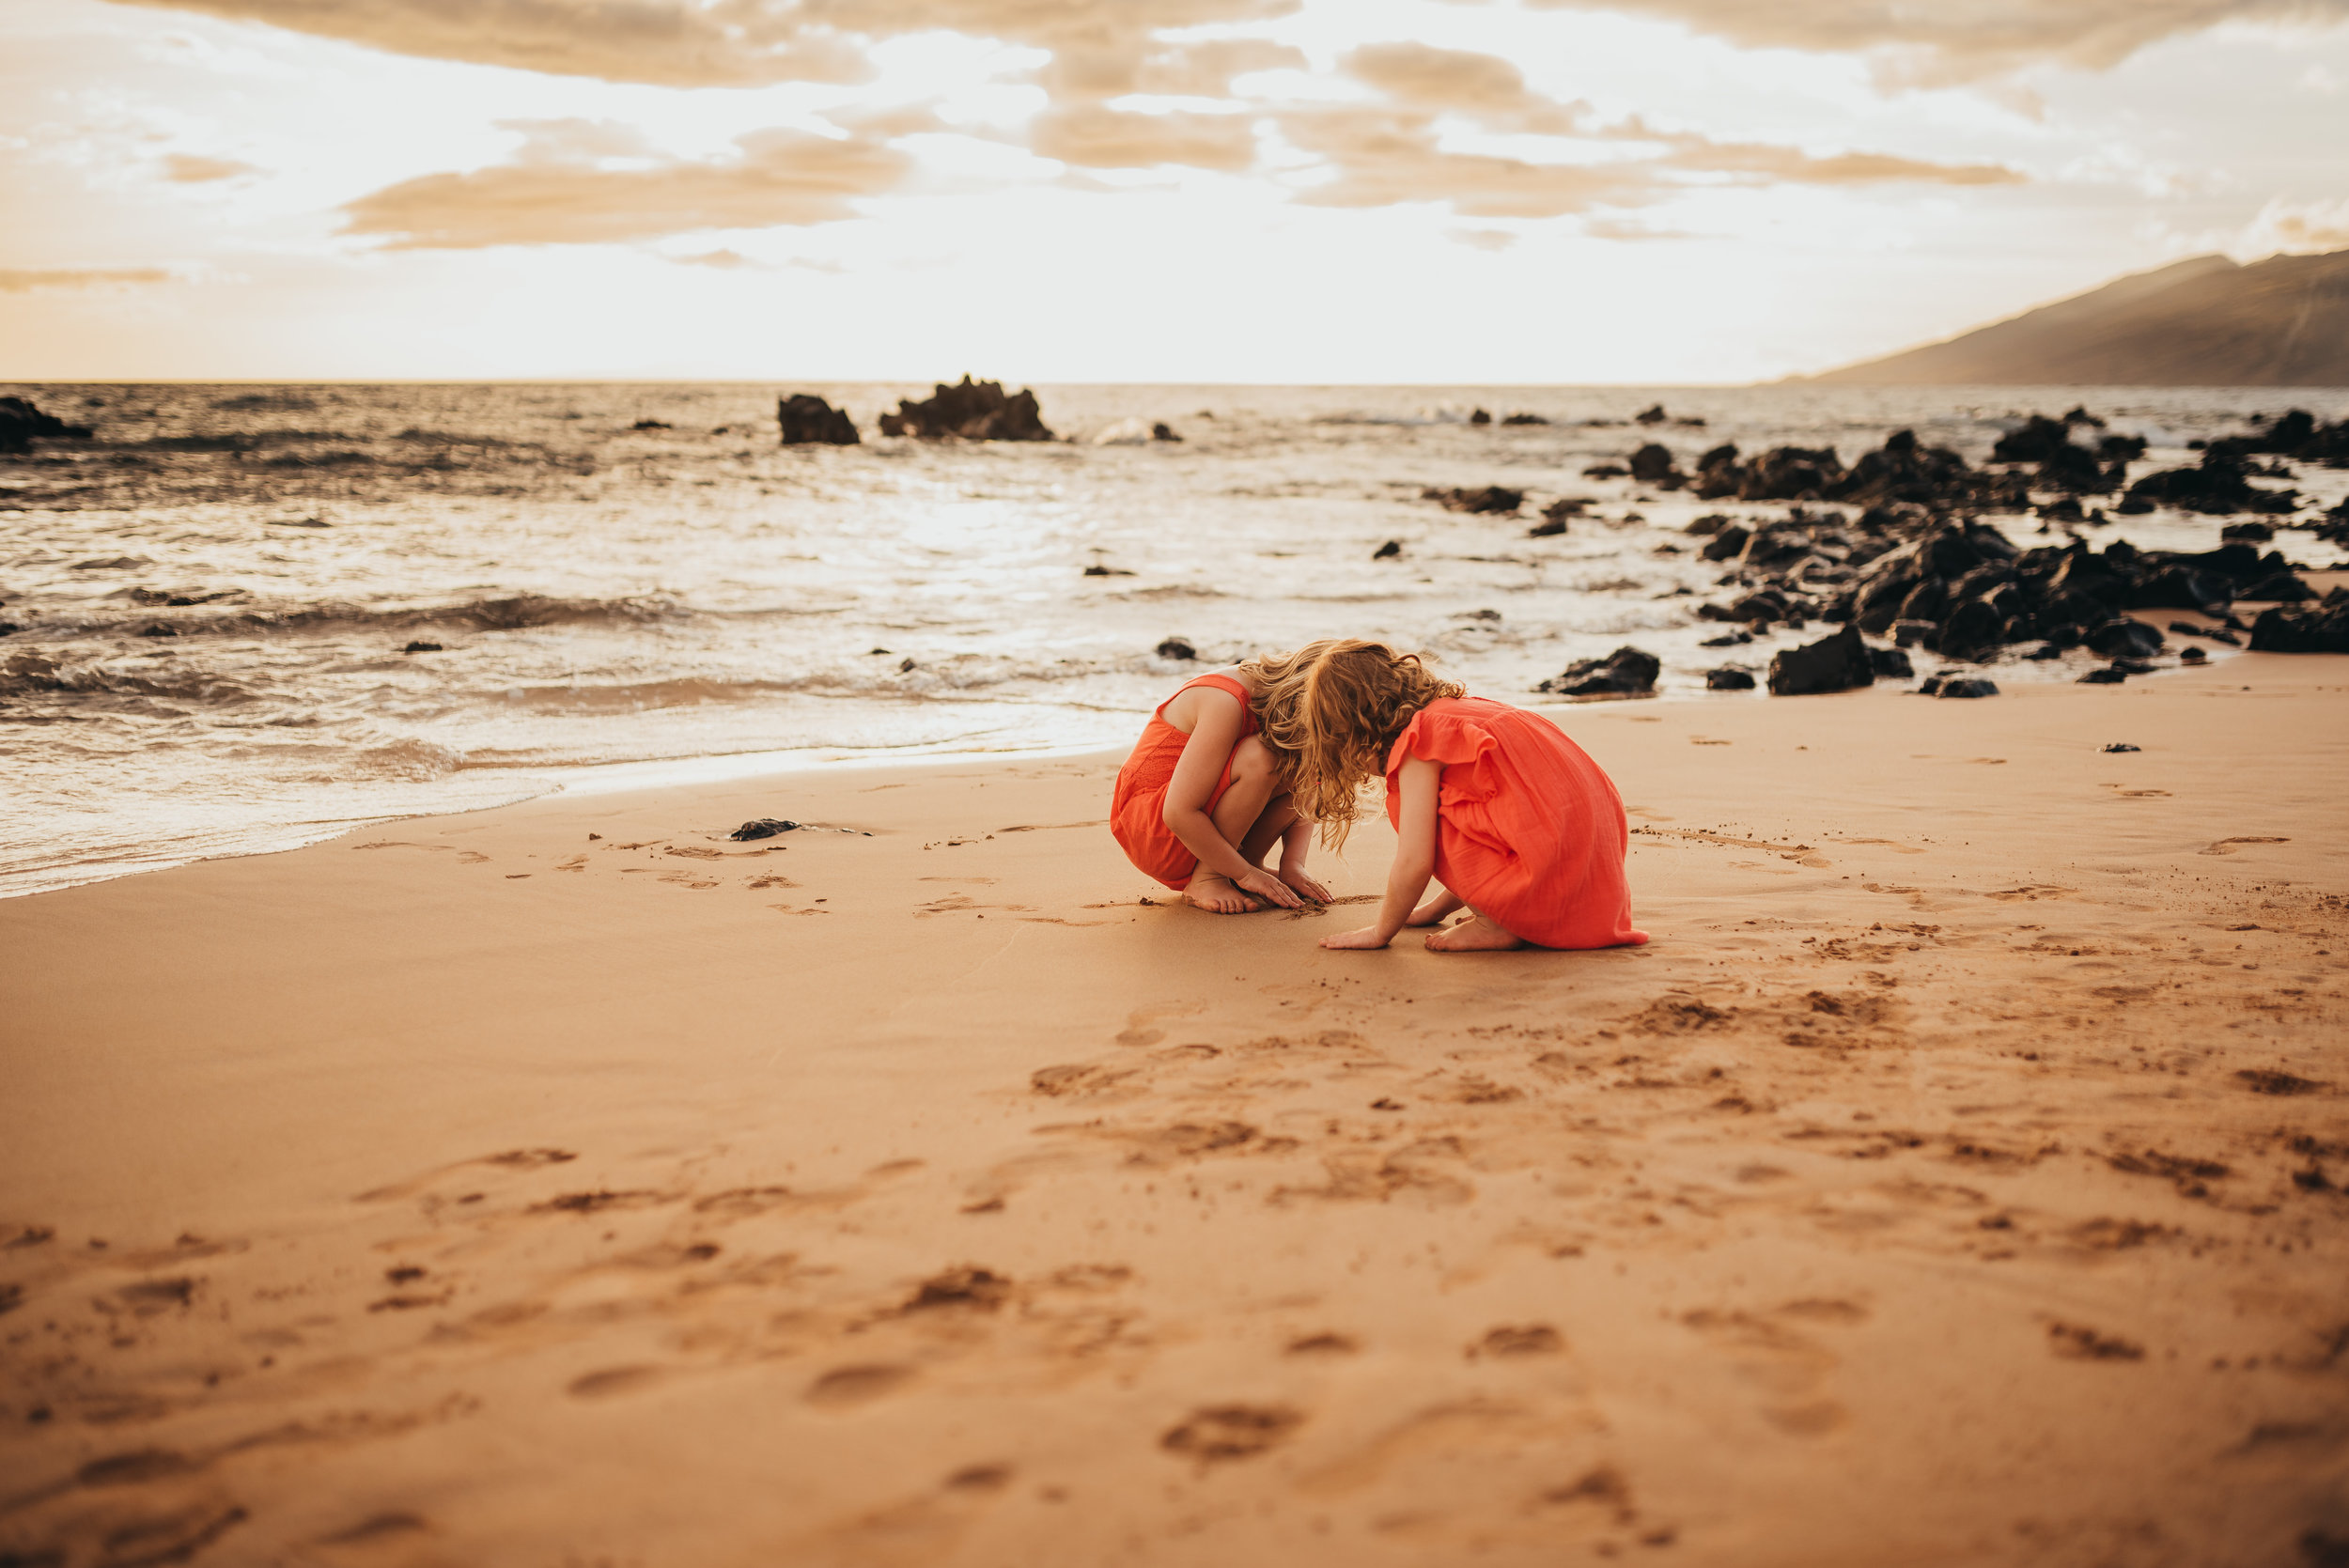
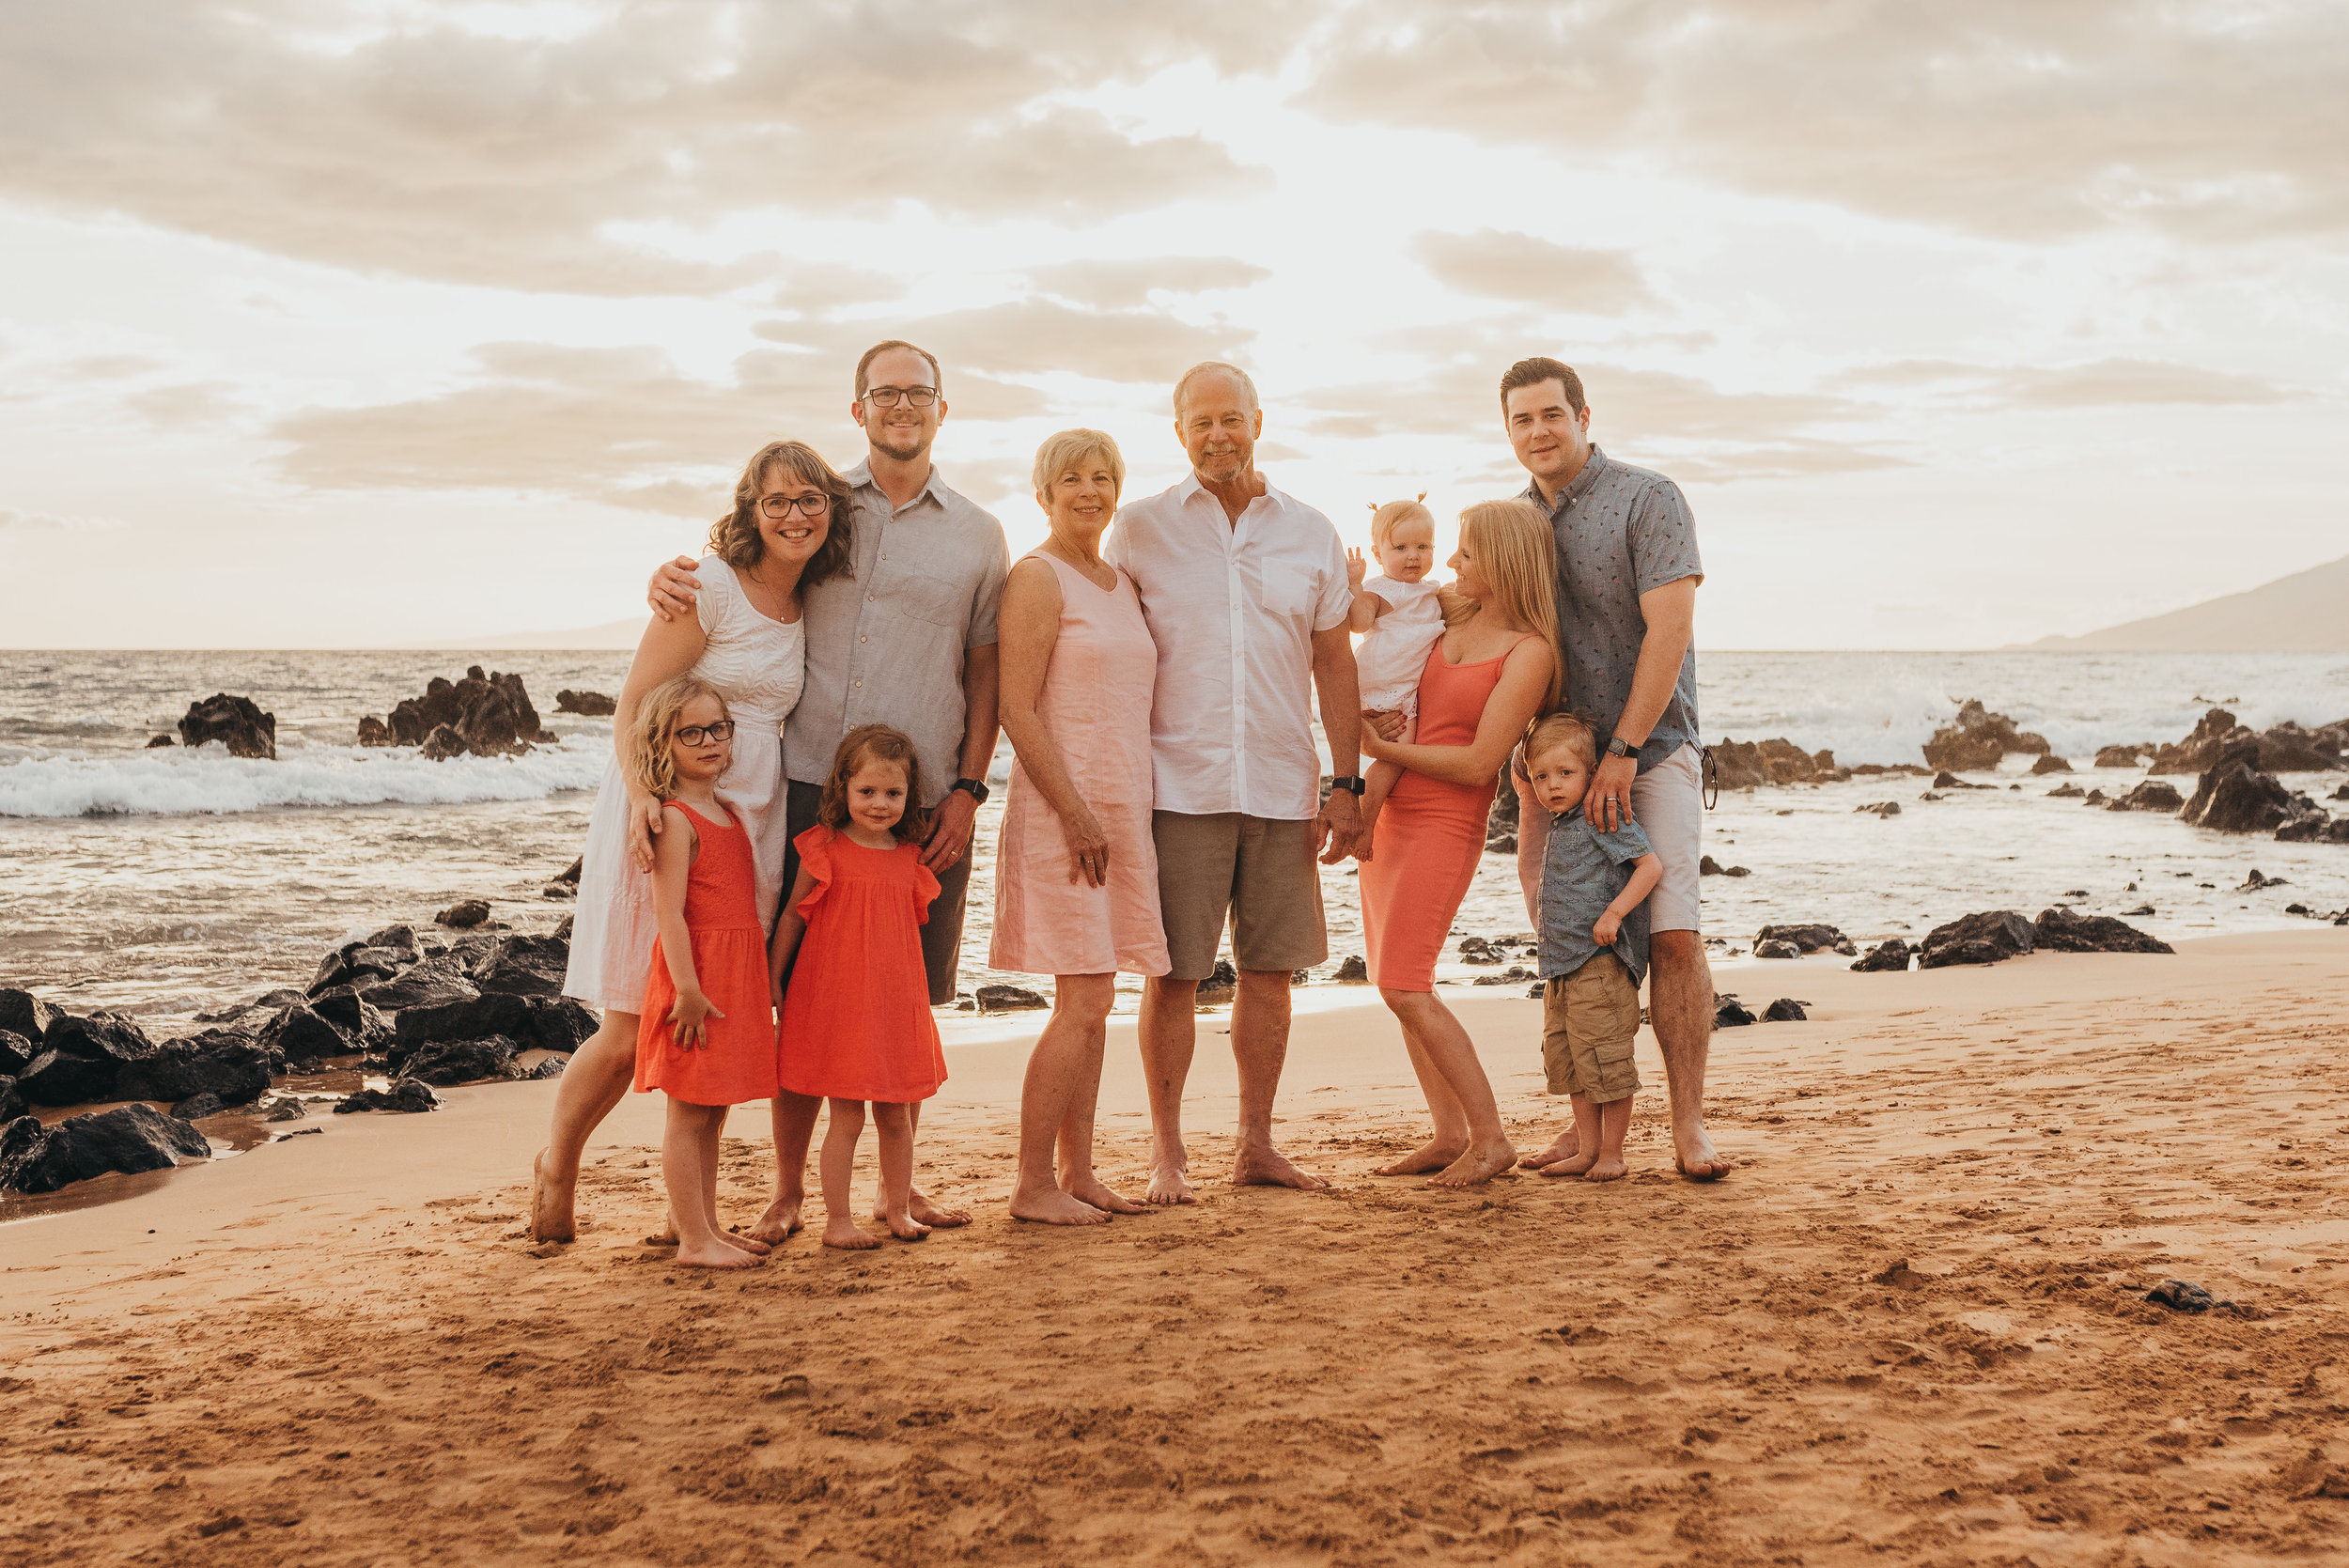
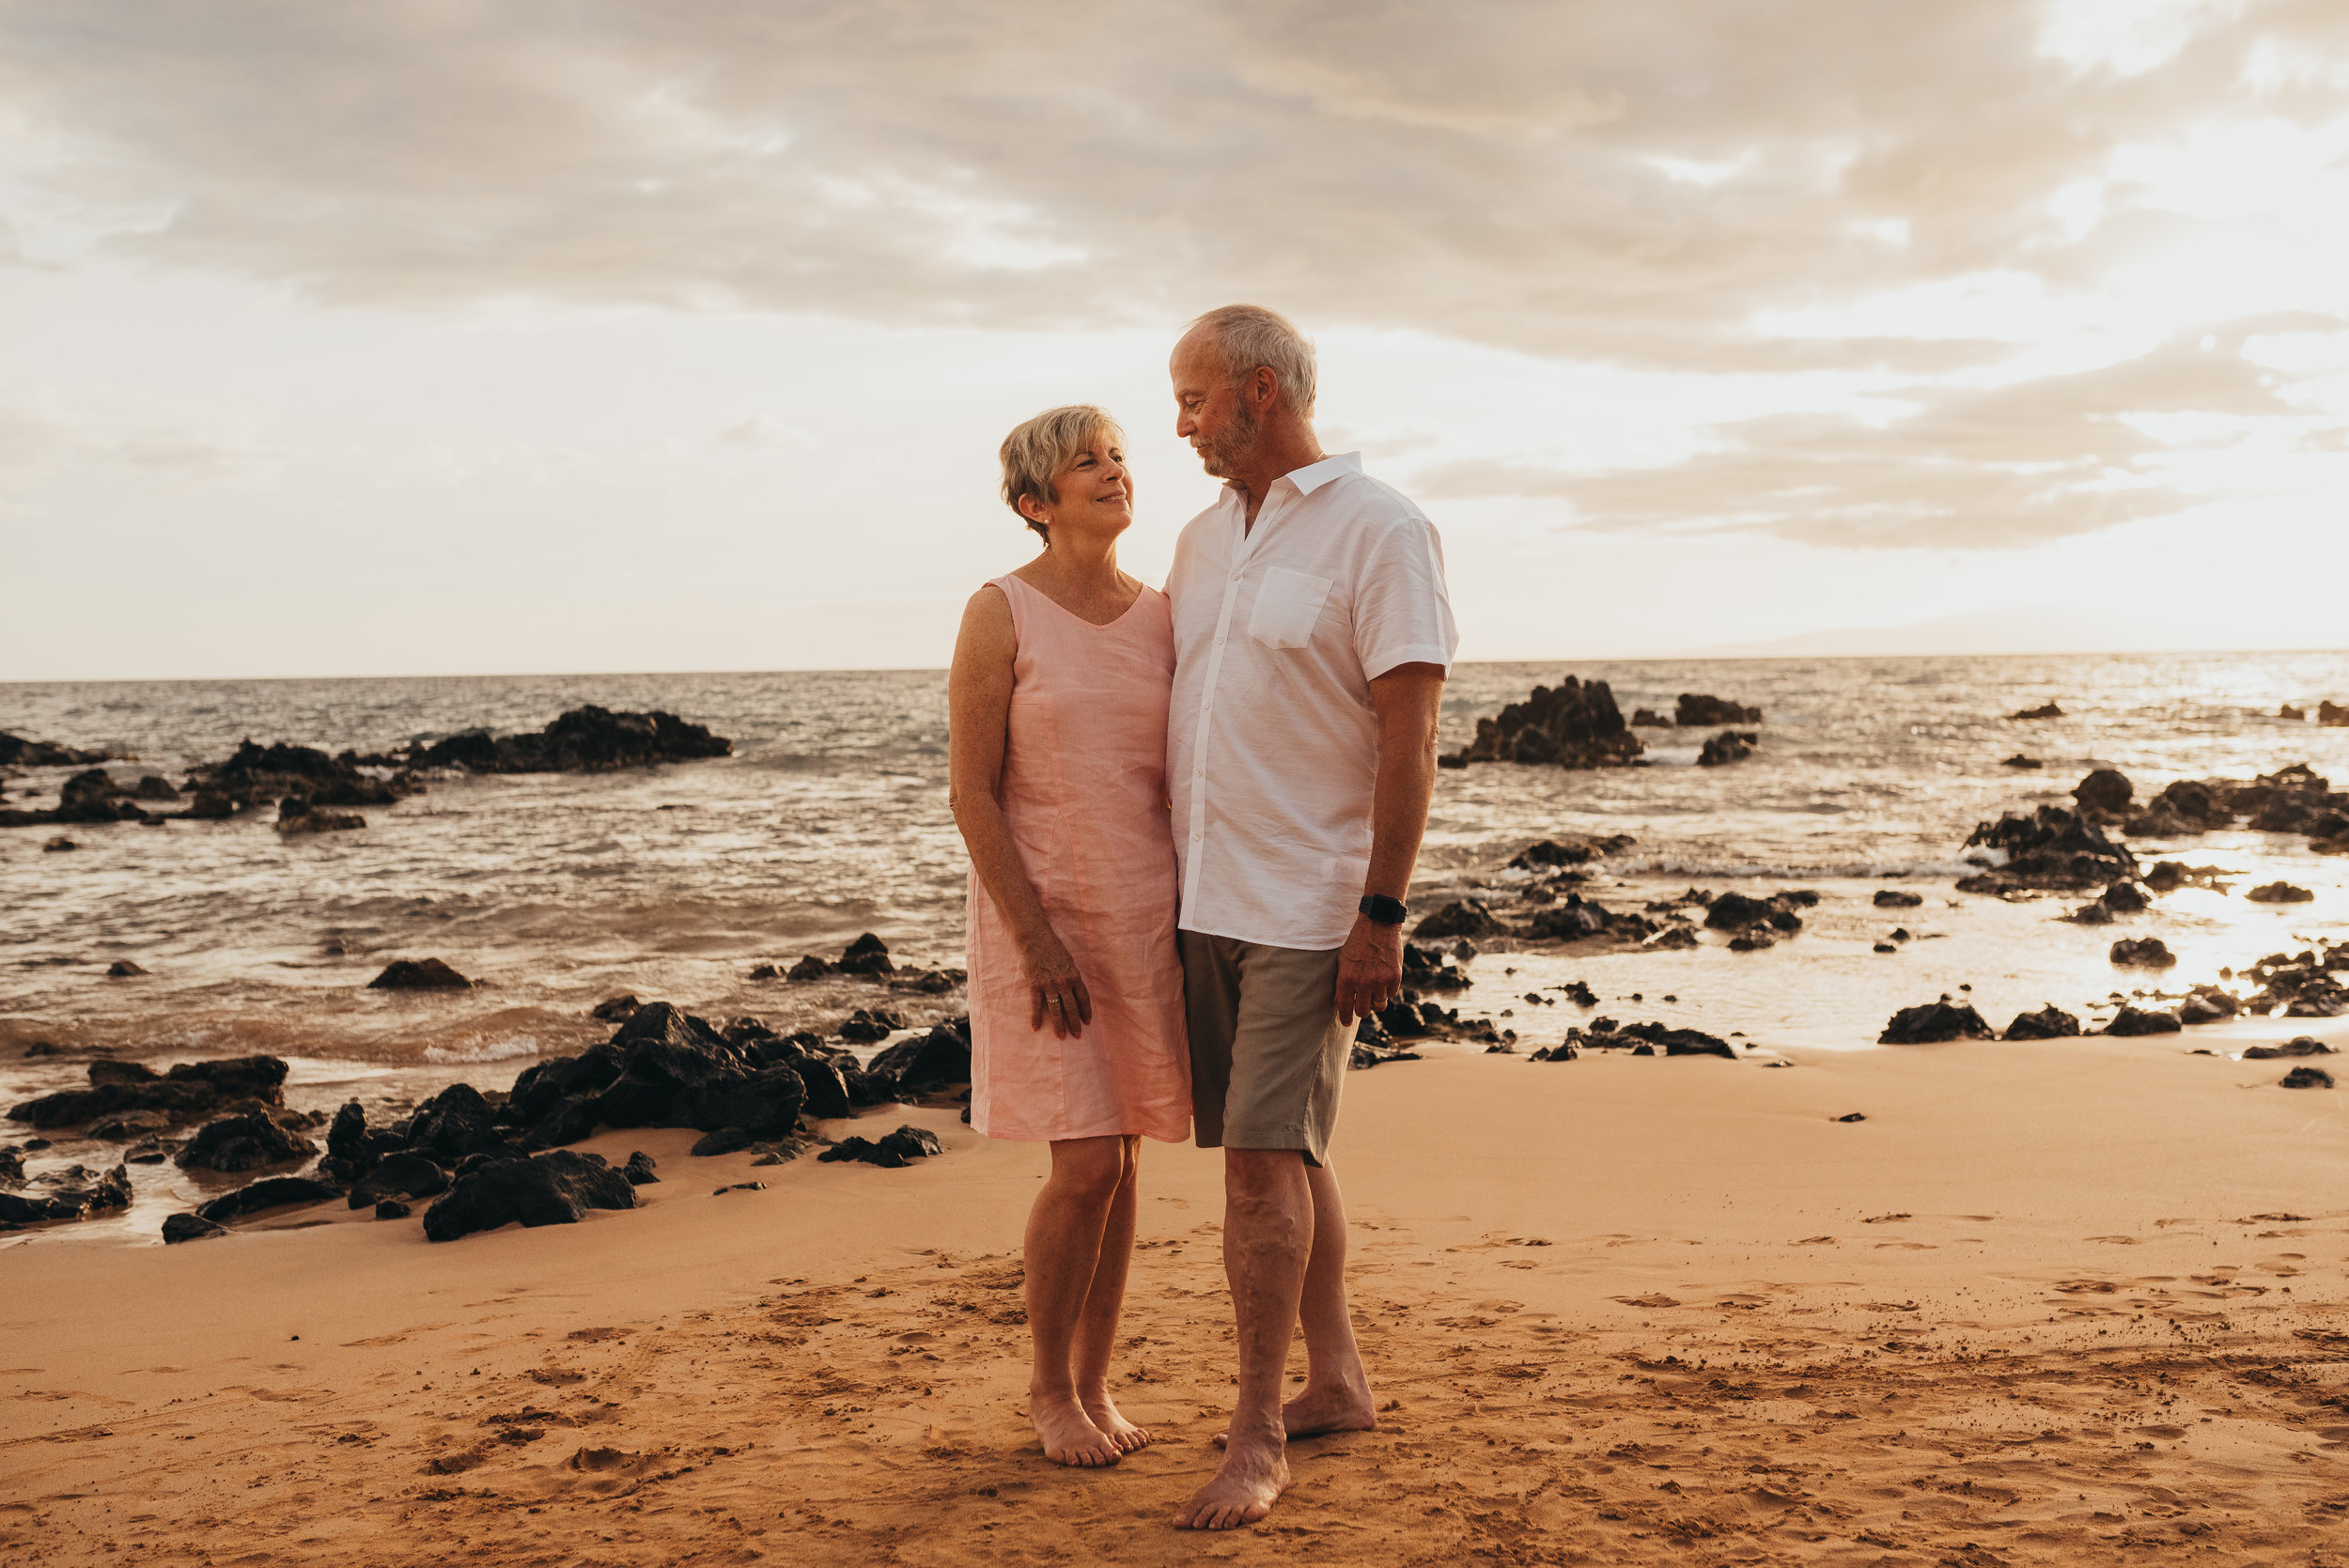
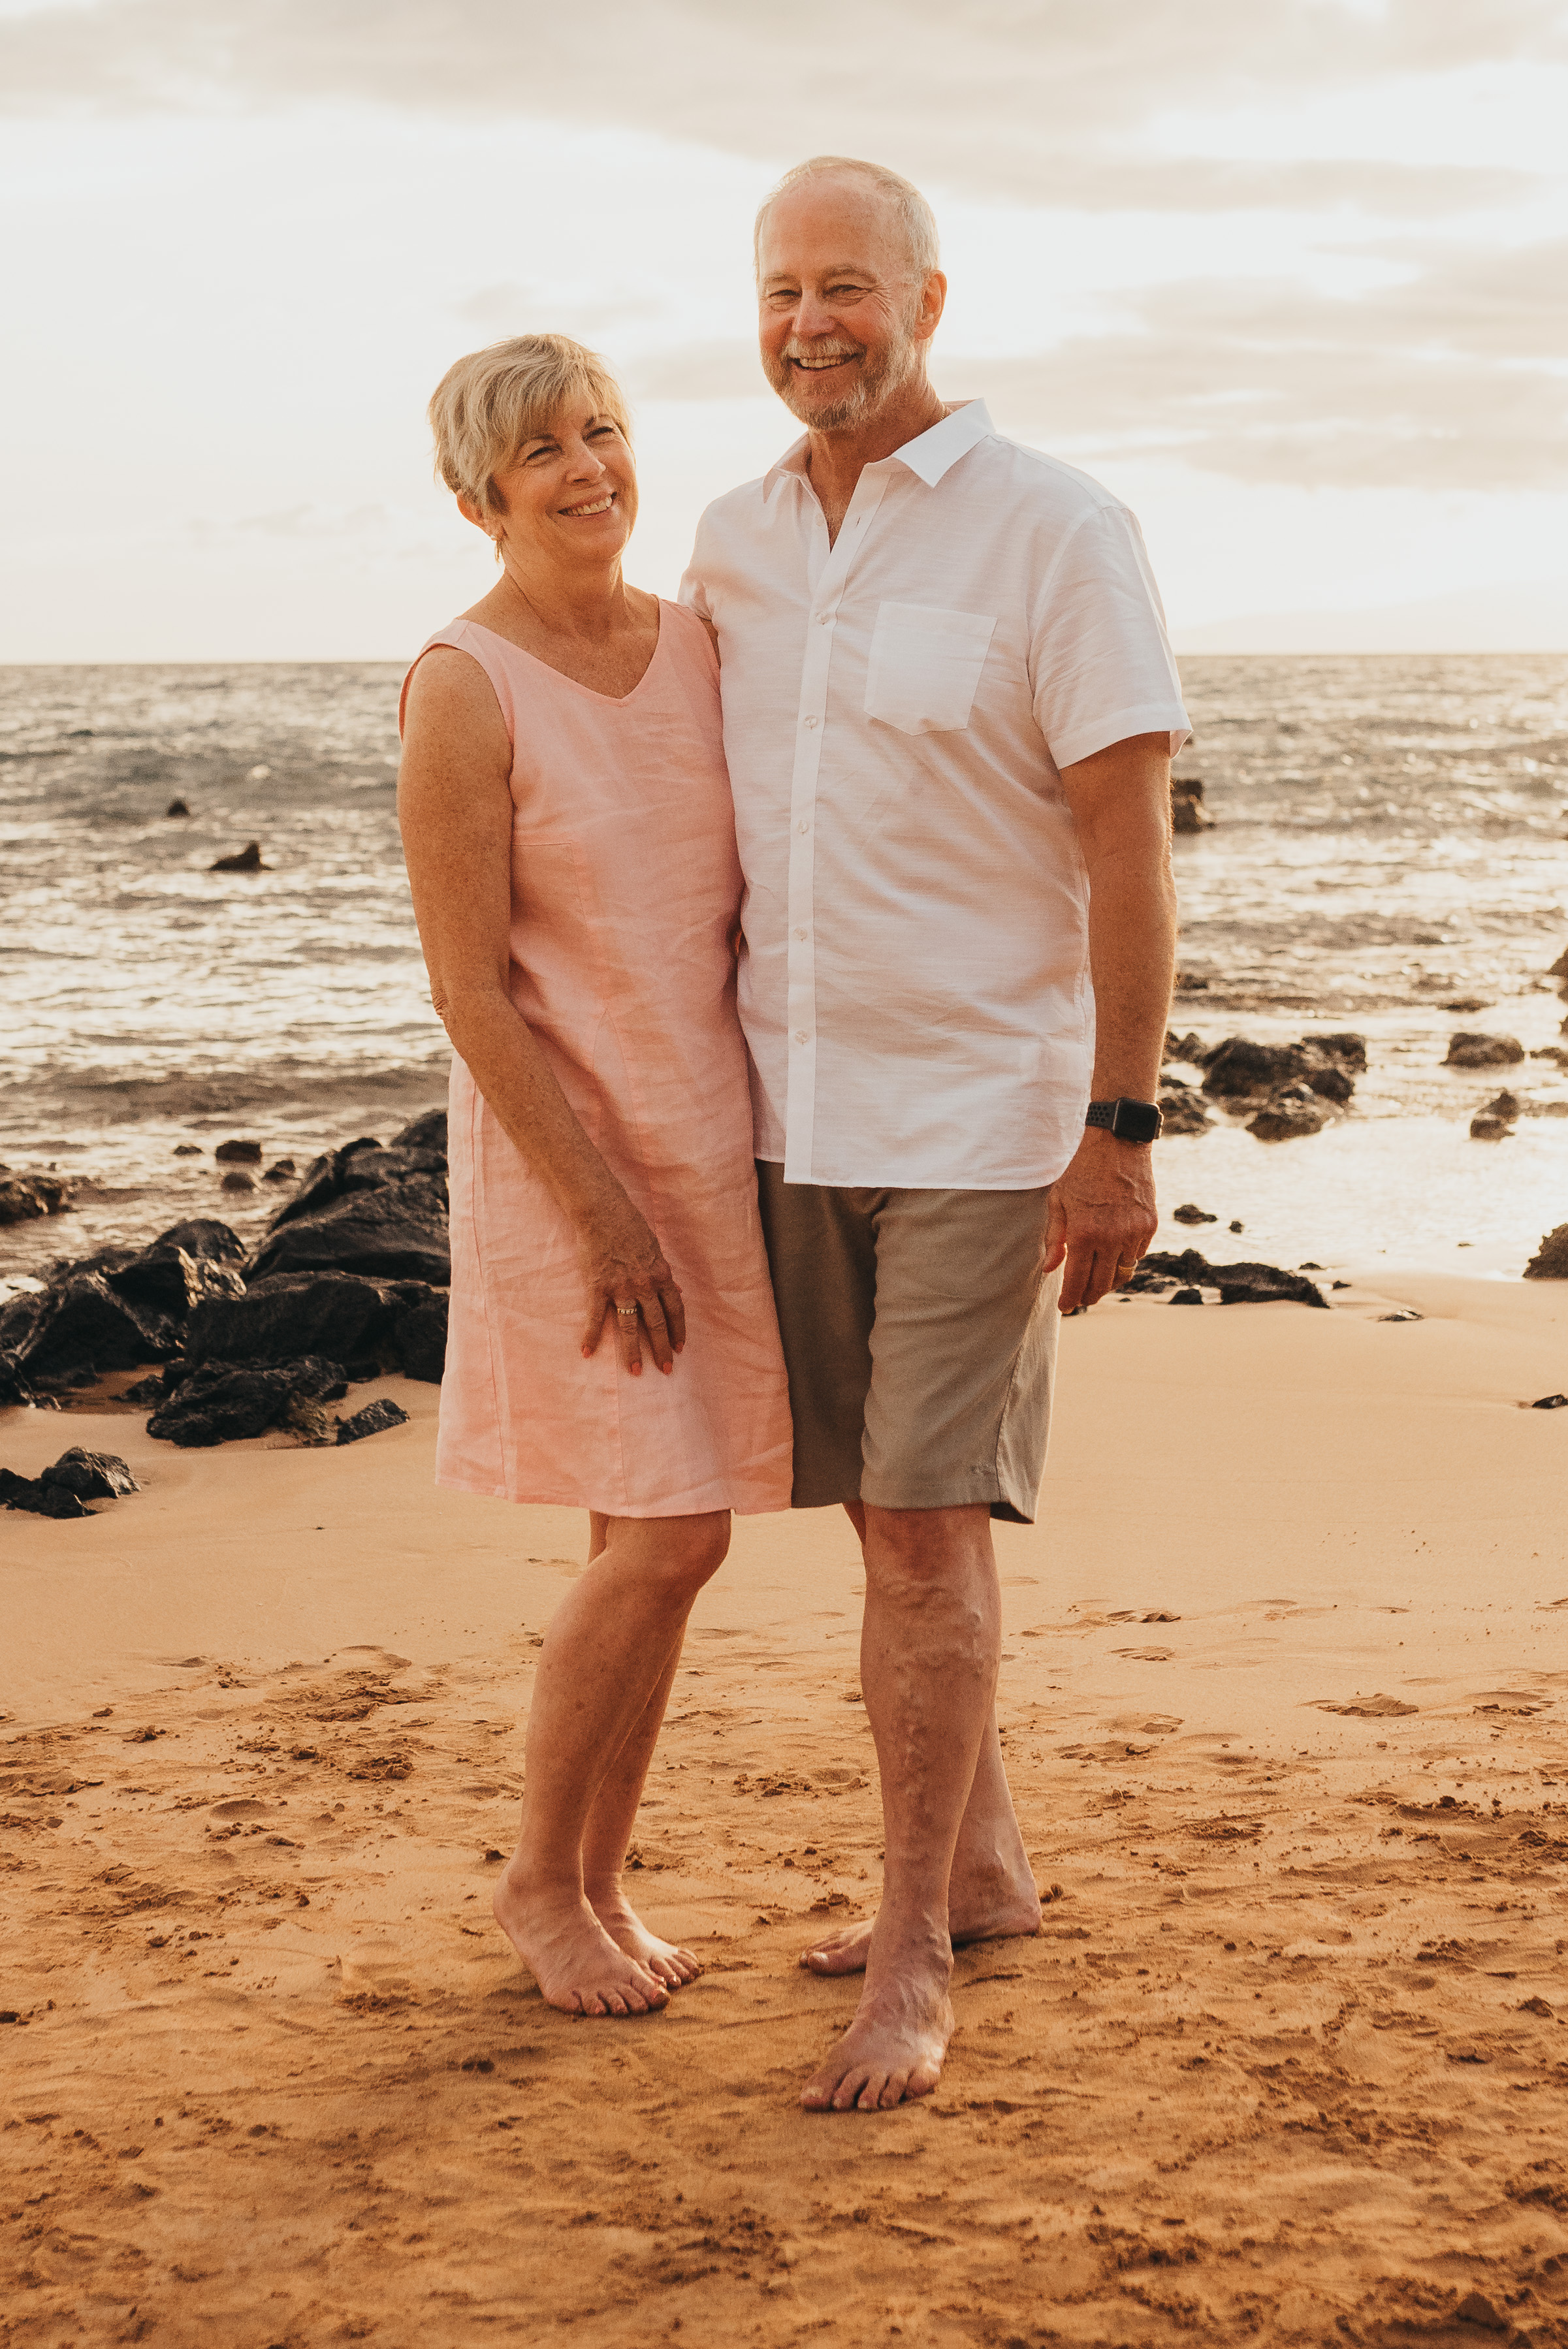
Once you’ve exhausted a particular pose move your camera and your people and set the whole thing up again. If you scroll down through the photos here you’ll see that I did this seven or eight different times with combinations of family sitting, family standing, walking towards the camera. In particular if you’re going to have someone walk towards the camera, make sure that your aperture is set so that people are in focus even after they have moved.
And that’s it! That’s how I took family photos that I was in, and that I adore. I’ve been using this trick for almost 2 months now, to take selfie’s where I can set up the composition just the way I like it. I’m also getting more photos of me with my daughters. I’ve really been enjoying the ability to be a photographer and getting the frame at the same time. I hope these tips are also able to help you get in the frame a little more often as well.

